How to Configure WHMCS Automation Settings
WHMCS automation settings help control how WHMCS handles recurring billing tasks, invoice generation, overdue notices, service suspension, and other automated actions. These settings are important if you use WHMCS to manage customer billing, hosting services, or recurring products.
After configuring automation in WHMCS, you will also need to add the WHMCS cron command in cPanel. The cron job allows WHMCS to run scheduled tasks automatically based on the settings you choose.
What WHMCS Automation Settings Do
WHMCS automation settings control scheduled billing and account management actions. These settings help reduce manual work by allowing WHMCS to process routine tasks automatically.
Depending on your WHMCS setup, automation can help with:
- Generating invoices
- Sending invoice reminders
- Sending overdue payment notices
- Applying late fees
- Suspending services for non-payment
- Unsuspending services after payment
- Terminating services when needed
- Processing domain renewal notices
- Running daily system tasks
Automation is especially useful if you manage recurring hosting plans, maintenance services, or client subscriptions.
Before You Begin
Before configuring WHMCS automation settings, make sure you have:
- Access to your WHMCS Admin Dashboard
- Access to your Bluehost Portal
- Access to cPanel or Cron Jobs
- An active WHMCS installation
- Your WHMCS products, services, and billing settings already configured
It is also helpful to review your invoice and non-payment policies before enabling automation. This ensures WHMCS follows the correct timing for billing reminders, suspensions, and other account actions.
How to Configure WHMCS Automation Settings
Follow these steps to review and update your automation settings in WHMCS.
- Log in to your WHMCS Admin Dashboard.
- From the top menu, click Setup.
- Select Automation Settings.
- In newer WHMCS versions, this may appear under Configuration or System Settings.
- Review the available automation options.
- Configure how WHMCS should handle invoices, reminders, and non-payment actions.
- Scroll to the bottom of the page.
- Click Save Changes.
- After the changes are saved, WHMCS will display a cron command.
- Copy the cron command.
Keep the cron command available. You will need to paste it into cPanel when creating the scheduled cron job.
Important Automation Settings to Review
The available options may vary depending on your WHMCS version and configuration. Review each setting carefully before saving your changes.
Invoice Settings
Invoice automation controls when invoices are generated and how customers are reminded about upcoming or overdue payments.
Review settings such as:
- How many days before the due date invoices are created
- When invoice reminders are sent
- When overdue notices are sent
- Whether late fees are applied
- How unpaid invoices are handled
These settings should match your billing policy and customer communication process.
Suspension and Unsuspension Settings
If WHMCS is connected to your hosting server, it may be able to suspend or unsuspend services automatically based on payment status.
Review settings such as:
- How many days after non-payment a service is suspended
- Whether services are unsuspended automatically after payment
- Whether suspension emails are sent to customers
- Which products or services are affected by automation
Use these settings carefully. Automated suspension can impact customer websites or services if billing rules are configured incorrectly.
Termination Settings
Termination settings control whether WHMCS automatically removes services after they remain unpaid for a certain period.
Before enabling termination automation, make sure your policy is clear and that customers receive enough notice. Termination can permanently remove hosting accounts or related service data, depending on your server setup.
Domain Reminder Settings
If you manage domains through WHMCS, automation may also handle renewal notices and related domain reminders.
Review these settings to make sure customers receive enough notice before their domain expires.
How to Set Up the WHMCS Cron Job in cPanel
After saving your WHMCS automation settings, add the cron command in cPanel so WHMCS can run scheduled tasks automatically.
- Log in to your Bluehost Portal.
- Click Hosting in the left-hand menu.
- In the hosting details page, click the cPanel button.
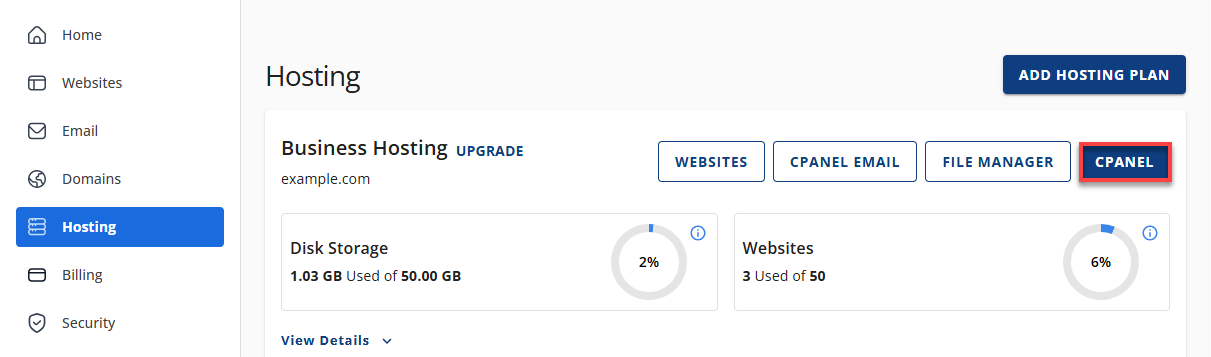
- Your cPanel will open in a new tab.
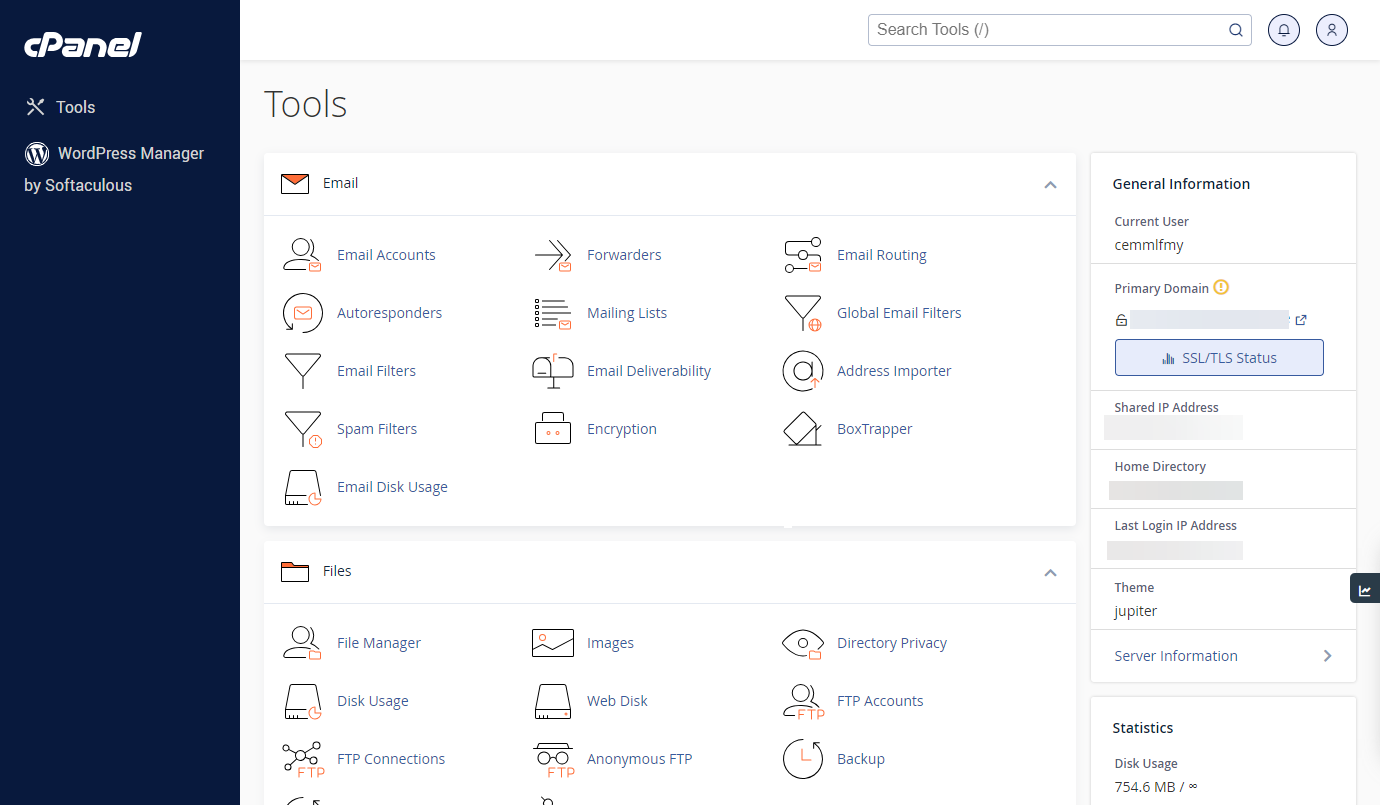
- Find the Advanced section.
- Click Cron Jobs.
- In the Common Settings dropdown, select Once Per Day.
- In the Minute field, enter
0. - In the Hour field, enter
0. - In the Command field, paste the cron command you copied from WHMCS.
- Click Add New Cron Job or Add.
This sets the WHMCS cron job to run once per day at midnight.
Example WHMCS Cron Job
Your cron command may look similar to this:
0 0 * * * php -q /home/username/public_html/whmcs/crons/cron.php
The exact path may be different depending on where WHMCS is installed. Always use the cron command provided inside your WHMCS automation settings.
Replace or confirm the following if needed:
usernameshould match your cPanel username.whmcsshould match your WHMCS installation folder.- The cron path should match the file location shown in WHMCS.
- The PHP command should match what WHMCS provides.
How to Confirm Automation Is Working
After adding the cron job, monitor WHMCS to confirm automation is running as expected.
Check the following:
- The cron job appears in cPanel.
- The command path matches the WHMCS cron command.
- WHMCS does not show a cron warning in the admin area.
- Invoices are generated based on your settings.
- Reminder emails are sent according to your schedule.
- Account actions run only when expected.
- WHMCS activity logs show successful automation activity.
If your cron job was just added, allow time for the next scheduled run before checking results.
Troubleshooting WHMCS Automation Settings
If WHMCS automation does not run correctly, review these common issues.
Cron Job Was Not Added
If the cron job was not saved in cPanel, return to Cron Jobs and add it again. Make sure the command field is not blank and that the schedule is set correctly.
Automation Runs at the Wrong Time
Check the cron schedule in cPanel. If you want the cron to run at midnight, the minute and hour fields should both be set to 0.
Invoices or Notices Are Not Sending
Review your WHMCS automation settings and email configuration. Make sure invoice generation and reminder settings are enabled and that WHMCS can send email notifications.
Services Are Not Suspending or Unsuspending
Check that the related product is connected to the correct server module and that WHMCS can communicate with the server. Also confirm that suspension and unsuspension settings are enabled.
Important Notes
Keep the following in mind when using WHMCS automation:
- Automation settings should match your billing and service policies.
- The WHMCS cron job must be added for scheduled tasks to run.
- The cron command should be copied directly from WHMCS.
- Running the cron once per day is typically enough for basic automation.
- Review suspension and termination settings carefully before enabling them.
- Test automation behavior before relying on it for live customer accounts.
Summary
WHMCS automation settings control how WHMCS handles scheduled billing and account actions, such as invoice generation, payment reminders, overdue notices, service suspension, and other recurring tasks.
To complete the setup, configure your automation settings in the WHMCS Admin Dashboard, save your changes, copy the cron command provided by WHMCS, and add it as a daily cron job in cPanel. After setup, monitor WHMCS activity logs, invoices, reminders, and account actions to confirm automation is running correctly.
If you need further assistance, Bluehost Chat Support is available 24 hours a day, 7days a week while Bluehost Phone Support is available 7 days a week from 7 am-12 midnight EST.
- Chat Support - While on our website, you should see a CHAT bubble in the bottom right-hand corner of the page. Click anywhere on the bubble to begin a chat session.
- Phone Support -
- US: 888-401-4678
- International: +1 801-765-9400
You may also refer to our Knowledge Base articles to help answer common questions and guide you through various setup, configuration, and troubleshooting steps.