Bluehost Self-Managed VPS: Reimage Your Server for Open WebUI Installation
Get your Open WebUI application up and running quickly on a Bluehost Self-Managed VPS. This guide walks you through installing the Open WebUI template using the Bluehost Portal and accessing your server after installation.
Install Open WebUI Using Bluehost Portal
To install Open WebUI:
- You can install only one application using the one-click installer.
- To change or delete your application, follow the guide: Bluehost Self-Managed VPS: How to Change and Delete an Application. Create a backup of your existing applications or templates.
- If you want to keep your current template, install the new application manually using SSH. The system will automatically apply the recommended OS for Open WebUI.
- Log in to your Bluehost Portal.
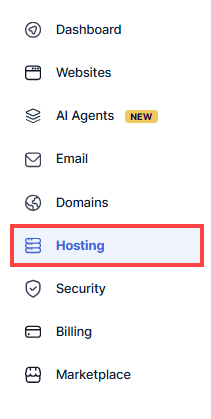
- In the left-hand menu, click Hosting.
- Click the Manage button on the Self-Managed VPS package you wish to manage.

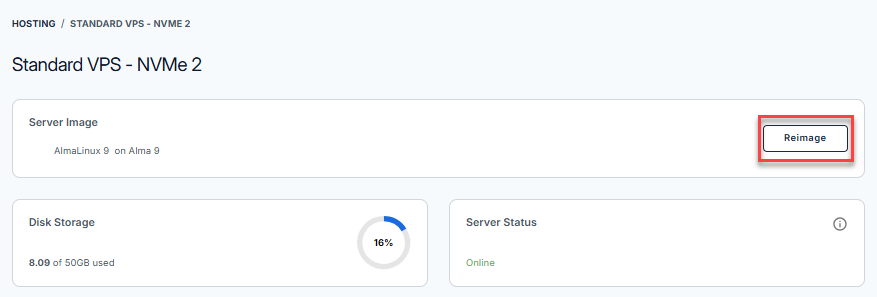
- Click the Reimage button.
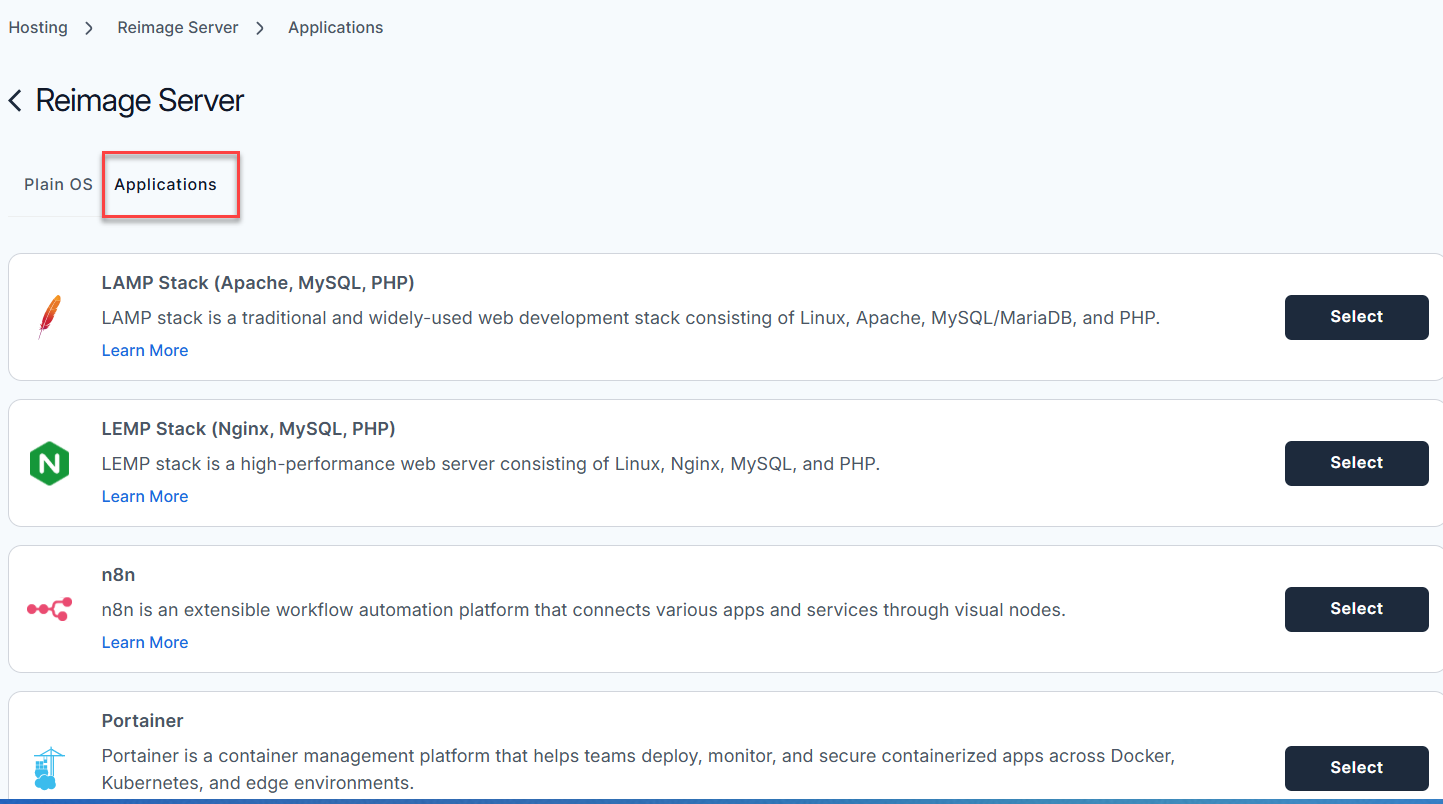
- Select the Applications tab.
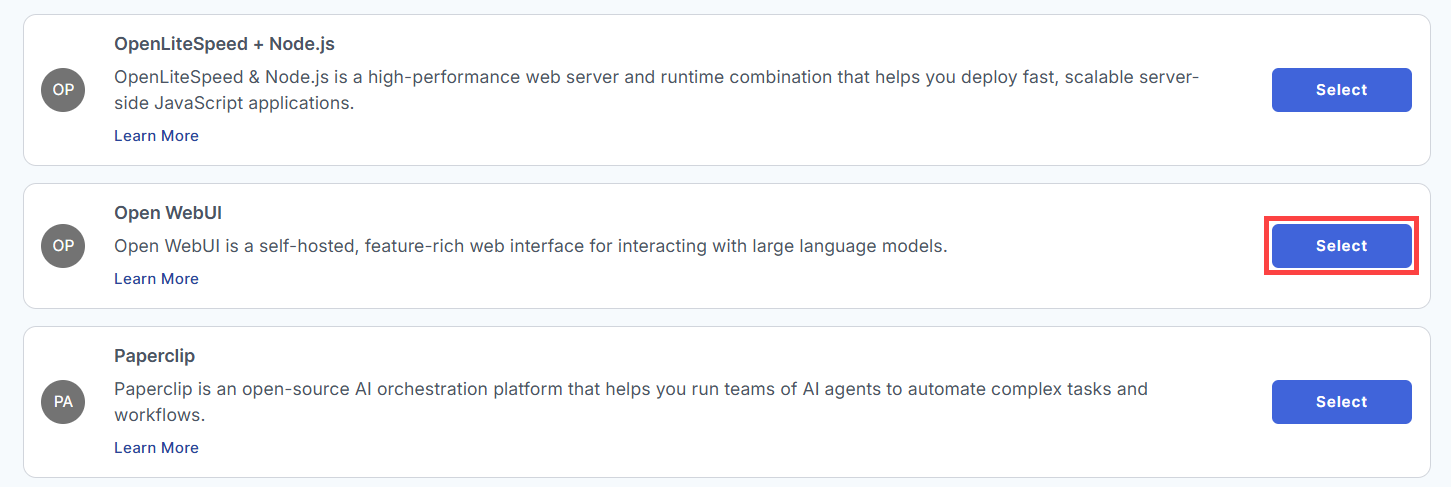
- From the list, find Open WebUI and click Select.
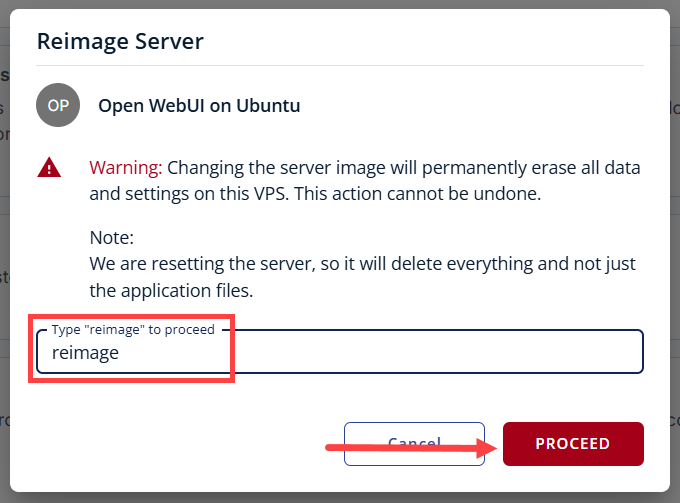
- To confirm, please type "reimage" and then click Proceed to start the process.
- Wait a few moments while the installation completes.

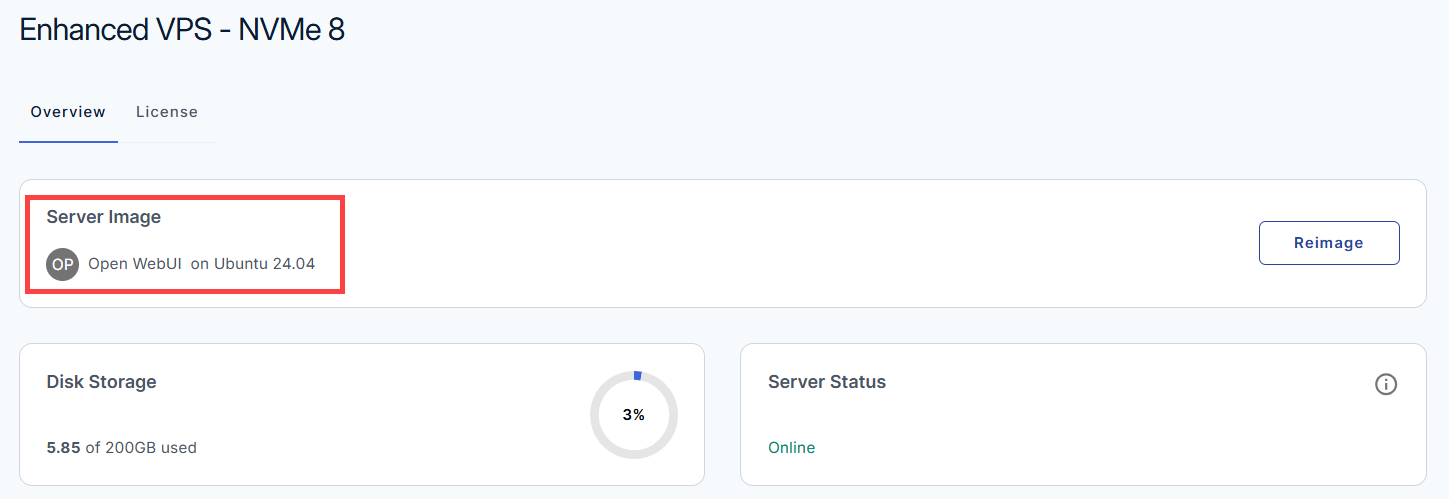
- Once completed, you will see Open WebUI listed in the Server Image section.
How to Access Your Dashboard
- Ollama: This is the local "brain" on your server. It actually runs the AI model (it comes pre-installed with a small, efficient model called llama3.2:1b).
- Open WebUI: This is the beautiful chat interface you see in your browser. It talks to Ollama or external APIs (like OpenAI) to fetch responses.
- Nginx: This acts as a security guard and traffic controller (a reverse proxy). Instead of exposing the chat app directly to the wild internet, Nginx sits at the front door (ports 80 and 443), handles the secure HTTPS encryption, and passes the traffic safely to Open WebUI internally.
- UFW (Firewall): It locks down the server so hackers can't try to access the backend services directly. Only web traffic and your secure terminal access (SSH) are allowed in.
Phase 1: Set Up and Secure Your VPS
- Log in to your Bluehost Portal.
- In the left-hand menu, click the Hosting tab.
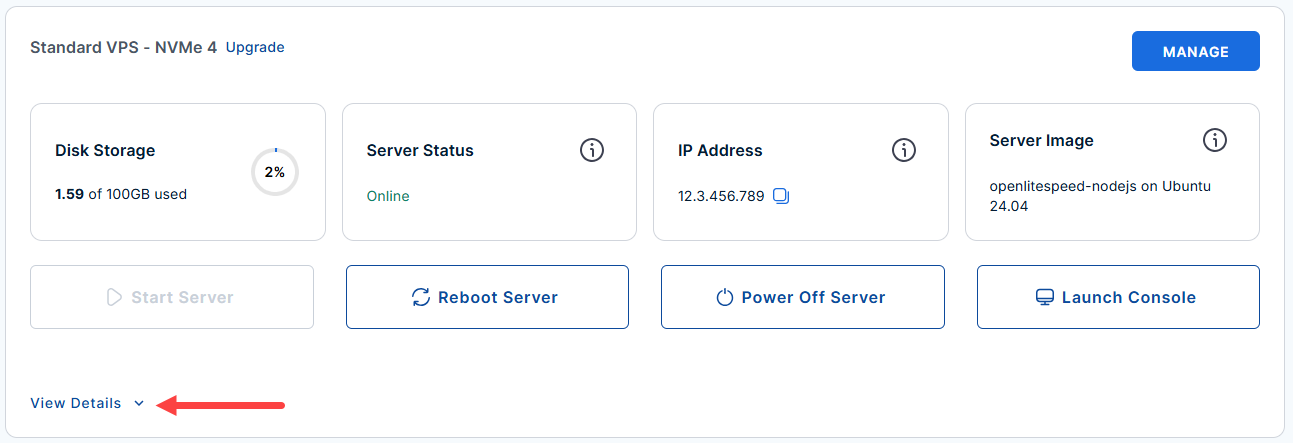
- Look for the server you want to manage then click the View Details to see more options.
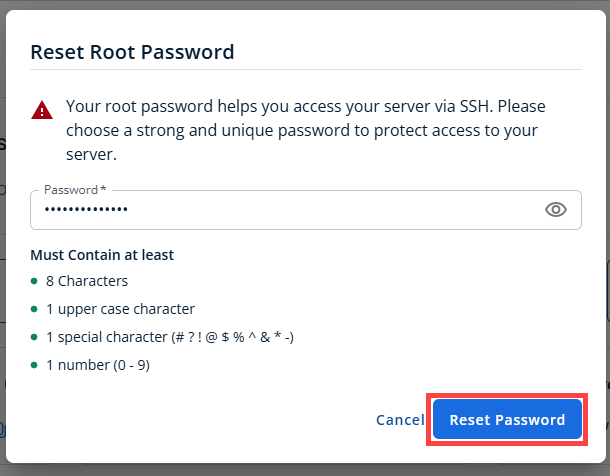
- Click the Reset Password.
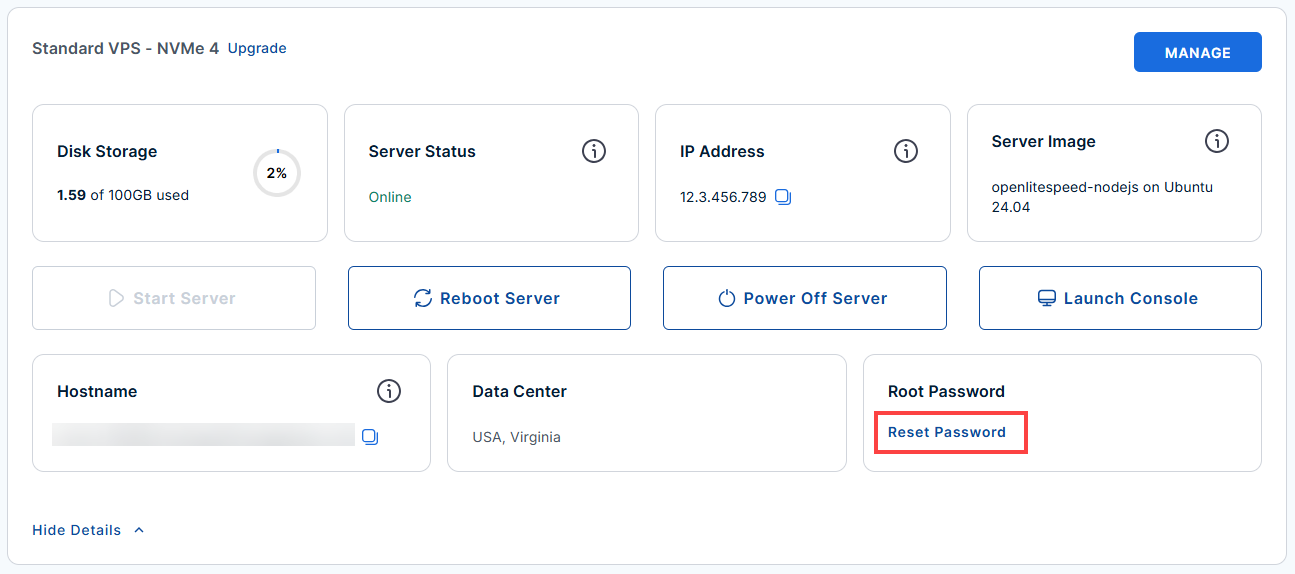
- In the pop-up window, type your new root password, then click Reset Password again to confirm and save the changes.
- Connect to your VPS via SSH.
Open your computer's terminal (or an SSH client like PuTTY) and run the following command to log into your server as the administrator, using your server's public IP address:
Follow the prompts and enter the new root password you created in the step above.ssh root@your_server_ip - If you ever need to quickly review the system's deployment notes directly inside your server terminal, you can print out the original README file by running:
cat /root/README.md
Phase 2: Access and Configure Open WebUI
- Find your server's public IP address (your server provider will show it).
- Open your web browser and go to https://<your-server-ip>.
(Example:http://12.3.456.789)Note on Security: Because it takes a moment to set up certificates, your browser might give you a "Your connection is not private" warning. If it does, click Advanced -> Proceed to IP (unsafe). This is normal for a brand-new server setup using self-signed certificates. - Click Get Started on the landing page.
Note: The very first person to create an account on this website gets full admin control over the system.

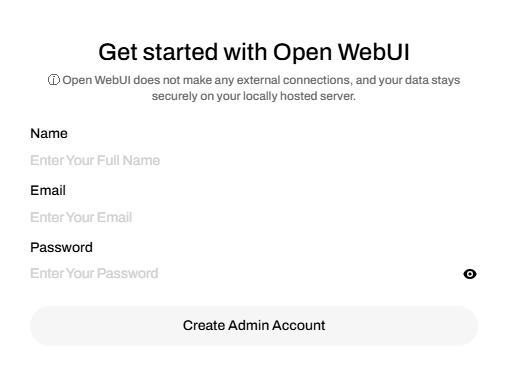
- You will be prompted to create an account. Enter the required information to complete the sign-up process.
- After creating your account, you will be redirected to your dashboard.
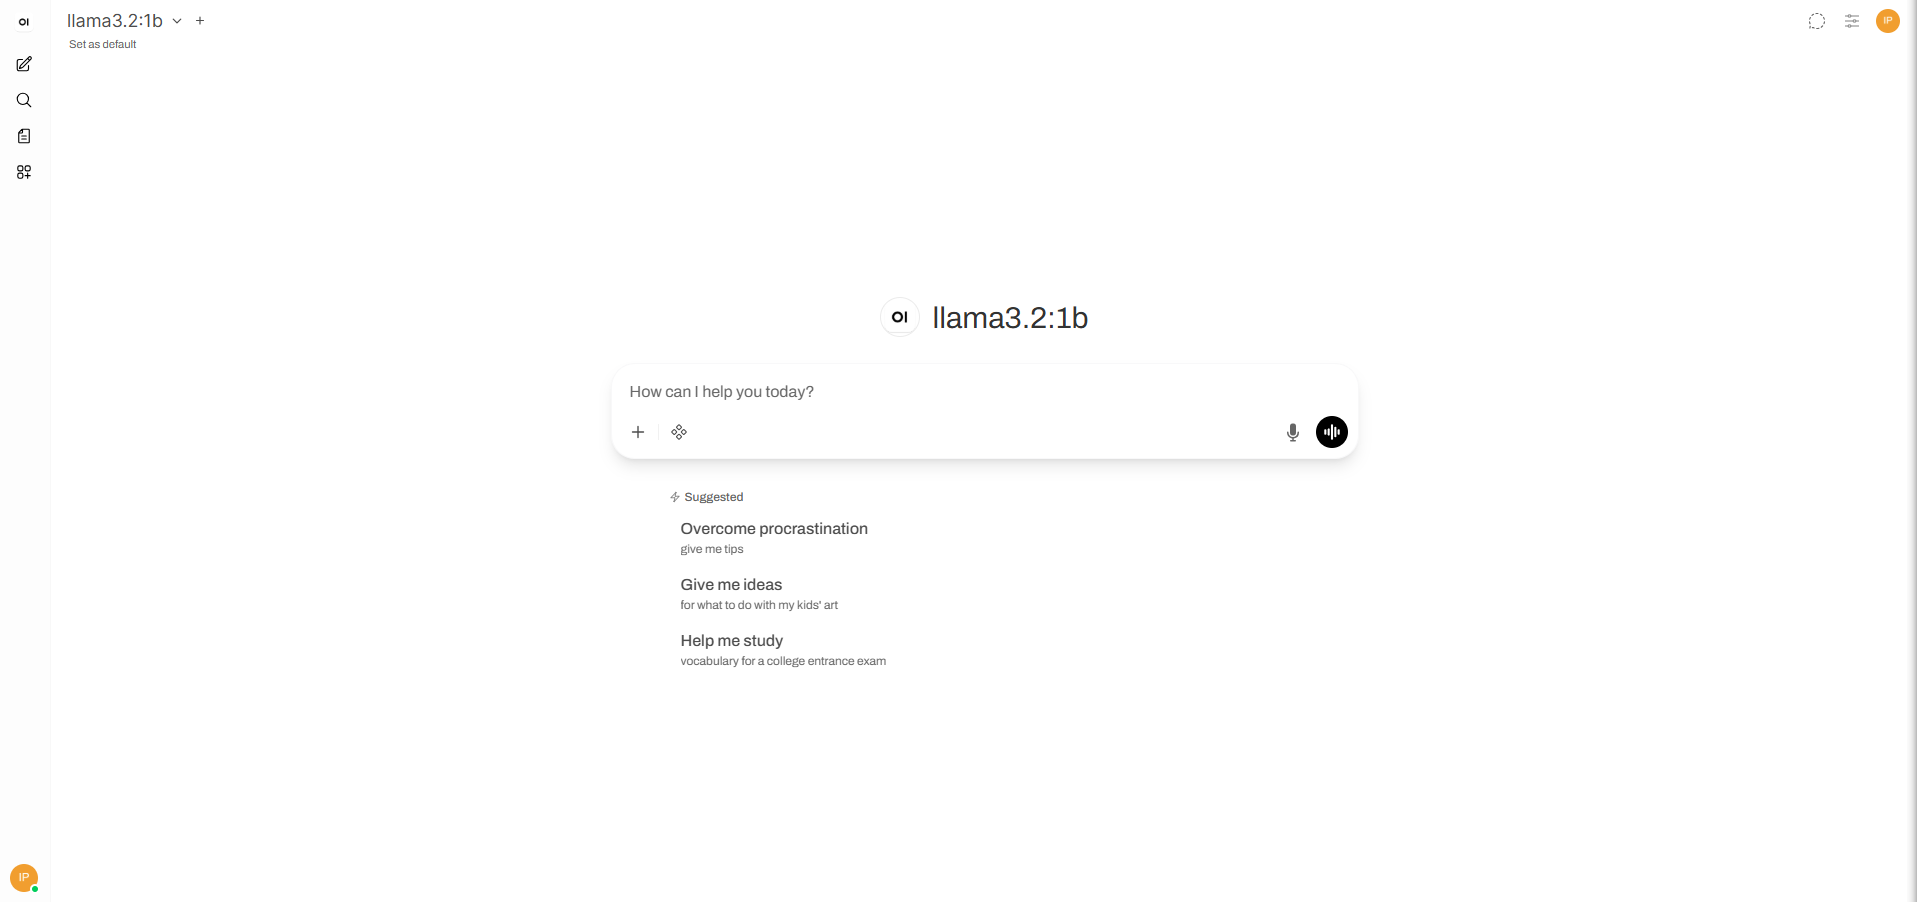
Choose Your AI Brains
By default, you can chat with the built-in llama3.2:1 b model. However, if you want to use incredibly powerful models like Claude (Anthropic), ChatGPT (OpenAI), or OpenRouter, follow the instructions in Step 3 of the README:
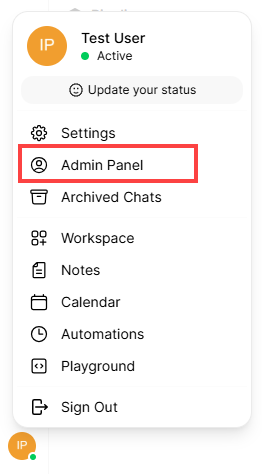
- On the website, click the profile in the lower-left corner, then click Admin Panel.
- Next, click Settings → Connections → OpenAI API.
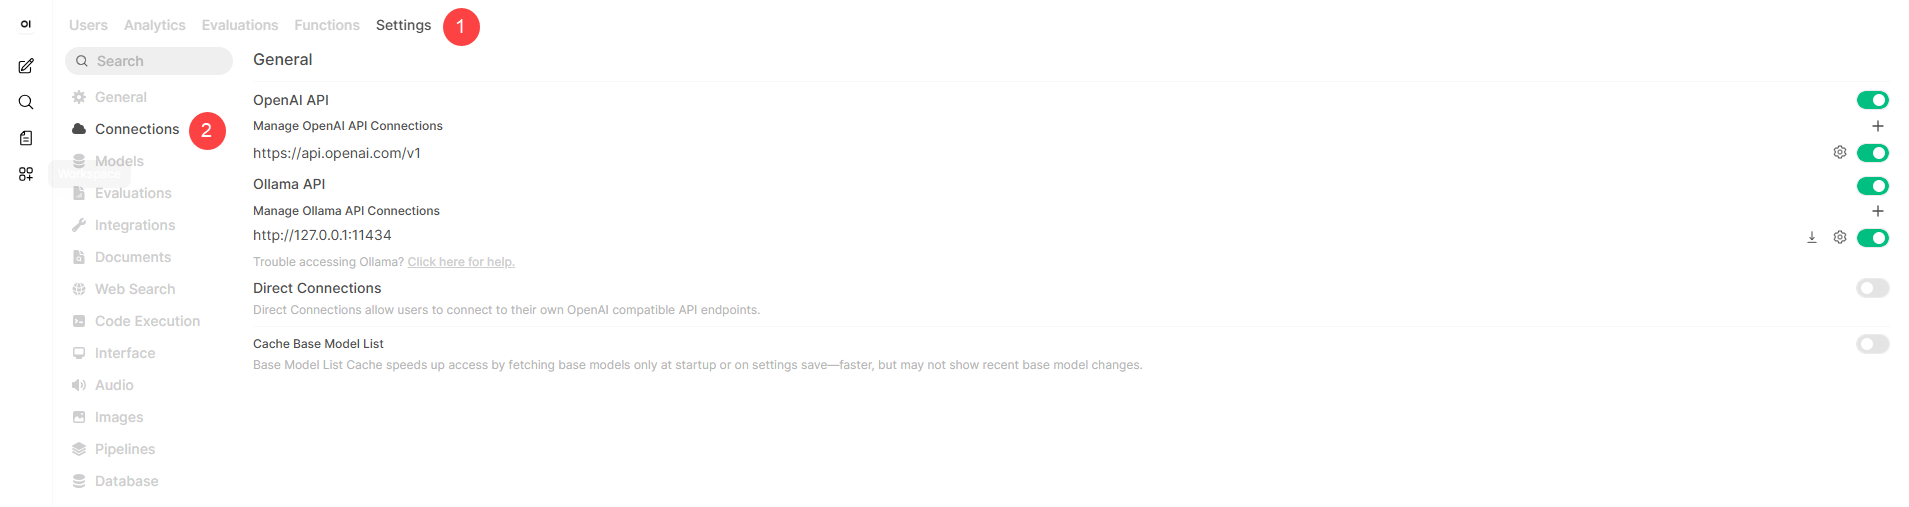
- Enter your API Base URL and your personal secret API Key from your provider.
Create a developer account with your choice of AI provider to get your credentials:
- OpenRouter: OpenRouter acts as a single gateway. One account gives you access to almost every model in existence (Anthropic Claude, OpenAI ChatGPT, Google Gemini, DeepSeek).
- Access,
openrouter.ai, then Sign up - Click Create Key, name it (eg, "Open WebUI VPS"), and click Create.
- Copy the key immediately. You will not be shown it again. It looks like:sk-or-v1-xxxx...
- Your Base URL:
https://openrouter.ai/api/v1
- Access,
- OpenAI:
- Go to
platform.openai.com(the developer platform) and sign up. - In the left-hand sidebar, click API Keys.
- Click Create new secret key, name it, and copy it immediately. It looks like: sk-proj-xxxx...
- Your Base URL:
https://api.openai.com/v1
- Go to
- OpenRouter: OpenRouter acts as a single gateway. One account gives you access to almost every model in existence (Anthropic Claude, OpenAI ChatGPT, Google Gemini, DeepSeek).
- Save it, and those models will now appear in your drop-down chat menu.
Useful Commands (If things go wrong)
The README lists several commands you can run directly in your server terminal (root@server-12345:~# ) to see what's happening under the hood:
- Check if the chat app is actively running:
systemctl status open-webui - If the website freezes or you change a backend setting and want to force a refresh:
systemctl restart open-webui - If you see an error on the screen and want to read the last 100 lines of system logs to troubleshoot:
journalctl -u open-webui -n 100
Additional Information and Example Documentation Output
You can run cat /root/README.md to see more information and useful commands:
Example Output:
root@server-123456:~# cat /root/README.md
# Open WebUI

## Description

Open WebUI is a self-hosted, feature-rich web interface for interacting with large language models.

It supports OpenAI-compatible APIs, Ollama, and a wide range of LLM providers, giving you full control over your AI chat experience without sending data to third-party services.

This image ships Open WebUI on Ubuntu 24.04, served via Nginx with HTTPS support. On first boot, a secret key is generated and all services start automatically.


## Services

| Service   | Port    | Purpose                                        |
|-----------|---------|------------------------------------------------|
| Open WebUI| 8080    | Open WebUI application (internal only)         |
| Ollama    | 11434   | LLM inference backend (internal only)          |
| Nginx     | 80, 443 | TLS termination and reverse proxy to port 8080 |
| OpenSSH   | 22      | Remote access                                  |

Ports are protected using UFW. Port 8080 is not exposed externally.


## How-to-use

### 1. Access Open WebUI

Once the server has booted, open your browser and navigate to:

```
https://
```

### 2. Create your admin account

The first user to sign up automatically becomes the admin. Fill in your
name, email, and password on the sign-up page to create your account.

### 3. Connect an LLM backend

Open WebUI supports any OpenAI-compatible API. Go to:

```
Admin Area -> Settings -> Connections -> OpenAI API
```

Enter your API key and base URL for your chosen provider:

```
# OpenRouter
API Base URL : https://openrouter.ai/api/v1
API Key      : sk-or-...

# Together AI
API Base URL : https://api.together.xyz/v1
API Key      : ...

# Anthropic (via compatible proxy)
API Base URL : https://api.anthropic.com/v1
API Key      : sk-ant-...
```

### 4. Useful commands

```bash
systemctl status open-webui            # Open WebUI service status
systemctl status nginx                 # Nginx status
journalctl -u open-webui -n 100        # Recent Open WebUI logs
tail -f /var/log/open-webui/webui.log  # Live log stream
systemctl restart open-webui           # Restart Open WebUI
```

### 4. SSL / HTTPS certificate behavior

On first boot, a TLS certificate is automatically provisioned:

- A Let's Encrypt certificate is requested for the server's public IP.
- If Let's Encrypt is unavailable, a self-signed certificate is generated
  as a fallback.

Nginx terminates TLS on port 443 and proxies traffic to Open WebUI on
port 8080. The X-Forwarded-Proto: https header signals HTTPS to Open WebUI.

To manually request a Let's Encrypt certificate after deployment:

```bash
/opt/certbot/bin/certbot certonly --webroot --webroot-path /var/www/html   -m [email protected] --agree-tos --non-interactive --ip-address

nginx -t && systemctl reload nginx
```


## Minimum Resources

| Resource | Minimum     | Recommended |
|----------|-------------|-------------|
| CPU      | 2 vCPUs     | 4 vCPUs     |
| RAM      | 2 GB        | 4 GB        |
| Disk     | 20 GB       | 40 GB       |

> The bundled **llama3.2:1b** model (~1.3 GB) can run on 2 GB RAM.
> To run larger models (7B+) add more RAM and disk accordingly.


## Image contents

This image installs and configures:

- Open WebUI (latest) installed at /opt/open-webui
- Ollama installed with **llama3.2:1b** model pre-pulled (~1.3 GB)
- Python 3 virtual environment at /opt/open-webui
- Nginx as a reverse proxy with HTTP and HTTPS support
- UFW firewall with ports 22, 80, and 443 open
- Log rotation at /etc/logrotate.d/openwebui
- This README at /root/README.md


## Security hardening

| Hardening       | Detail                                             |
|-----------------|----------------------------------------------------|
| UFW firewall    | Only ports 22, 80, 443 open. Default deny incoming |
| SSH             | Password authentication disabled                   |
| Open WebUI      | Bound to 127.0.0.1 only, not exposed externally    |
| Secret key      | Generated at first boot via openssl rand           |
| Credentials     | Stored in /root/.app_passwords (mode 0600)         |


## Configuration files reference

| File                                           | Purpose                          |
|------------------------------------------------|----------------------------------|
| /etc/systemd/system/open-webui.service         | Open WebUI systemd service       |
| /etc/default/open-webui                        | Open WebUI environment config    |
| /etc/nginx/sites-available/openwebui           | Nginx site config                |
| /root/.app_passwords                           | Generated credentials            |
| /var/log/open-webui/webui.log                  | Open WebUI application log       |
| /etc/logrotate.d/openwebui                     | Log rotation config              |


## Links

- Manage: [https://{server_ip}](https://{server_ip})
- Documentation: [https://docs.openwebui.com](https://docs.openwebui.com)
- Open WebUI GitHub: [https://github.com/open-webui/open-webui](https://github.com/open-webui/open-webui)
Summary
Bluehost makes it simple to deploy an Open WebUI environment on a Self-Managed VPS. By using the Bluehost Portal, you can reimage your server, select the Open WebUI application template, and complete the installation in just a few steps. Once deployed, you can access your instance via SSH and open the web dashboard through your VPS IP address, allowing you to quickly start using and managing your AI-powered web interface.