How to Create, Remove, and Edit Files in File Manager
Learn the essentials of file management with our guide on using a file manager. You can easily create, delete, and edit files in the file manager with our help. We've also collated helpful, related articles at the end of this article for your additional resources.
Access File Manager
- Log in to your Bluehost Portal.
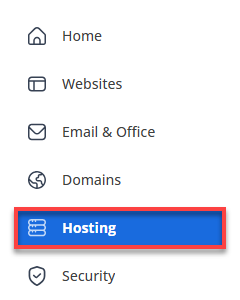
- Click Hosting in the left-hand menu.
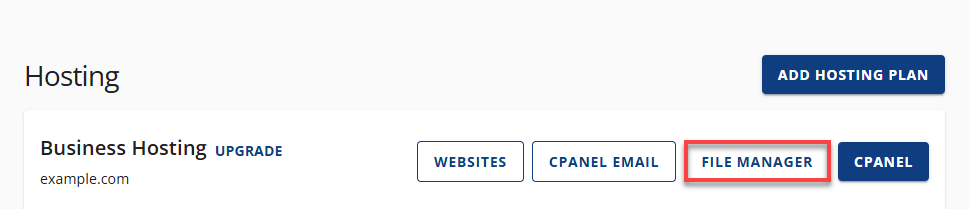
- In the hosting details page, click the FILE MANAGER button.
Create Files Using File Manager
Once you're logged in to your account and have accessed the file manager, follow the next steps:
Creating a File
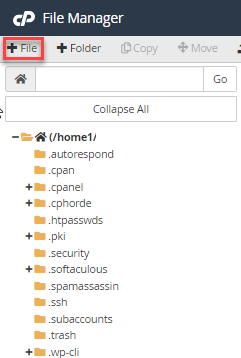
- Click the +File button at the top left of the page.
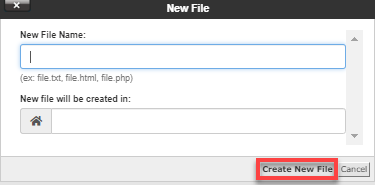
- In the pop-up box, enter the newly created file. Files will have a name and extension separated by a dot, and files without an extension will be rendered as a generic text document.
- Click the Create New File button.
Creating a Folder
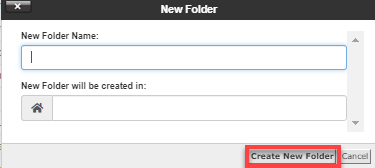
- Click the +Folder button at the top left of the page.

- In the pop-up box, enter the newly created folder name.
- Click the Create New Folder button.
Delete Files Using File Manager
- Click and highlight the file or folder you want to remove in the File Listing on your File Manager.
- From the Toolbar, click the Delete button.

Alternatively, highlight the file or folder and right-click your mouse to show a drop-down menu. Click Delete.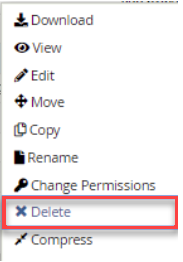
- On the pop-up window, an option says, Skip the trash and permanently delete the files.
If you leave the checkbox unchecked, you can view and restore your deleted files under View Trash in the Toolbar.
- Once the preferred selection is selected, click the Confirm button on the pop-up box to proceed.
Edit Files Using File Manager
- In the file manager, locate the file name you want to edit, then click and highlight the file.
- Click the Edit icon from the Toolbar, and a pop-up window will appear.
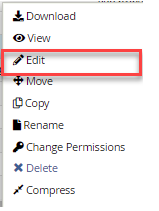
Alternatively, highlight the file or folder and right-click your mouse to show a drop-down menu. Click Edit, and then the same pop-up window will appear.
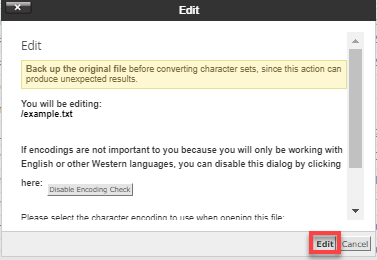
- Click the Edit button on the pop-up window to open the code editor.
- Once you finish editing your document, click Save Changes before closing the editor.
Related Articles
Summary
Our guide provides essential steps for managing files using a file manager, including accessing the file manager, and detailed instructions for creating, deleting, and editing files and folders. You'll also learn about the importance of basic navigation skills within the file manager and a structured approach to file management tasks. Additionally, we've included helpful resources for further exploration. You'll be guided through logging in, using specific buttons for file operations, and the significance of saving changes or using the trash option for potential file recovery, which ensures you have a comprehensive understanding of effective file management practices.
If you need further assistance, Bluehost Chat Support is available 24 hours a day, 7days a week while Bluehost Phone Support is available 7 days a week from 7 am-12 midnight EST.
- Chat Support - While on our website, you should see a CHAT bubble in the bottom right-hand corner of the page. Click anywhere on the bubble to begin a chat session.
- Phone Support -
- US: 888-401-4678
- International: +1 801-765-9400
You may also refer to our Knowledge Base articles to help answer common questions and guide you through various setup, configuration, and troubleshooting steps.