How to Upload Files Using File Manager
Uploading files is a key part of managing your website or online content. It allows you to update resources, share new information, and keep your hosting environment organized and functional. Whether you're adding images, documents, or code, knowing how to properly upload files ensures smooth operations and helps maintain the performance and accessibility of your site.
How to Upload Files
- Log in to your Bluehost Portal.
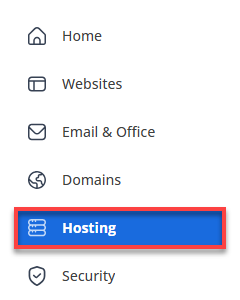
- Click Hosting in the left-hand menu.
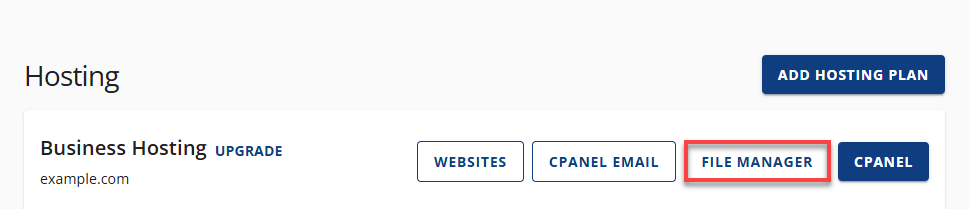
- In the hosting details page, click the File Manager button.
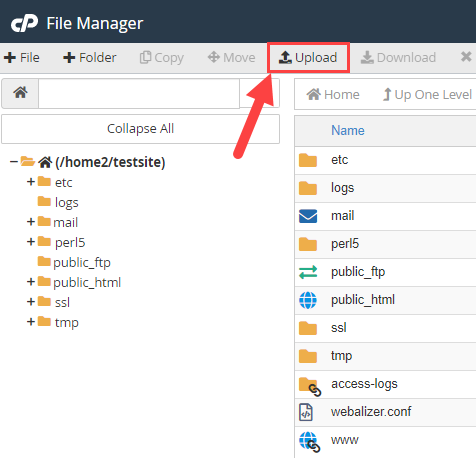
- In the File Manager, click Upload towards the top of the toolbar.
- Click the Select File.
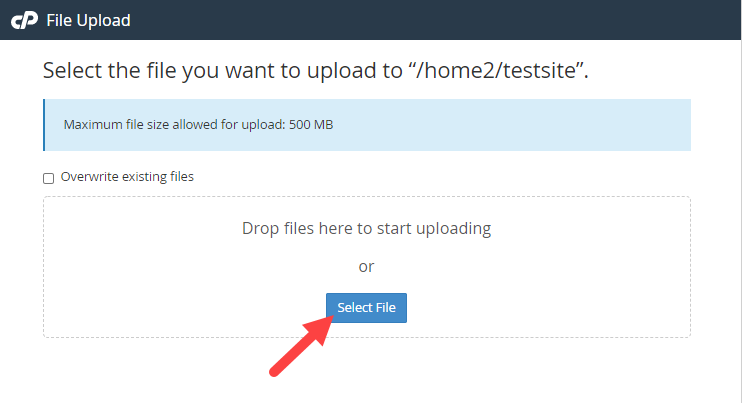
- Locate the file you wish to upload.
Summary
Uploading files is essential to keeping your website or hosting environment up to date. Whether you're adding new content, replacing outdated resources, or organizing your files, having the ability to upload efficiently ensures your site runs smoothly and reflects the latest changes. Staying on top of file uploads helps you maintain control, improve performance, and deliver a better experience to your users.
Related Articles
If you need further assistance, Bluehost Chat Support is available 24 hours a day, 7days a week while Bluehost Phone Support is available 7 days a week from 7 am-12 midnight EST.
- Chat Support - While on our website, you should see a CHAT bubble in the bottom right-hand corner of the page. Click anywhere on the bubble to begin a chat session.
- Phone Support -
- US: 888-401-4678
- International: +1 801-765-9400
You may also refer to our Knowledge Base articles to help answer common questions and guide you through various setup, configuration, and troubleshooting steps.