How to Disable SSLV3 on VPS and Dedicated Servers
Securing your server is more important than ever in today's digital world. One crucial step in strengthening your server's security is to disable SSLV3. This outdated protocol is vulnerable to attacks that compromise your data. In this article, we will walk you through how to disable SSLV3 on VPS and Dedicated servers, ensuring your server is more secure.
Why Disabling SSLV3 is Crucial for Security
Before we dive into the technical steps, it's essential to understand the risks associated with SSLV3 vulnerabilities. SSLV3 is an older protocol with known security flaws that make it susceptible to attacks like the POODLE attack. These vulnerabilities can allow attackers to intercept and manipulate encrypted communications, putting your data at risk. You significantly reduce the chances of such attacks by disabling SSLV3 and upgrading to more secure protocols, like TLS 1.2 or TLS 1.3.
Steps to Disable SSLV3 on VPS and Dedicated Servers
Open the Apache Settings
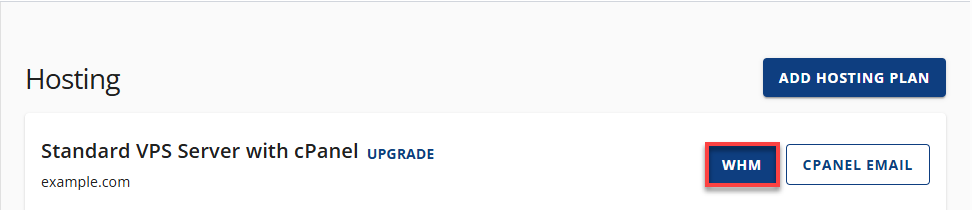
- Log in to your Bluehost Portal.
- Click Hosting in the left-hand menu.
- In the hosting details page, click the WHM button.
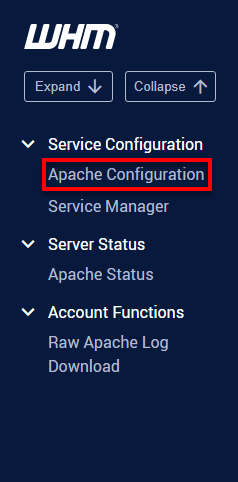
- In the search bar at the top left of WHM, type Apache, then click on Apache Configuration.
Change SSL Cipher and Protocol Settings
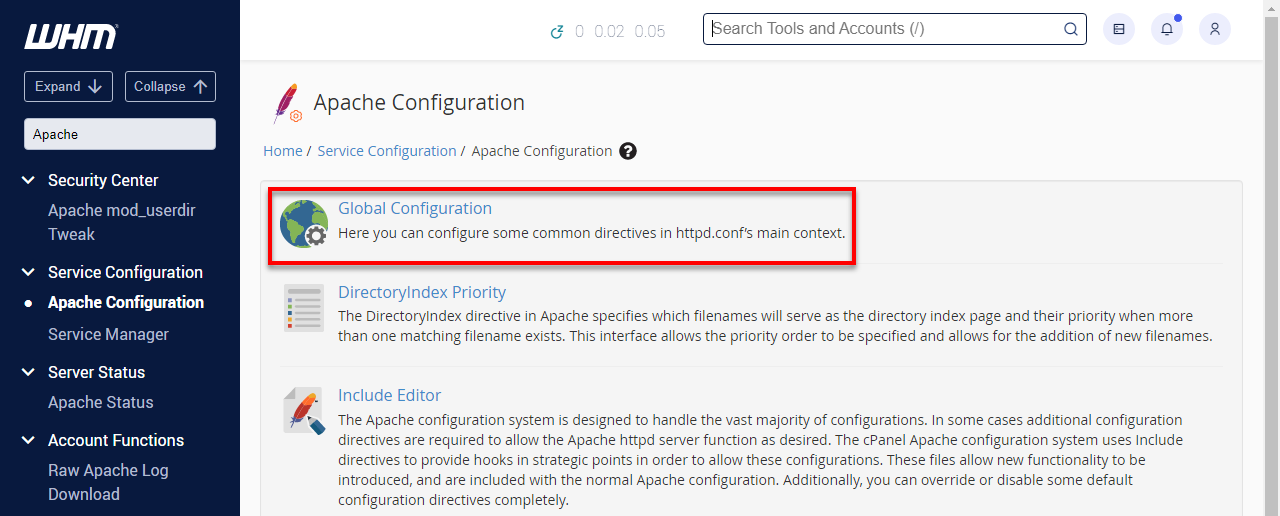
- On the Apache Configuration page, click on Global Configuration.
- Under SSL Cipher Suite, select the second option. Then, copy and paste the following configuration:
ALL:!ADH:RC4+RSA:+HIGH:+MEDIUM:-LOW:-SSLv2:-EXP:!kEDH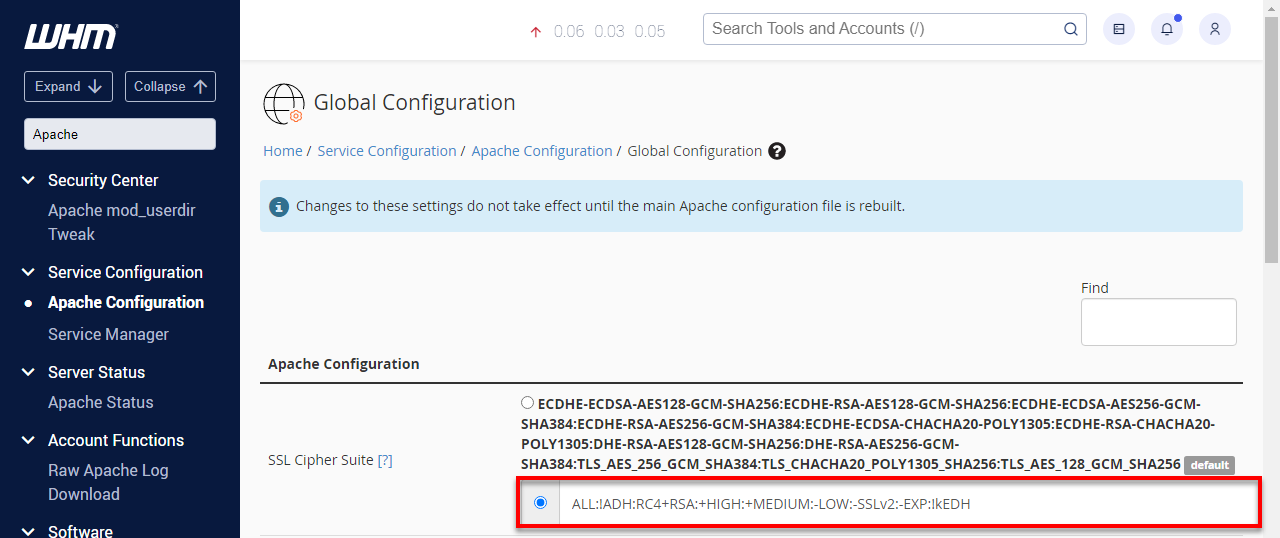
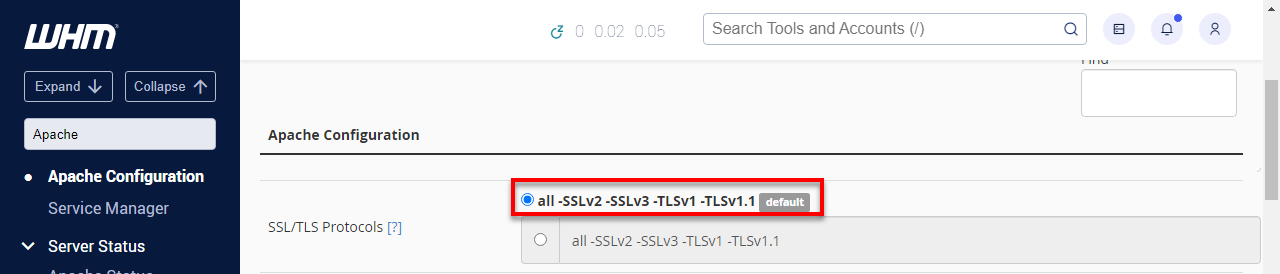
- Under SSL/TLS Protocols, ensure the default setting is selected: All -SSLv2 -SSLv3.
- Scroll to the bottom of the page and click Save.
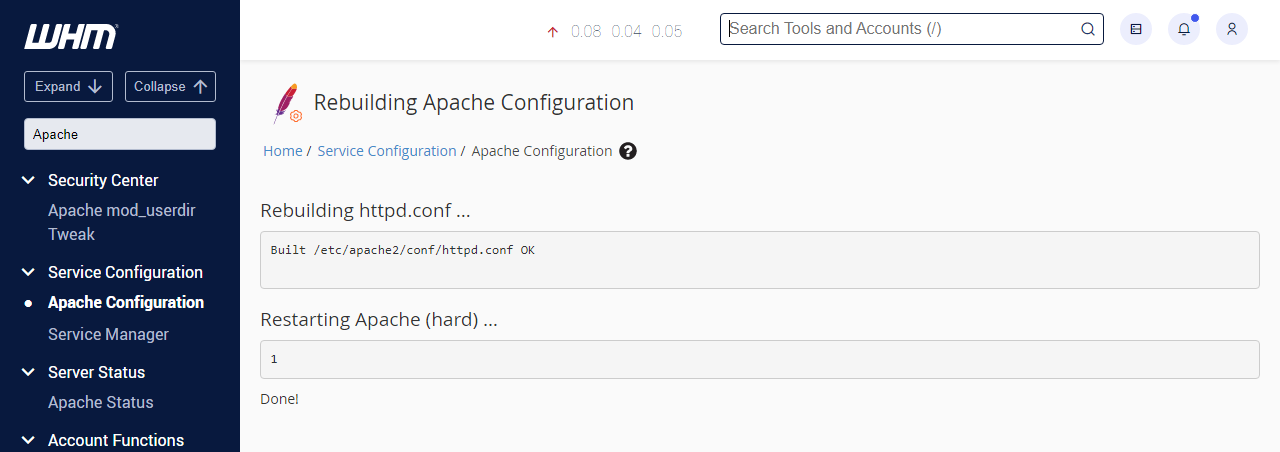
- Next, click Rebuild Configuration and Restart Apache to apply the changes.

Test Configuration
After disabling SSLV3, it's essential to test the configuration to ensure it has been successfully disabled. Run this command to check:
curl -IL –sslv3 https://domain.com
If SSLV3 has been successfully disabled, you will see an error message like this:
curl: (35) error:14094410:SSL routines:SSL3_READ_BYTES:sslV3 alert handshake failure
This indicates that SSLV3 is no longer supported on your server.
Options +FollowSymLinks
Summary
Disabling SSLV3 on your VPS or Dedicated server is essential in protecting your server from security vulnerabilities. Following the instructions mentioned above, you have updated Apache's settings on your server, which ensures it is highly cyber threat-proofed. Proactive security on a server would ensure you safely keep sensitive information. This could be done by disabling outdated protocols, such as SSLV3, and upgrading them to secure protocols like TLS 1.2 or TLS 1.3.
For more details on configuring SSL/TLS or other server hardening practices, check out our other articles on SSL/TLS security and VPS or Dedicated server security best practices.
If you need further assistance, Bluehost Chat Support is available 24 hours a day, 7days a week while Bluehost Phone Support is available 7 days a week from 7 am-12 midnight EST.
- Chat Support - While on our website, you should see a CHAT bubble in the bottom right-hand corner of the page. Click anywhere on the bubble to begin a chat session.
- Phone Support -
- US: 888-401-4678
- International: +1 801-765-9400
You may also refer to our Knowledge Base articles to help answer common questions and guide you through various setup, configuration, and troubleshooting steps.