Manually Migrate Your WordPress Website
WordPress migration involves transferring a site to a different hosting provider. Website owners do this to improve performance, security, and access to advanced features, thereby supporting the website's growth and overall efficiency.
This article guides you through the process of a manual WordPress website migration.
Step 1: Transfer Your Website Files
- Connect to your current hosting account, and use FTP (File Transfer Protocol).
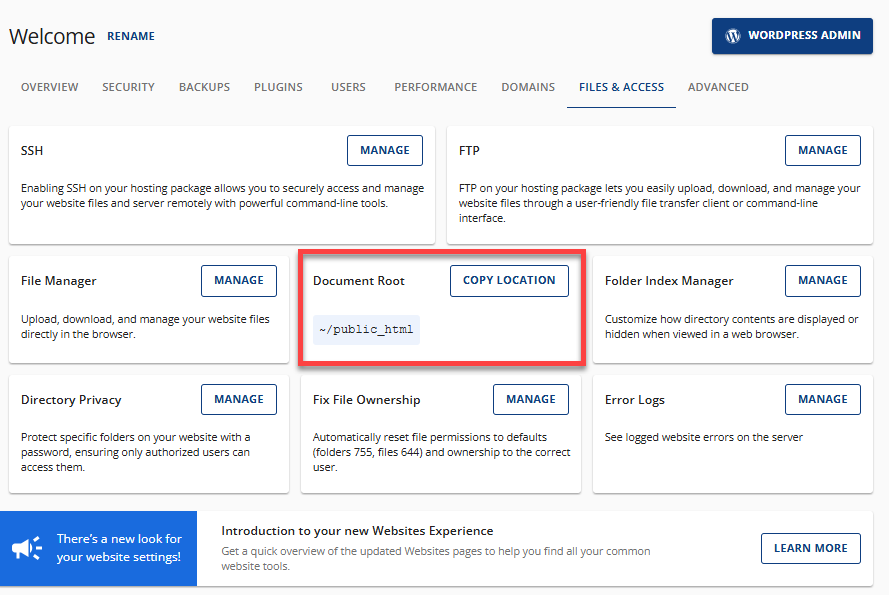
- Find the document root or site directory containing your WordPress files. This may be in your "public_html" or a subfolder.
- Use an FTP client, such as FileZilla, to transfer files from the server to your local machine.
- Once downloaded, upload the files to your new hosting account using FTP.
- To install WordPress, go to the public_html folder or a subfolder where you want to set it up, then upload the WordPress files from your computer to that location.
For further details regarding FTP, refer to this article: What is FTP? An Introduction to File Transfer Protocol.
Step 2: Export Your WordPress Database
You will need to export your WordPress site's database. If you need help in locating where to find your database, visit How to Find Your WordPress Database.
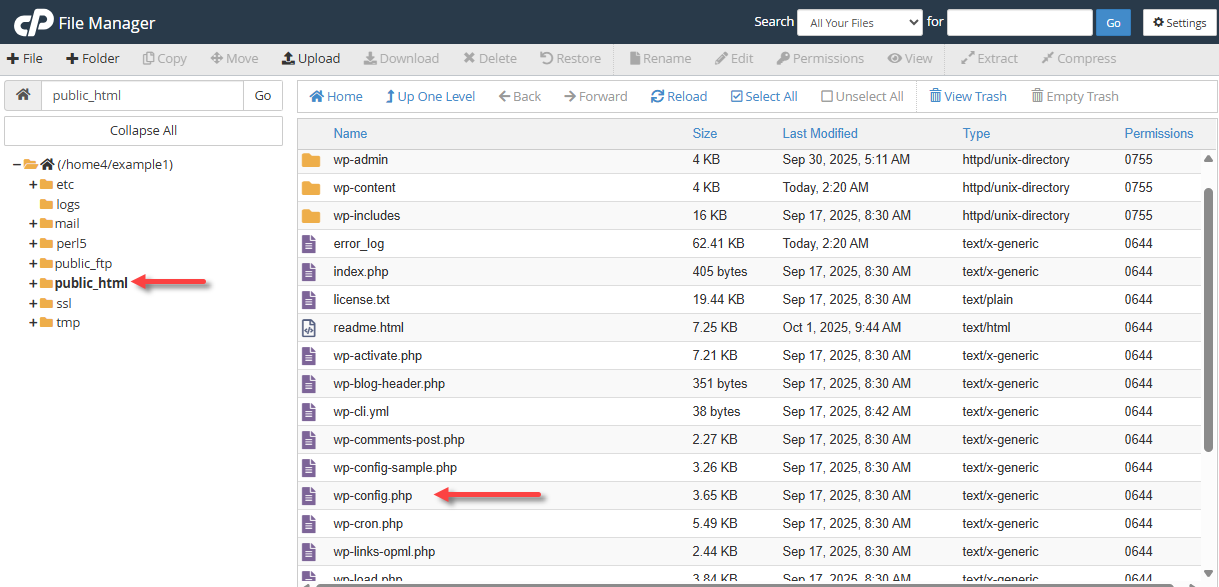
- Access the wp-config.php file on your current hosting account to find the database name to be exported.
- Your wp-config.php file will contain the following details:
- define('DB_NAME', 'example_database');
- define('DB_USER', 'example_user');
- define('DB_PASSWORD', 'example_password');
- define('DB_HOST', 'localhost')
The string of numbers and letters following the line "define('DB_NAME'," is the name of your WordPress database. Take note of this string of characters. For the example above, your database name is "example_database."
- To export your database, go to phpMyAdmin and download it as a .sql file. For detailed instructions, see the How to Import or Export a MySQL Database using phpMyAdmin article.
If you're unable to access phpMyAdmin, you can back up your database using a plugin.
Step 3: Create a New Database
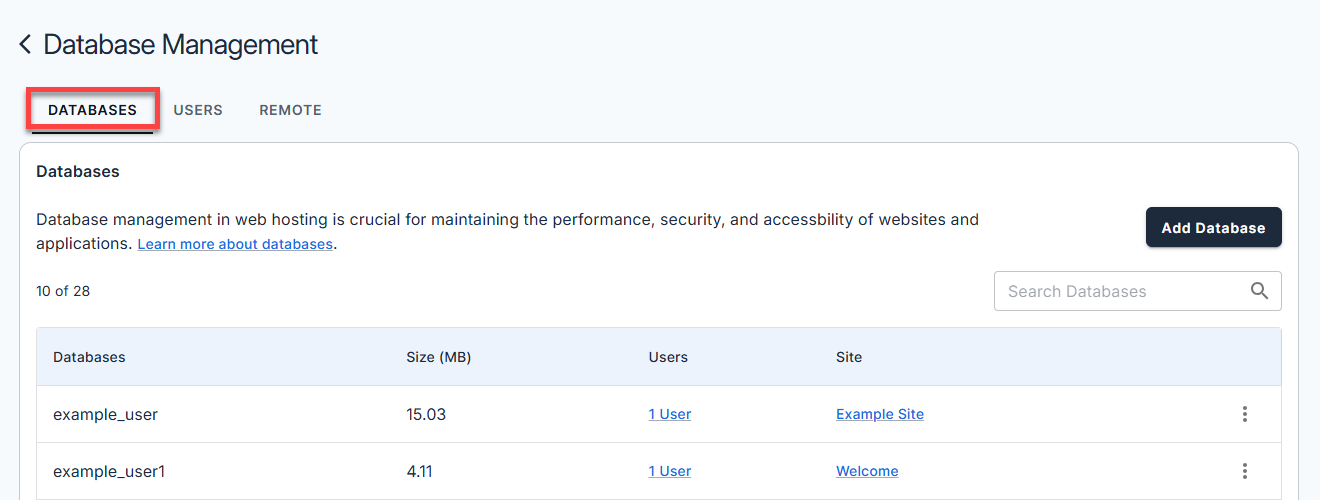
To set up your WordPress installation, you'll need to create a new database specifically for it. You can create and manage your databases in the Database Management panel of your Bluehost Portal.
Please check the How to Create and Manage MySQL Databases and Users article for clear instructions on how to create a new database through your Bluehost Portal.
Step 4: Import into New Database
Next, you need to import your database into your new WordPress site using phpMyAdmin. For more information, visit the How to Import or Export a MySQL Database using phpMyAdmin or How to Import and Export MySQL Database Using SSH articles.
- Navigate to phpMyAdmin. Along the top of the screen, click the Import tab.

- Click the Browse button to locate the file on your computer.

- Select the Go button to start the import process.
Step 5: Update Your WordPress Configuration File
To ensure that your WordPress installation is connected to the proper database, you need to update your wp-config.php file.
For a step-by-step guide, please see How to Access File Manager.
- Access the File Manager and locate the wp-config.php file.
- Enter your new database information, including the database name, user, and password.
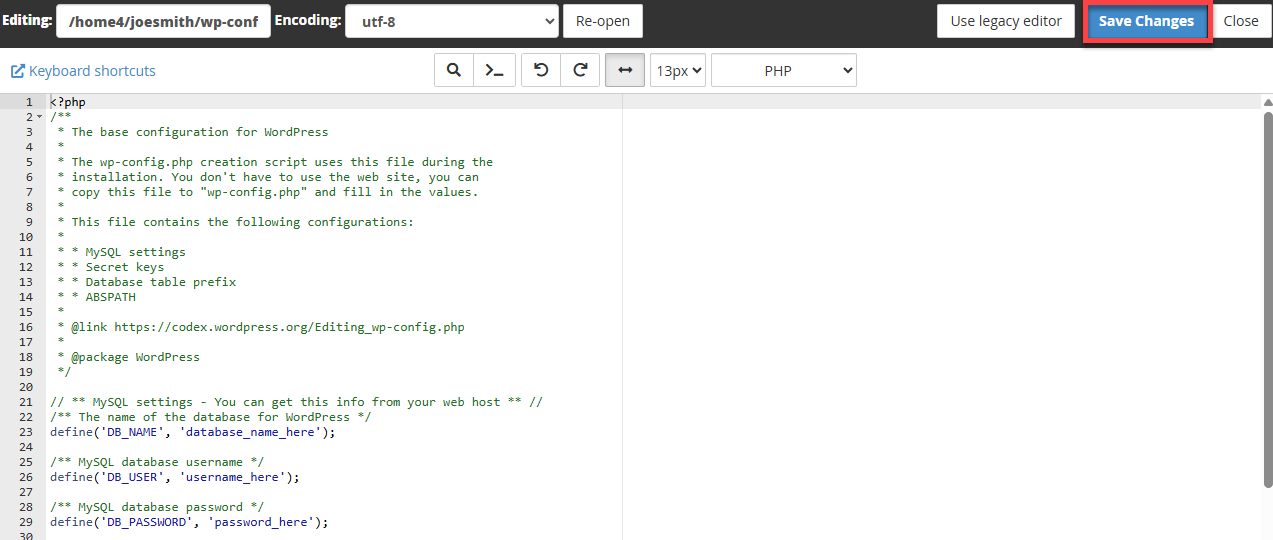
- Once done, click the Save Changes button.
Step 6: Fix Your Permalinks
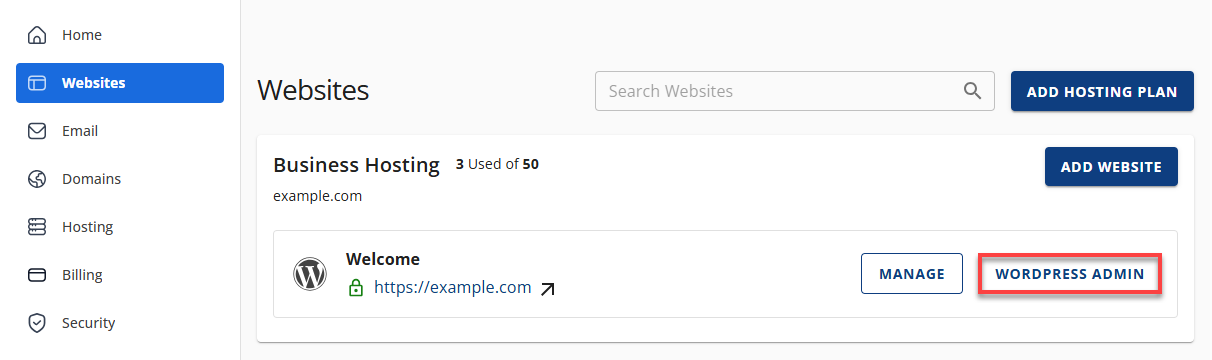
- Log in to your Bluehost Portal.
- In the left-hand menu, click Websites.
- Click the WordPress Admin button located next to the website you want to manage.
- In the WordPress dashboard, click Settings in the left menu, then select Permalinks.
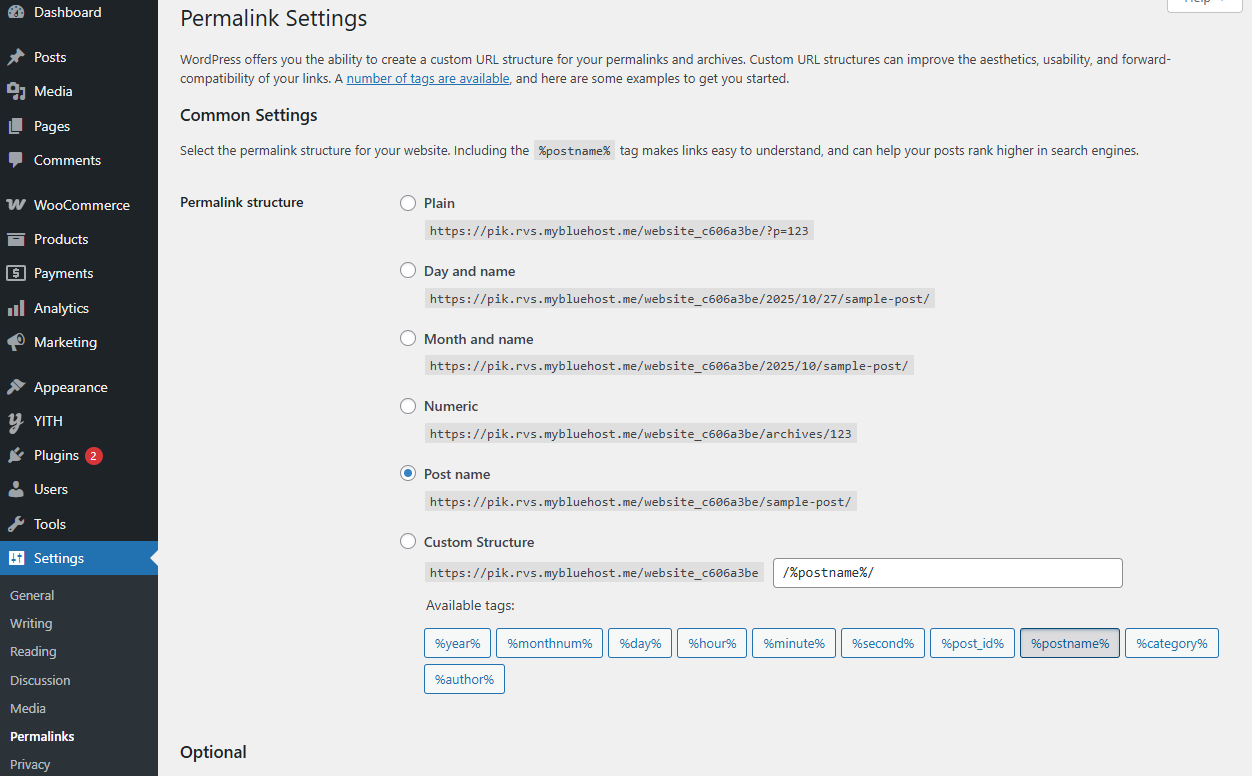
- You do not need to make any actual changes; just click on the Save Changes button.
Doing this will update all the pages and post URLs. If you have custom themes or plugins/widgets with old URLs, you must update them manually, as no plugins can modify them.
Step 7: View Your Site
Once you have completed these steps, check whether your website is functioning correctly and visually appealing.
Summary
Manual WordPress migration is the process of transferring your WordPress website to a new hosting provider without using automated tools. This covers several steps: moving website files using FTP, exporting and importing the WordPress database through phpMyAdmin, creating a new database, updating the wp-config.php file, and fixing permalinks. By following these steps, you can ensure that your site functions correctly on its new host. Bluehost also offers a WordPress Self-Service Migration tool for a more convenient alternative.
If you think manually migrating your WordPress website is a little too daunting for you right now, you can always create a new website using an easy WordPress Website Builder to simplify the job.
If you need further assistance, Bluehost Chat Support is available 24 hours a day, 7days a week while Bluehost Phone Support is available 7 days a week from 7 am-12 midnight EST.
- Chat Support - While on our website, you should see a CHAT bubble in the bottom right-hand corner of the page. Click anywhere on the bubble to begin a chat session.
- Phone Support -
- US: 888-401-4678
- International: +1 801-765-9400
You may also refer to our Knowledge Base articles to help answer common questions and guide you through various setup, configuration, and troubleshooting steps.