How to Purchase Bluehost Professional Email: Getting Started
Purchasing a Professional Email account is the first step to streamlining your business communication and presenting a more professional image. In this article, we'll walk you through how to purchase Professional Email, from selecting the right plan to completing your purchase. You'll learn how to manage your email effectively, log in to your Professional Email account, and quickly set up your emails. We'll also show you how to add more users, making it perfect for growing teams. With powerful tools like custom email addresses, scheduling, and read receipts, you'll have everything you need to organize and enhance your email communication.
Here is a video to guide you through purchasing Professional Email on the Bluehost website.
Purchasing Bluehost Professional Email
There are many ways to purchase Professional Email at Bluehost.
Via the Bluehost Website
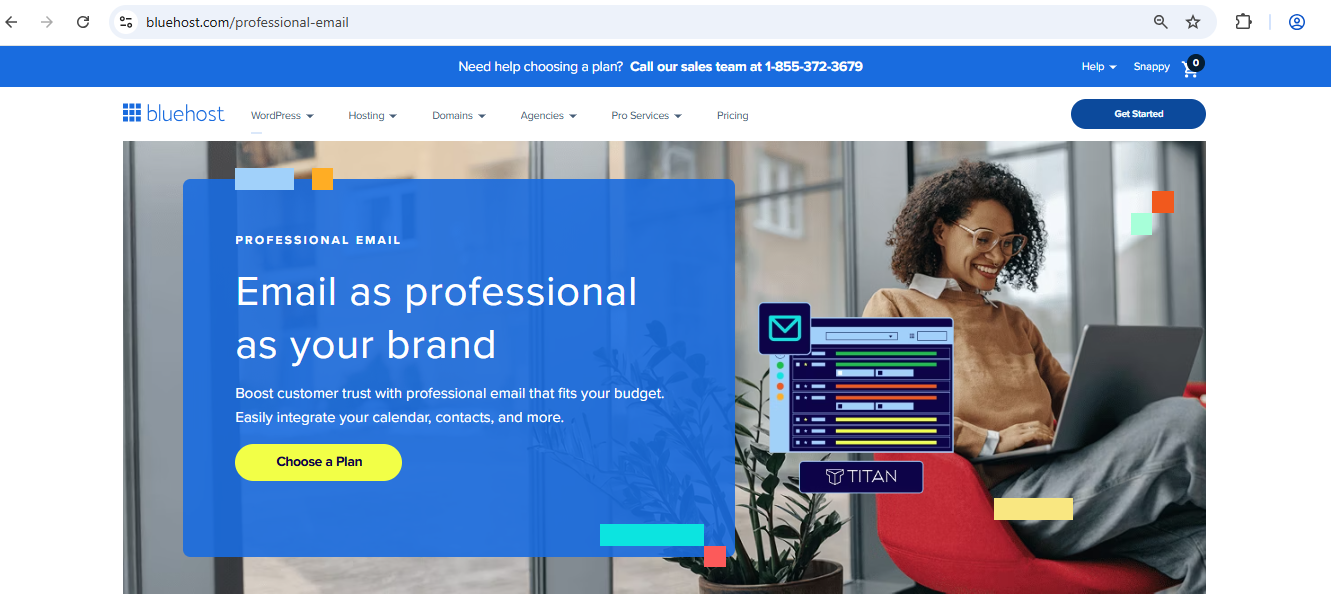
- In your browser, visit https://www.bluehost.com/.
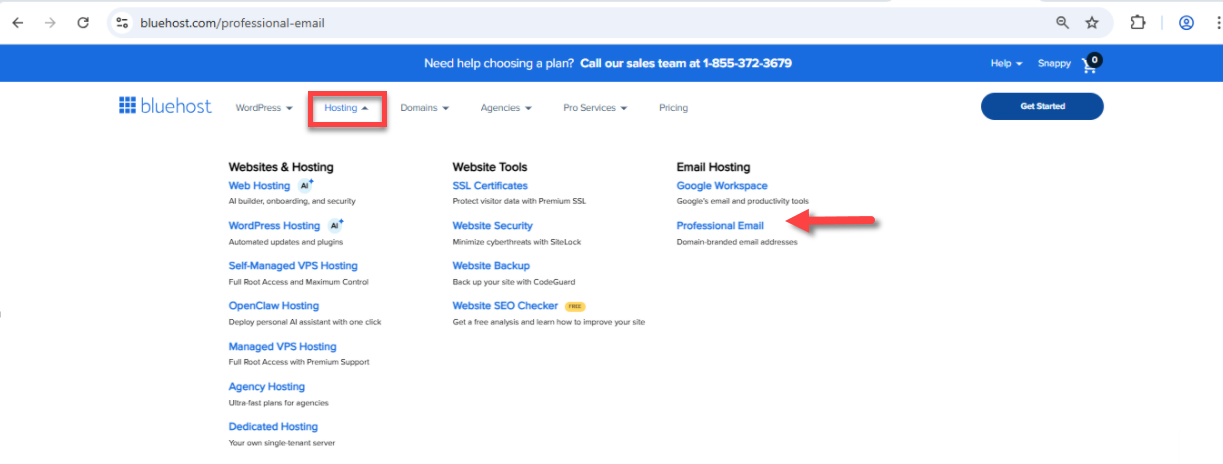
- Click For Business in the top menu, then click on Business Email.
You can also go directly to this webpage: https://www.bluehost.com/professional-email.
- Scroll down and select your preferred Professional Email plan.
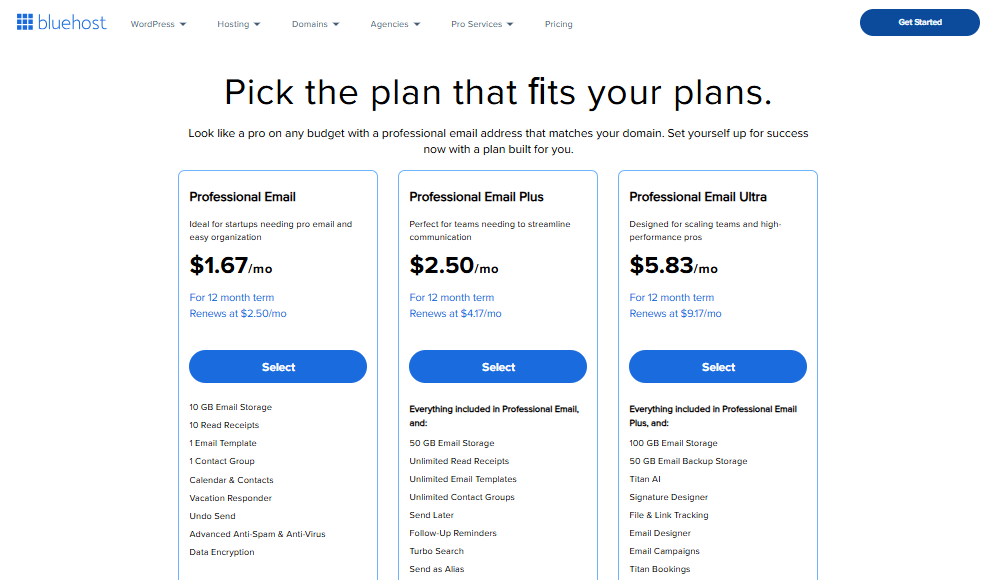
The prices shown in the image above may change in the future.
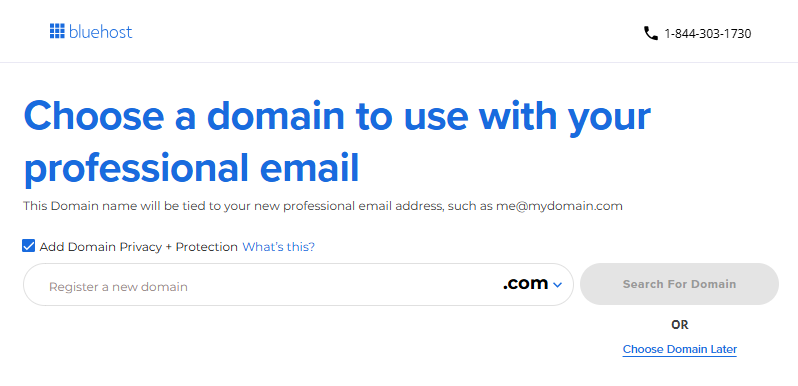
- Choose a domain you want to use for your Professional Email service. You can register a new domain or choose one later.
- On the Checkout page, new users can either sign up with an email address and password or link their account directly to their Google, Apple, or GitHub account.
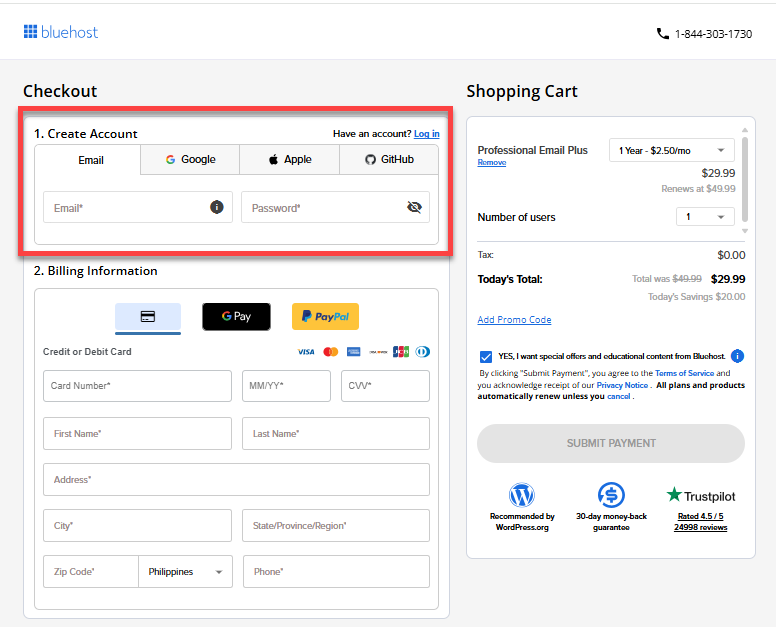
The prices shown in the image above may change in the future.
Select your payment method and then enter your payment details in the Billing Information section.
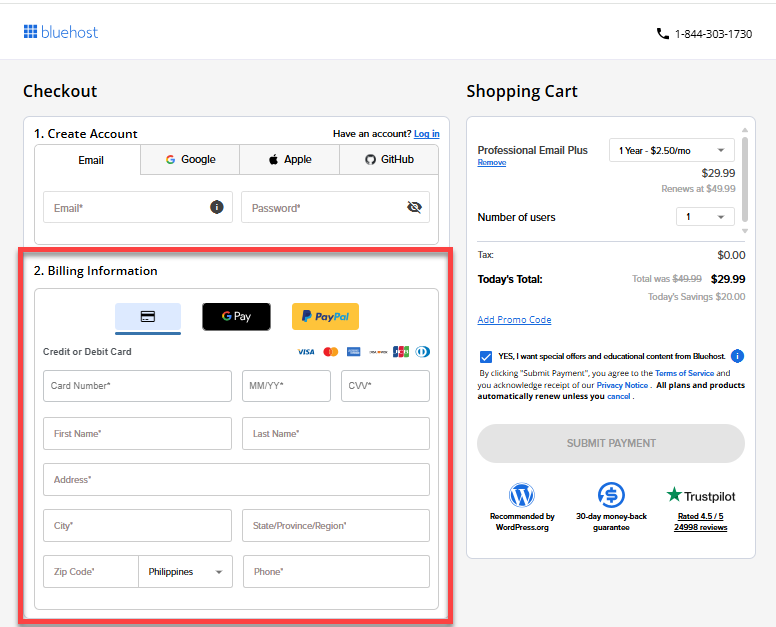
The prices shown in the image above may change in the future.
If you already have an account with us, please log in using your Bluehost credentials.
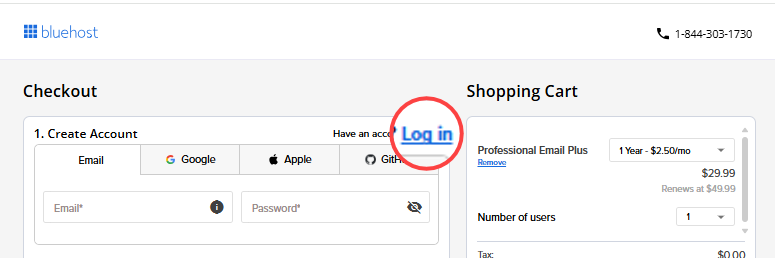
The prices shown in the image above may change in the future.
- In the Shopping Cart section on the right, select your preferred billing term (monthly or 1 year) from the dropdown menu.
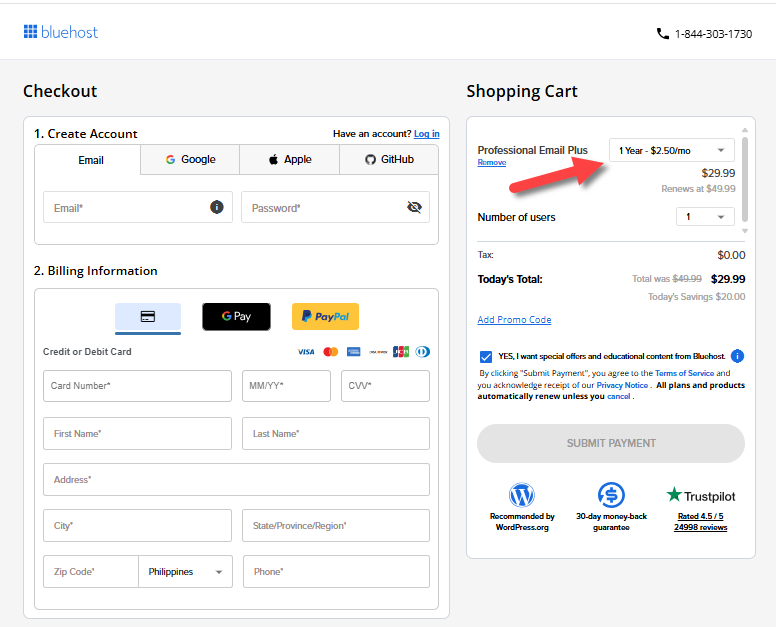
The prices shown in the image above may change in the future.
- Review the items in your Cart.
- Click the Submit Payment button to complete your payment.
Via the Bluehost Portal
Email Tab
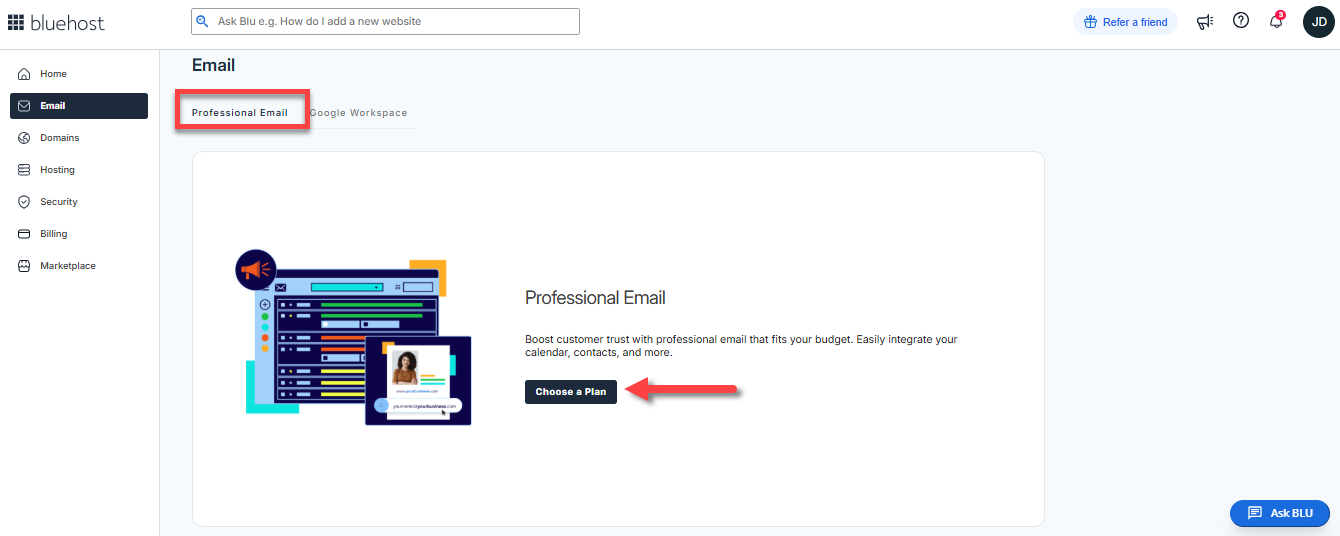
- Once logged into your Bluehost Portal, click Email in the left menu.
- Under the Professional Email tab, click Choose a Plan.
- A pop-up window will appear, displaying the available Professional Email plans. Select your preferred plan.
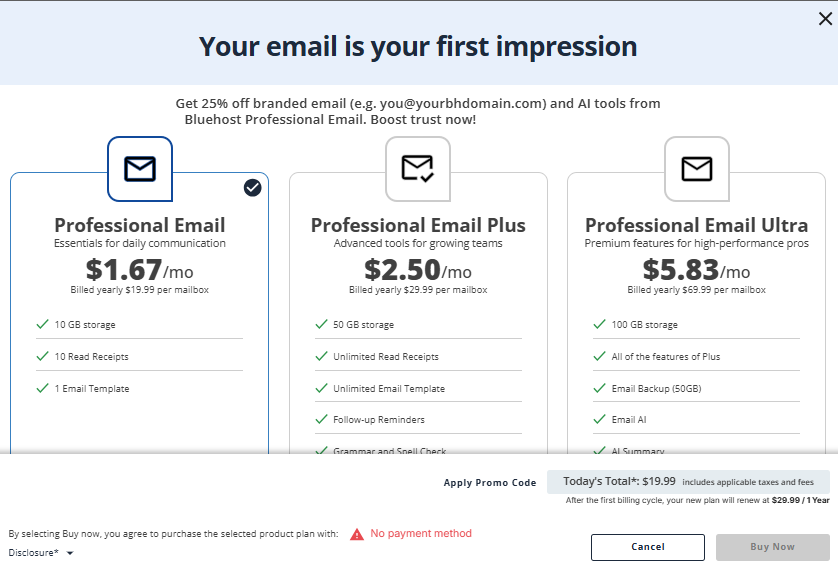
The prices shown in the image above may change in the future.
- Click the Buy Now button to complete your payment.
Marketplace
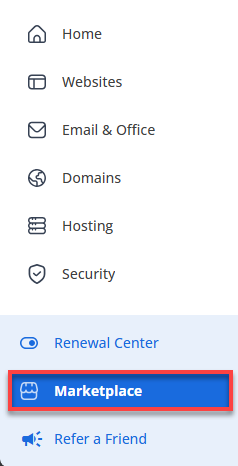
- Log in to your Bluehost Portal.
- Click Marketplace on the left-side menu.
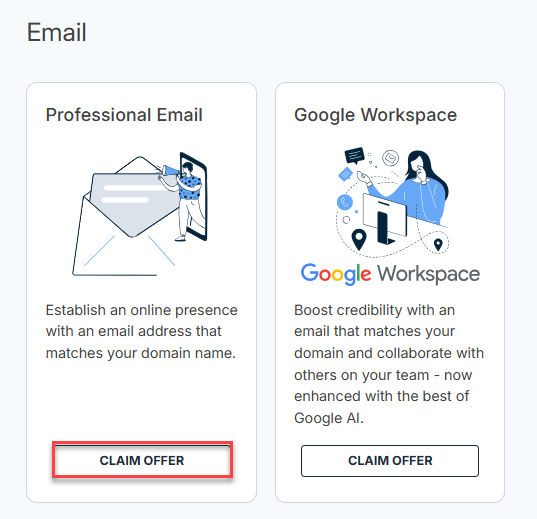
- Scroll down to the Email category.
- Click Claim Offer under the Professional Email card.
- A pop-up window will appear, displaying the available Professional Email plans. Select your preferred plan.
The prices shown in the image above may change in the future.
- Click the Buy Now button to complete your payment.
Managing Bluehost Professional Email
After processing the payment, you will find Professional Email under your Bluehost Portal's Email & Office tab.
Logging in to the Professional Email Dashboard
- Log in to your Bluehost Portal.
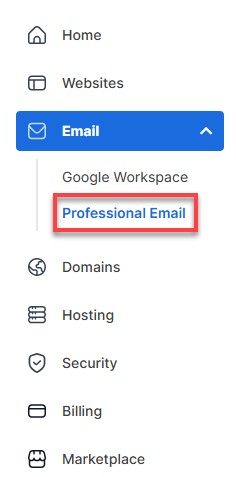
- From the left-hand navigation menu, click on the Email tab.
- Select Professional Email from the available options.
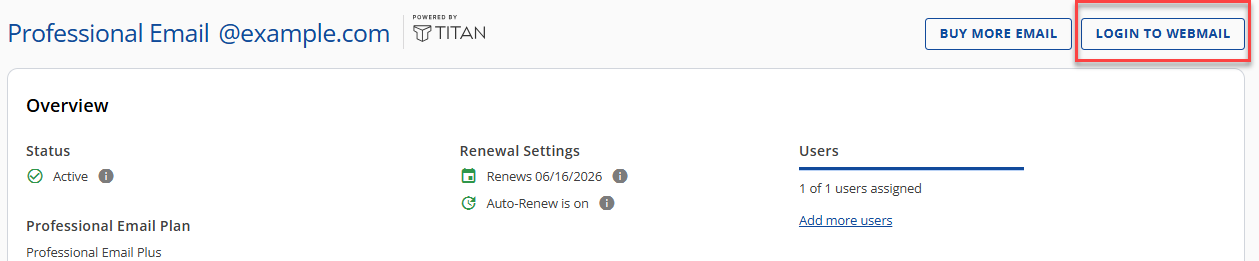
- You’ll be automatically redirected to the Email Management page, where you can manage your email settings and subscriptions.
- Under the Professional Email tab, click the Login to Webmail button.
- You will be redirected to the login page. Enter your email address and password.
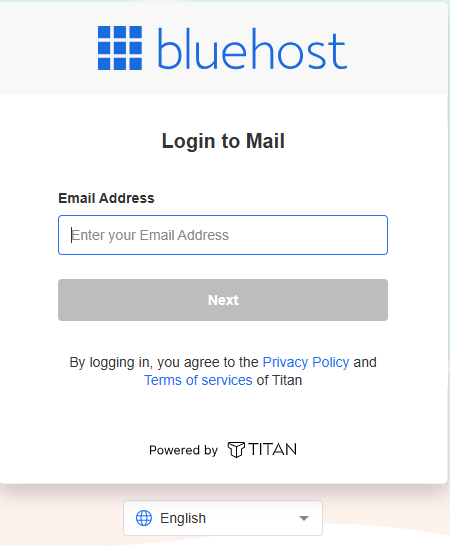
- Once logged in, you should be able to view your email dashboard.
Setting Up a Professional Email Account
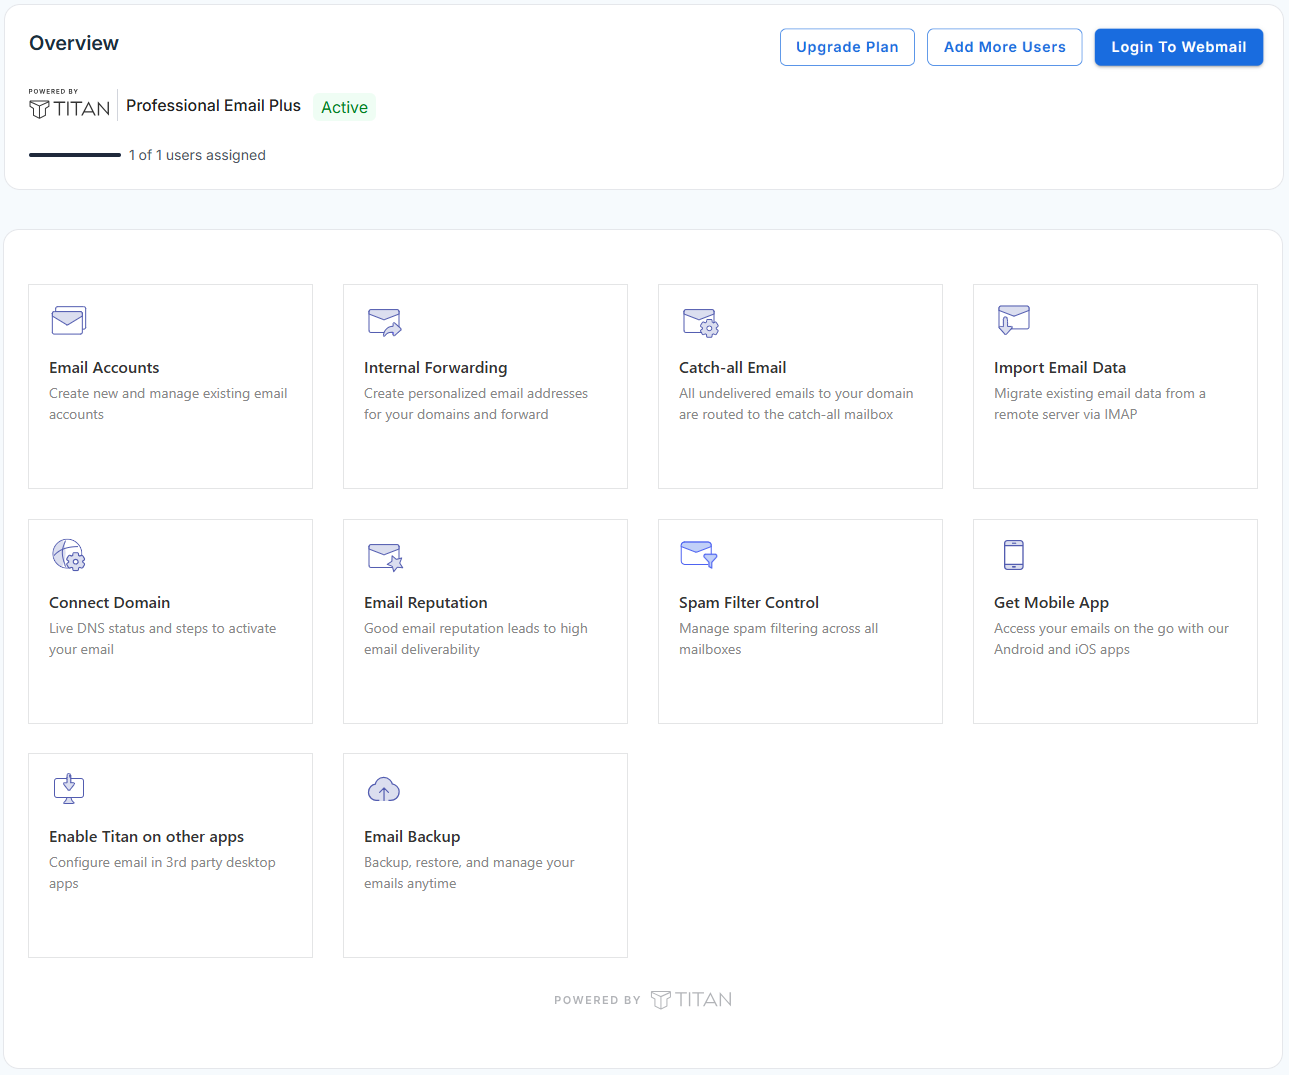
You can configure your Professional Email using the available management options.
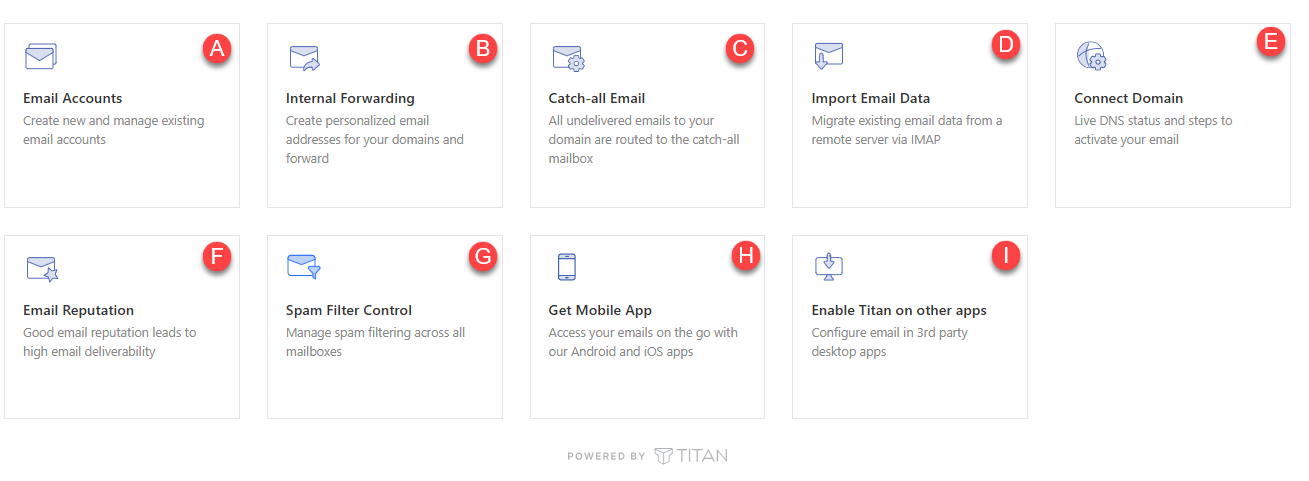
- Email Accounts - This section lets you view, create, and manage your email accounts.
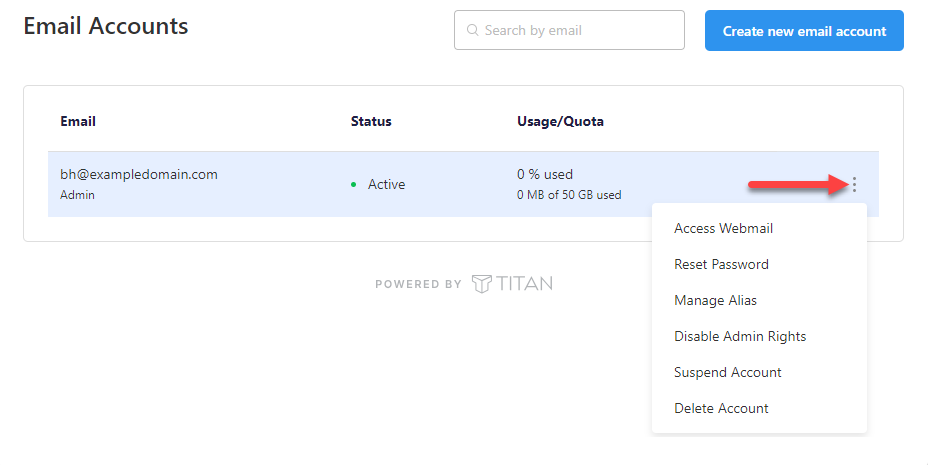
By clicking the three vertical dots icon next to your email account, you can:
- Access Webmail
- Reset Password
- Manage Alias
- Disable Admin Rights
- Suspend Account
- Delete Account
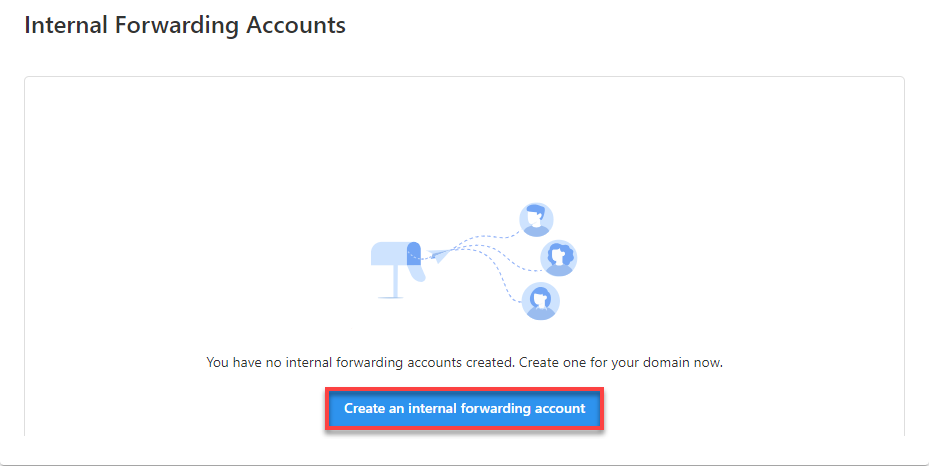
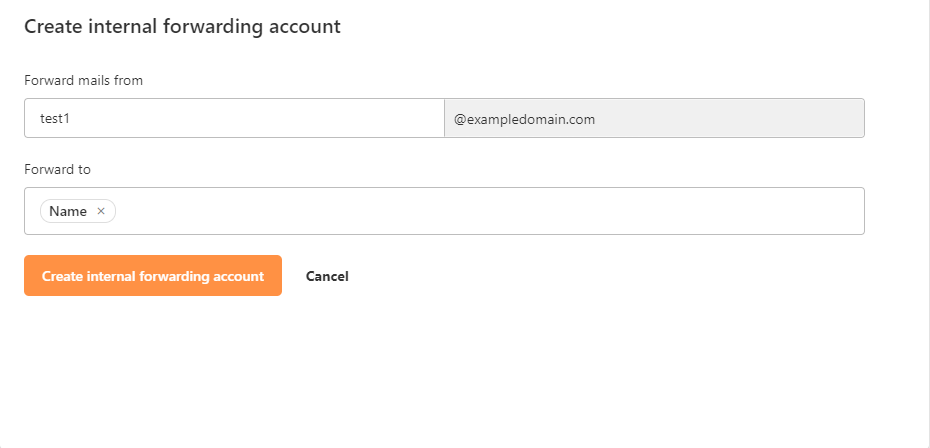
- Internal Forwarding - This section allows you to create personalized email addresses and forwarding accounts. Click on Create an internal forwarding account to get started.
Enter the from and to email addresses, then click Create internal forwarding account.
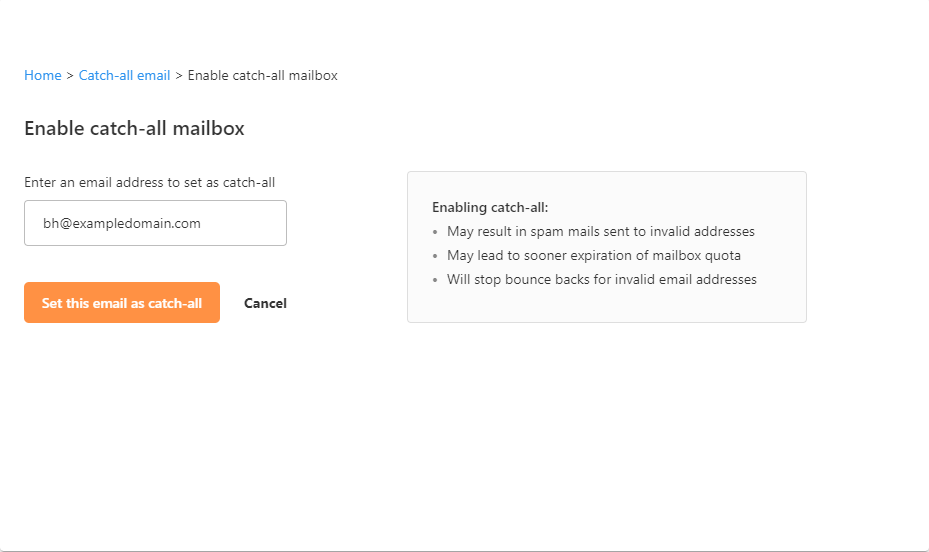
- Catch-all Email - You can set up your catch-all mailbox in this section. Click on Enable catch-all mailbox to begin.

Input the email address you want to use, then click Set this email as a catch-all.
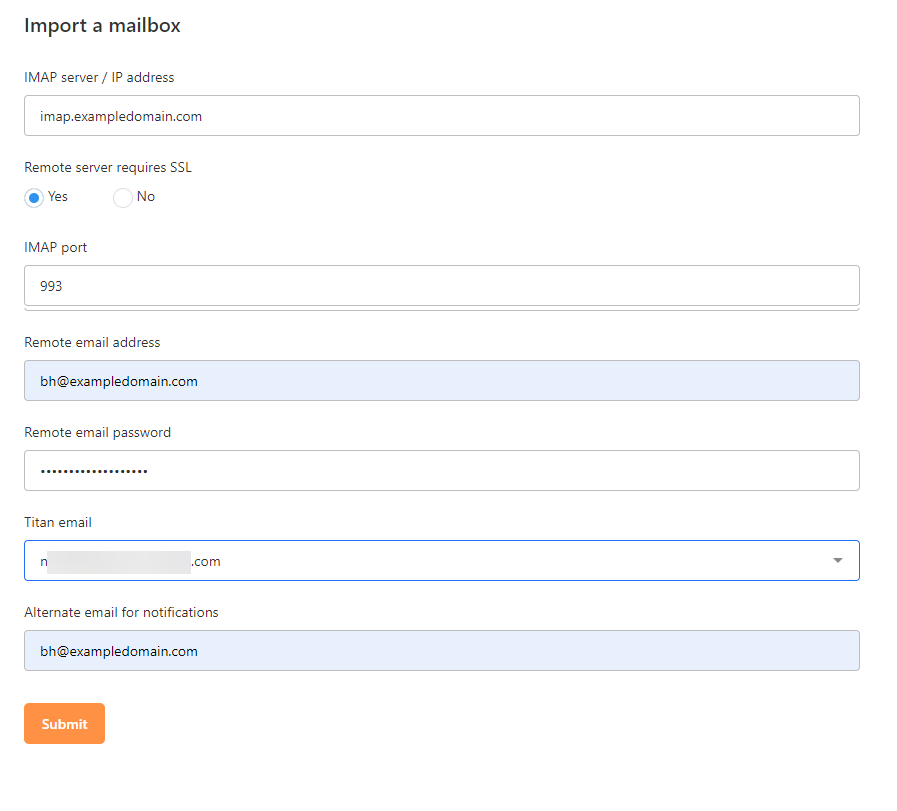
- Import Email Data - This section allows you to migrate existing email data from a remote server. Click on Import a mailbox to initiate the process.
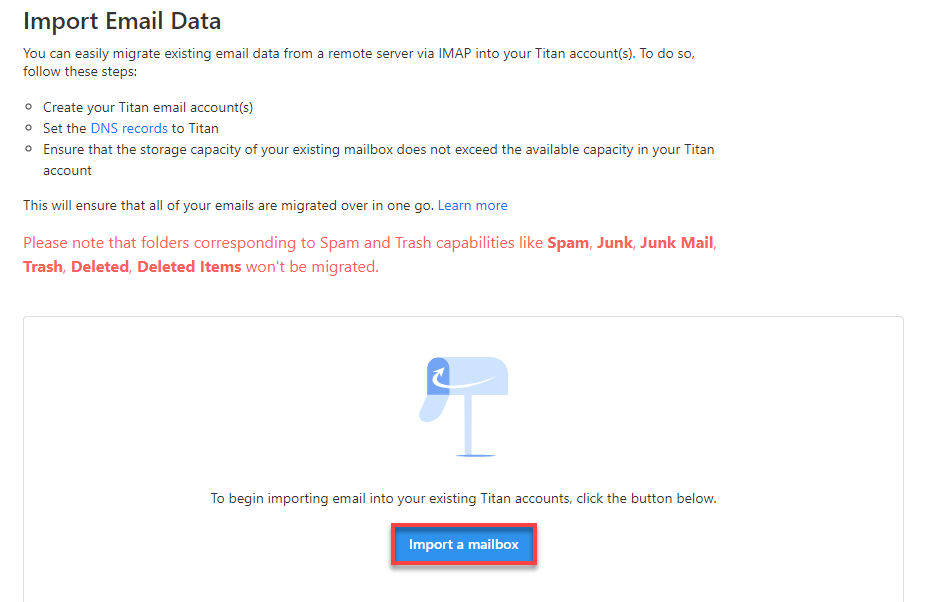
Fill out the required fields and click the Submit button.
For more information on importing emails to your Professional Email account, please visit the article How to Import Emails to Bluehost Professional Email.
- Connect Domain - You can see the current status of the domain and its DNS records connected to your Professional Email service. If you haven't set up your MX and/or SPF records, please do so. Use this article as a guide: How to Set Up Bluehost Professional Email MX and TXT Records.

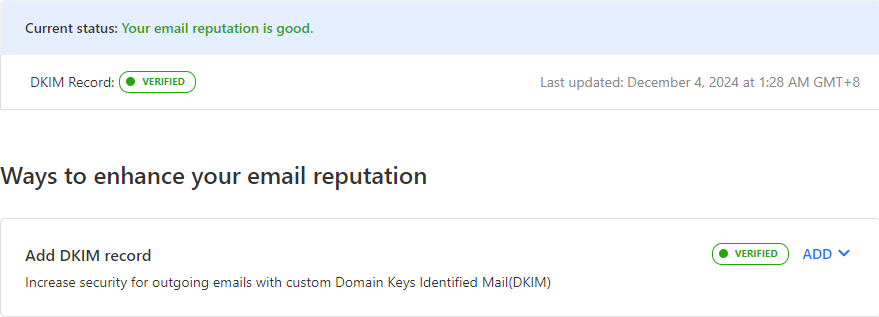
- Email Reputation - This section displays the status of your email reputation.
- Spam Filter Control - Professional Email allows you to configure spam filtering settings that apply across all existing mailboxes within your domain. This ensures consistent protection and delivery behavior for incoming emails.
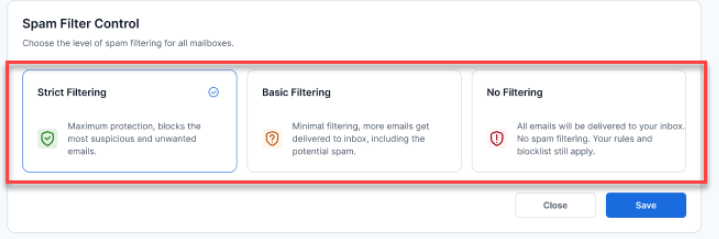
You can choose from three levels of spam filtering:
-
Strict Filtering: Provides maximum protection by blocking the most suspicious and potentially harmful emails. Ideal for users who prioritize security and minimal spam exposure.
-
Basic Filtering: Applies minimal filtering, allowing more emails to reach the inbox—including those that may be considered borderline spam. Suitable for users who prefer fewer false positives.
-
No Filtering: Disables all spam filtering. Every incoming email is delivered directly to the inbox, regardless of its spam score. Recommended only for advanced users or specific use cases.
-
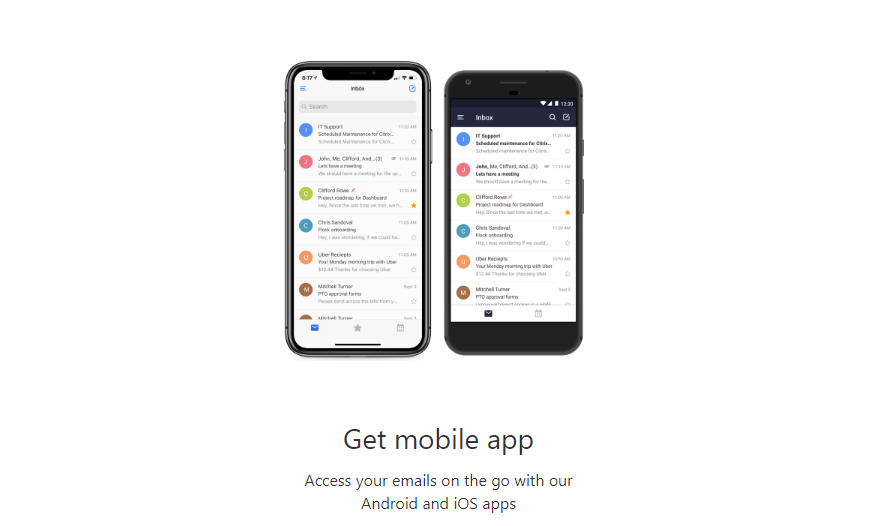
- Get Mobile App - You can access your Professional Email account through a mobile application. This section provides you with options for doing so.
- Enable Titan on Other Apps - This section allows you to configure your email in third-party applications.
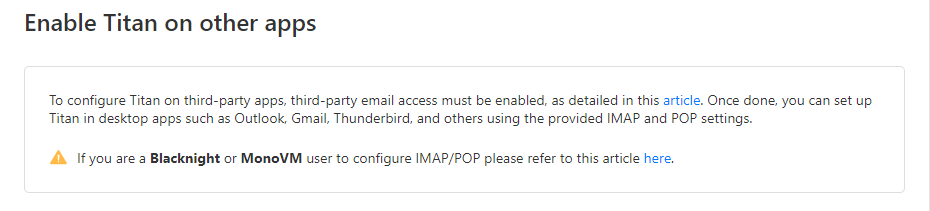
For instructions on granting permissions to third-party email apps to access your emails, please visit the article How to Enable Professional Email on Other Apps.
If you need help setting up your Professional Email with third-party email clients, check out the following articles:
- Email Backup - In this section, you can back up, restore, and manage your emails anytime.

You may need to upgrade to the next Professional Email tier to use this feature.
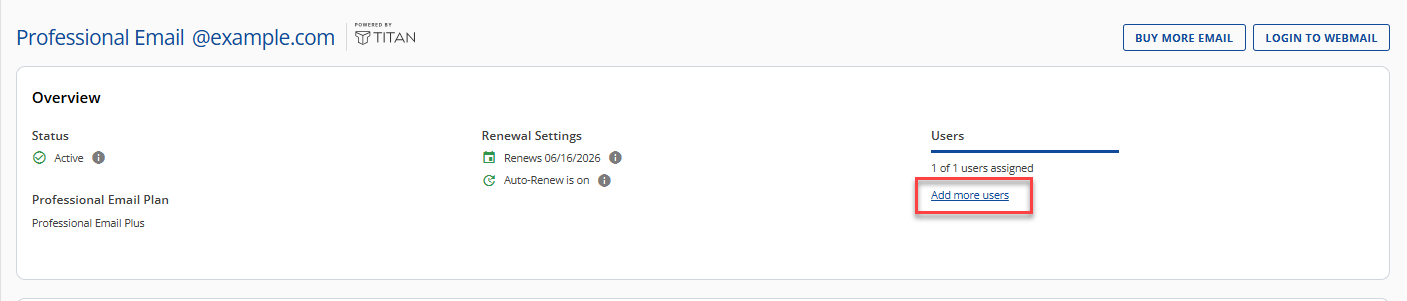
Adding More Users to Professional Email
You can add more users to your Professional Email account if your business requires additional accounts. To do this, follow these steps:
- Under the Professional Email tab, click Add More Users.
- Enter the number of additional users you want to add and click the Buy Now button.
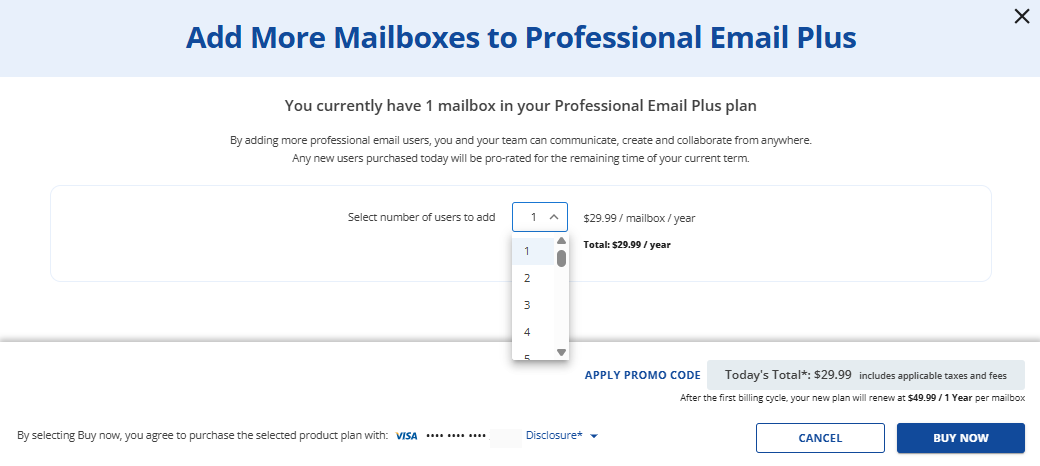
The prices shown in the image above may change in the future.
- You will be redirected to the Checkout page. Complete the payment to finalize the transaction.
Summary
Now that you know how to purchase Professional Email and set up your account, you can take complete control of your business communications. Whether you need to manage your Professional Email settings, log in to your Professional Email account, or add more users as your business grows, this guide has you covered. With a customized email solution, enhanced productivity tools, and the flexibility to manage your email needs, you'll be well-equipped to present a professional image to clients and customers. Start your journey with Professional Email today and experience how you manage and organize your business communications.
Related Articles
If you need further assistance, Bluehost Chat Support is available 24 hours a day, 7days a week while Bluehost Phone Support is available 7 days a week from 7 am-12 midnight EST.
- Chat Support - While on our website, you should see a CHAT bubble in the bottom right-hand corner of the page. Click anywhere on the bubble to begin a chat session.
- Phone Support -
- US: 888-401-4678
- International: +1 801-765-9400
You may also refer to our Knowledge Base articles to help answer common questions and guide you through various setup, configuration, and troubleshooting steps.