
Key highlights
- Learn how to install Ruby on Rails with this step-by-step guide using the Rails installer.
- Follow the step-by-step Ruby on Rails installer guide to set up your development environment.
- Properly configure your Ruby on Rails installer and development environment to ensure smooth application performance and functionality.
- Step-by-step Ruby on Rails installer configuration guide for seamless web development environment setup and deployment.
- Follow expert guidance to install Rails framework and launch your first web application successfully.
Ruby on Rails is one of the most powerful and developer-friendly web development frameworks available today. Setting up Ruby on Rails might seem daunting at first, but with proper guidance, you can have your development environment running smoothly. Whether you’re a complete beginner or transitioning from another framework, this comprehensive Ruby on Rails installation guide will walk you through the entire process. You’ll gain the confidence to start building dynamic web applications immediately.
Ruby on Rails has powered some of the world’s most successful web applications, from GitHub to Shopify.
In this guide, you’ll learn how to install Ruby and Rails on your system effectively. You’ll also discover how to configure your development environment and get started with your first Rails application.
By the end of this tutorial, you’ll have a fully functional Rails setup ready. You’ll possess the knowledge to begin building professional, dynamic web applications with confidence and efficiency.
Understanding Ruby on Rails: What you need to know?
Before diving into the Ruby on Rails setup process, it’s essential to understand what you’re working with. Ruby on Rails, often simply called Rails, is a server-side web application framework written in Ruby. It follows the Model-View-Controller (MVC) architectural pattern and emphasizes convention over configuration, making it incredibly efficient for rapid application development.
The framework was created by David Heinemeier Hansson and first released in 2004. Since then, it has evolved significantly, with Rails 8.1.2 being the current major version. The Ruby install Rails process has become much more streamlined over the years, thanks to improved package managers and installation tools.
Also read: VPS Hosting for Ruby on Rails Development
Why choose Ruby on Rails?
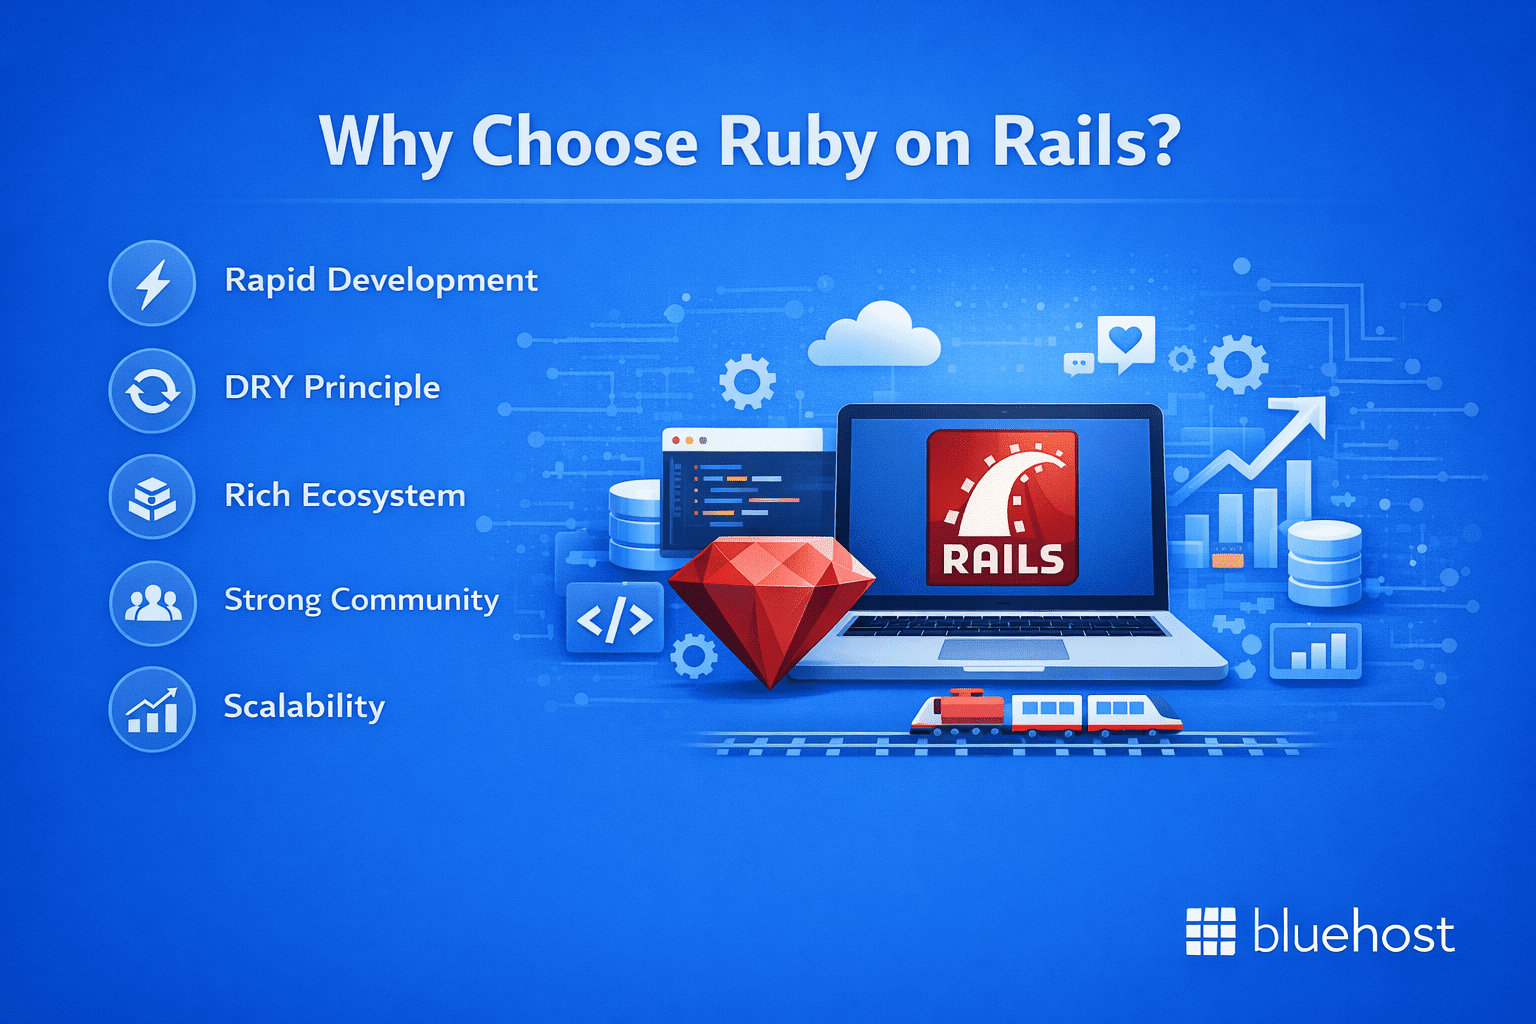
Rails offers several compelling advantages for web developers:
- Rapid development: Rails’ conventions allow you to build applications faster than many other frameworks
- DRY principle: “Don’t Repeat Yourself” philosophy reduces code duplication
- Rich ecosystem: Thousands of gems (libraries) available for extending functionality
- Strong community: Extensive documentation and community support
- Scalability: Powers large-scale applications successfully
What are the system requirements before setting up Ruby on Rails?
Before installing Ruby on Rails, you need to ensure your system meets the necessary requirements. The good news is that Rails runs on most modern operating systems, including Windows, macOS and Linux distributions.
Hardware requirements
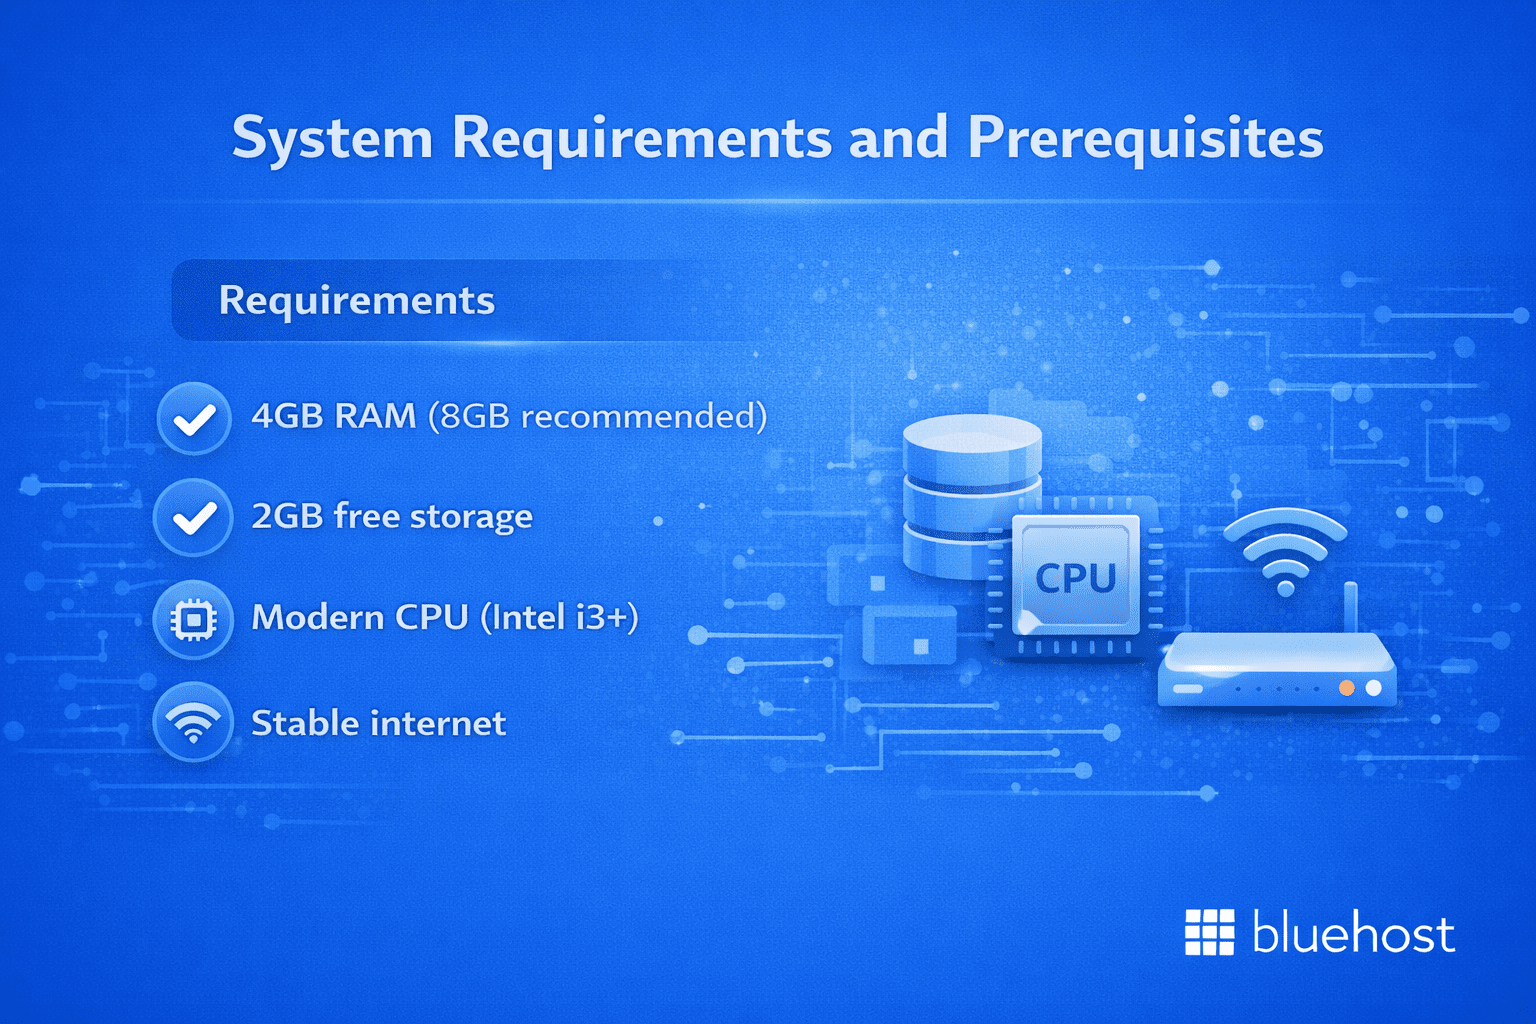
To ensure a successful Ruby on Rails installer setup and configuration, your development environment requires:
- At least 4GB of RAM (8GB recommended for development)
- 2GB of free disk space
- A modern processor (Intel i3 or equivalent)
- Stable internet connection for downloading packages
Software dependencies
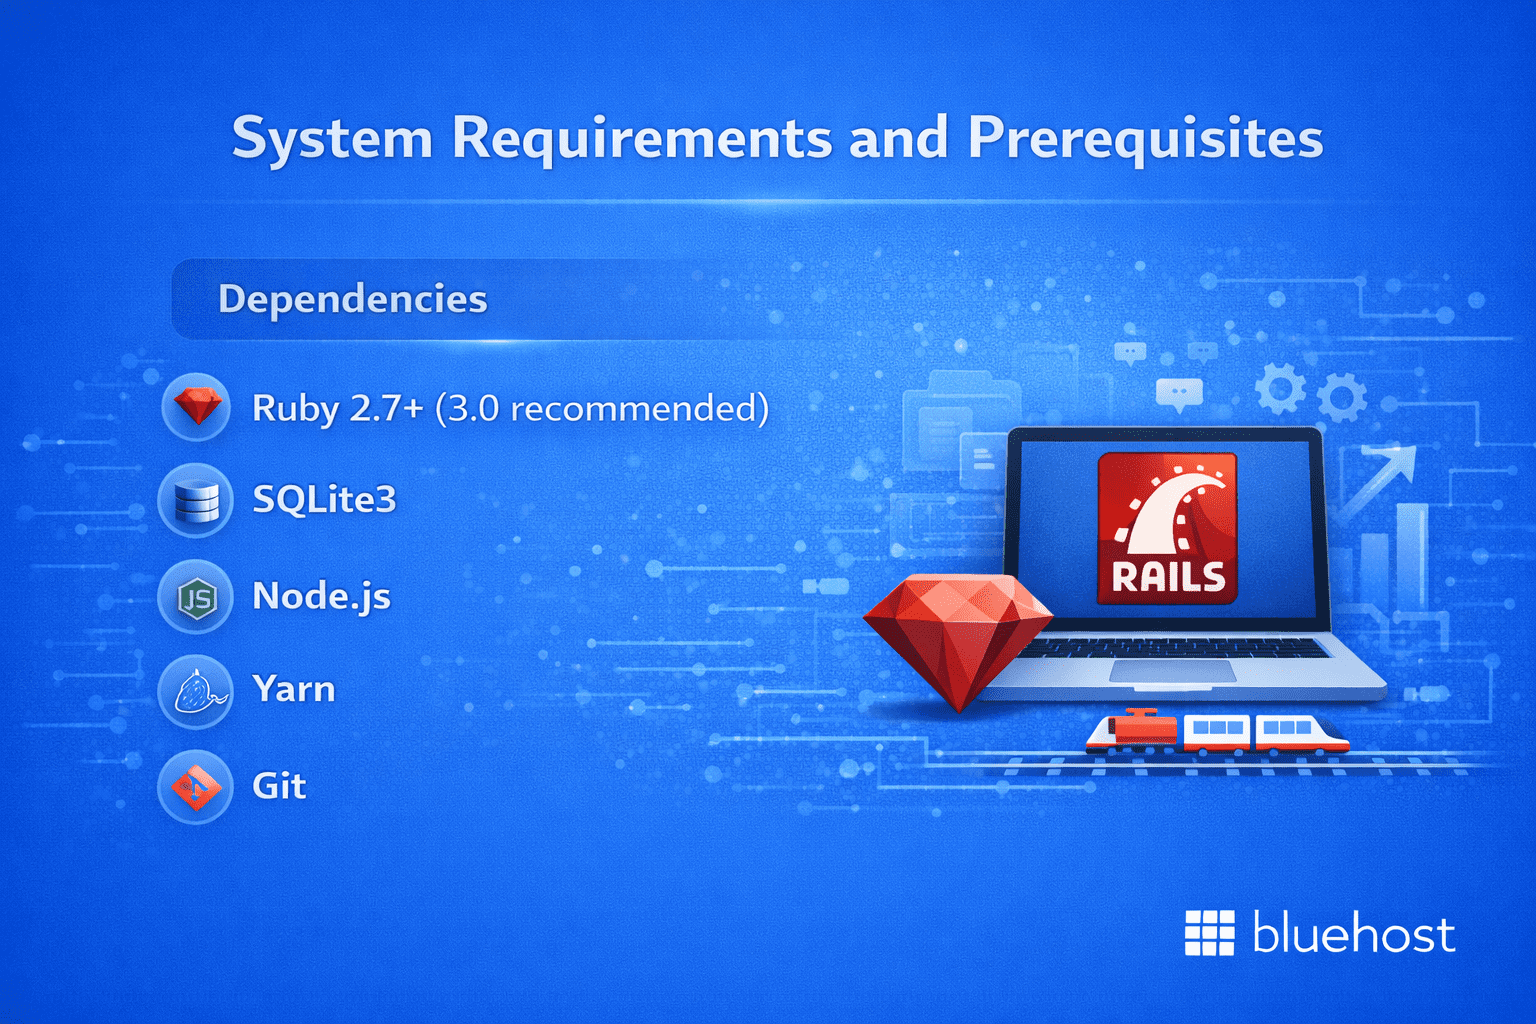
A successful Ruby on Rails installer setup depends on multiple essential software components working together seamlessly:
- Ruby: Version 2.7.0 or higher (3.0+ recommended)
- SQLite3: Default database for development
- Node.js: For JavaScript runtime and asset compilation
- Yarn: Package manager for JavaScript dependencies
- Git: Version control system
Also read: VPS setup and configuration guide
Step-by-step Ruby on Rails installation guide
Now, let’s walk through the complete process of setting up Ruby on Rails on different operating systems. Choose the section that matches your system and follow the instructions carefully.
Installing Ruby on Rails on macOS
MacOS users have several options for Ruby on Rails installation. The most reliable method uses Homebrew, a popular package manager for macOS.
Step 1: Install Homebrew
Open Terminal and run the following command to install Homebrew:
/bin/bash -c "$(curl -fsSL https://raw.githubusercontent.com/Homebrew/install/HEAD/install.sh)"Homebrew simplifies installing and managing development tools on macOS.
Step 2: Install Ruby
Once Homebrew is installed, use it to install the latest version of Ruby:
brew install rubyAfter installation, ensure the Homebrew-installed Ruby is used instead of the system Ruby by updating your PATH if needed.
Step 3: Install Rails
With Ruby installed, install Ruby on Rails using the gem command:
gem install railsVerify the installation by running:
rails -vStep 4: Install Additional Dependencies
Rails requires a JavaScript runtime for handling frontend assets. Install Node.js and Yarn using Homebrew:
brew install node yarn
Once these dependencies are installed, your macOS system is ready for Ruby on Rails development.
Installing Ruby on Rails on Windows
Windows users can use the Ruby Installer, which simplifies the entire Ruby on Rails setup process significantly.
Step 1: Download Ruby Installer
Visit the RubyInstaller website and download the latest Ruby+Devkit version. This package includes Ruby, Rails prerequisites and development tools.
Step 2: Run the installer
Execute the downloaded file and follow the installation wizard. Make sure to check the “Add Ruby executables to your PATH” option.
Step 3: Install Rails
Open Command Prompt or PowerShell and run:
gem install rails
Step 4: Verify installation
Check that everything is working:
ruby --version
rails --version
Installing Ruby on Rails on Linux (Ubuntu/Debian)
Linux users can install Ruby on Rails using various methods. Here’s the most straightforward approach using the system package manager and RVM (Ruby Version Manager).
Step 1: Update system packages
sudo apt update && sudo apt upgradeStep 2: Install dependencies
sudo apt install curl gpg git build-essential libssl-dev libreadline-dev zlib1g-devStep 3: Import RVM GPG keys
gpg --keyserver keyserver.ubuntu.com --recv-keys 409B6B1796C275462A1703113804BB82D39DC0E3 \
   7D2BAF1CF37B13E2069D6956105BD0E739499BDB
Step 4: Install RVM
curl -sSL https://get.rvm.io | bash -s stable
source ~/.rvm/scripts/rvm
Step 5: Install Ruby
rvm install ruby
rvm use ruby --default
Step 6: Install Rails
gem install rails
Creating your first Rails application
After successfully using a Ruby on Rails installer to set up your development environment, the next step is building your first application to confirm that your installation is working properly.
1. Generating a new Rails app
Use the Rails generator to create a new application:
rails new myapp
This command creates a new directory called “myapp” with all the necessary files and folders for a Rails application. Navigate to your new application directory:
cd myapp
2. Starting the Rails server
Launch the development server to see your application in action:
rails server
Open your web browser and navigate to http://localhost:3000. You should see the Rails welcome page, confirming that your Ruby on Rails setup was successful.
3. Understanding the Rails directory structure
Your new Rails application includes several important directories:
- app/: Contains your application’s main code (models, views, controllers)
- config/: Configuration files for your application
- db/: Database files and migrations
- test/: Test files for your application
Also read: Linux Hosting for Setting Up Ruby on Rails
4. Free Ruby on Rails hosting
If you’re looking to host Ruby on Rails free for development or learning purposes, consider these options:
- Heroku Free Tier: Sufficient for small projects
- Railway: Modern platform with generous free limits
- Render: Free tier for static sites and APIs
Note that 000webhost historically did not support Ruby or Ruby on Rails hosting and only provided support for PHP-based sites, so Rails apps could not be hosted there.
How do you configure your Ruby on Rails environment for optimal performance?
A proper Ruby on Rails setup extends beyond just installation. Configuring your environment for optimal development and production performance is essential.
1. Database configuration
Rails uses SQLite3 as the default database for development. For production applications, you might want to configure PostgreSQL or MySQL. Edit your config/database.yml file to specify your database preferences.
2. Environment variables
Set up environment variables for sensitive information like API keys and database passwords. Create a .env file in your project root and add your variables:
DATABASE_PASSWORD=your_password_here
SECRET_KEY_BASE=your_secret_key
3. Performance optimization
Several techniques can improve your Rails application’s performance:
- Enable caching in production environments
- Optimize database queries with proper indexing
- Use asset precompilation for faster loading
- Implement background job processing with Sidekiq or Resque
Also read: Dynamic Web Development Guide
SEO for Ruby on Rails applications
When building Rails applications, implementing proper seo for Ruby on Rails practices from the beginning saves time and improves search engine visibility.
1. SEO-Friendly URL structure
Rails’ routing system naturally creates SEO-friendly URLs. Use descriptive route names and avoid unnecessary parameters in URLs.
Also read: URL basics and web structure guide
2. Meta tags and structured data
Implement dynamic meta tags using gems like ‘meta-tags’ to ensure each page has unique title tags, descriptions and structured data.
Also read: The Importance of Structured Data for Your Website and SEO
3. Page speed optimization
Search engines prioritize fast-loading websites. Optimize your Rails application with:
- Image optimization and lazy loading
- Minification of CSS and JavaScript assets
- Content Delivery Network (CDN) integration
- Efficient caching strategies
Also read: SEO Basics Guide for Beginners
Troubleshooting common issues
Even with careful installation, you might encounter issues during your Ruby on Rails setup. Here are solutions to common problems:
1. Permission errors
If you encounter permission errors when installing gems, avoid using sudo. Instead, configure gem installation to your user directory:
gem install --user-install gem_name
2. Version conflicts
Multiple Ruby versions can cause conflicts. Use a version manager like RVM or rbenv to manage different Ruby versions cleanly.
3. Missing dependencies
If you receive errors about missing libraries, install the required system packages. On Ubuntu/Debian:
sudo apt install build-essential libssl-dev libreadline-dev
4. Database connection issues
Ensure your database server is running and accessible. Check your database.yml configuration for correct connection parameters.
Also read: How To Fix the Database Connection Error in WordPress
Ruby on Rails help and learning resources
Continuing your education after the initial Ruby on Rails setup is crucial for becoming proficient with the framework.
1. Official documentation
The Rails Guides website provides comprehensive documentation covering all aspects of Rails development, from basic concepts to advanced techniques.
2. Community resources
Join the vibrant Rails community through:
- Rails forums and discussion groups
- Stack Overflow for technical questions
- GitHub repositories for open-source projects
- Local Ruby and Rails meetups
3. Learning platforms
Several online platforms offer structured Rails courses:
- Ruby on Rails Tutorial by Michael Hartl
- Codecademy’s Rails course
- Udemy and Coursera Rails programs
- The Odin Project’s full-stack curriculum
Quick checklist of the best practices to follow for setting up Ruby on Rails
Before moving to deployment and advanced development, following these best practices will help ensure your Ruby on Rails environment remains stable, secure and ready for scaling:
- Always verify system requirements before installing Ruby on Rails to prevent setup issues.
- Use a Ruby version manager to manage and switch Ruby versions safely.
- Use the Ruby on Rails installer to set up the latest stable versions of Ruby, Rails and essential dependencies
- Secure your application by properly managing environment variables and secrets.
- Validate your setup by creating and running a sample Rails application.
Bluehost VPS hosting: A scalable server solution
When you’re ready to take your project from local development to the public web, choosing the right server environment matters.
We provide a virtual private server with guaranteed resources, enhanced performance and greater control, making it well-suited for small businesses, growing websites, web applications and developer-driven projects.
Key features of Bluehost VPS hosting:
- Guaranteed virtual server resources (CPU, RAM and NVMe SSD storage) to ensure consistent performance without the limitations of Shared hosting.
- Instant provisioning, allowing you to deploy your server and start building within minutes.
- Advanced server access, including SSH, log file access and configuration control for files, databases and applications.
- NVMe SSD storage and unmetered bandwidth for fast, reliable performance as your traffic grows.
- Dedicated IP addresses and free SSL certificates to support security, trust and professional site operation.
- Enhanced cPanel/WHM interface, offering powerful VPS management tools while maintaining a familiar workflow for experienced users.
With Bluehost VPS hosting, you can confidently deploy applications such as SaaS platforms, eCommerce stores, content-driven websites or APIs that require reliability, scalability and full control over compute resources.
Final thoughts
Setting up Ruby on Rails is the first step toward building powerful, scalable web applications. From installation to your first project, you now have the foundation needed to start developing with confidence, whether you’re creating a blog, an eCommerce site or a more complex application.
As you continue learning Rails, take advantage of documentation, community forums and hands-on projects to deepen your skills. When you’re ready to deploy, choosing the right hosting environment matters. Bluehost VPS hosting provides the performance, control and flexibility needed to support Rails applications as they grow, without the limitations of Shared hosting.
With your development environment ready, you’re set to start building. Rails’ focus on productivity and developer experience will help you bring your ideas to life.
Happy coding!
FAQs
To install Ruby and Rails, first install Ruby using a version manager such as RVM or rbenv or tools like Homebrew (macOS) or RubyInstaller (Windows). Once Ruby is installed, run gem install rails to install Rails. Verify the installation by running ruby -v and rails -v in your terminal. After setup, you can create your first application using rails new app_name and start the server with rails server.
Ruby is a general-purpose programming language known for its clean syntax and developer-friendly design. Ruby on Rails (or Rails) is a web application framework built using Ruby that follows the Model-View-Controller (MVC) architecture. Ruby acts as the core language, while Rails provides a structured framework and tools to build web applications quickly and efficiently.
RVM, rbenv and chruby are Ruby version managers that let you install and switch between multiple Ruby versions on the same system. RVM offers many features, including gemset management, but can feel complex. rbenv is lightweight and shell-based, making it a popular and beginner-friendly option. chruby is the simplest tool, focused only on switching Ruby versions and often used with ruby-install. For most users, rbenv provides the best balance of simplicity and control.
SQLite is the default database for new Rails applications and is ideal for beginners because it requires no setup and is easy to use. It works well for learning and small projects. PostgreSQL is more powerful and better suited for production environments, offering advanced features and scalability. If you’re just starting out, SQLite is sufficient and you can migrate to PostgreSQL later as your application grows.
Yes, you can manage multiple Ruby and Rails versions using tools like rbenv, RVM or chruby. These version managers allow you to switch Ruby versions per project, with each version maintaining its own set of gems, including Rails. This makes it easy to work on legacy projects while developing new applications without version conflicts.
If you run into issues with your Rails installation, you can uninstall Rails by running gem uninstall rails. To reinstall it, use gem install rails and confirm the setup with rails -v. If problems continue, ensure you’re using a Ruby version manager and that your Ruby version is compatible. Reinstalling Ruby through your version manager can also help resolve persistent issues.
Permission errors usually occur when attempting system-wide gem installations. Avoid using sudo with gem commands, as this can cause security and permission issues. Instead, use a Ruby version manager like rbenv or RVM, which installs Ruby in your home directory. macOS users should also ensure that Xcode Command Line Tools are installed before starting the Ruby on Rails setup.

Write A Comment