Key highlights
- Understand what is a favicon and how it enhances brand visibility and trust.
- Learn how to create favicon images using free tools and generators.
- Discover favicon size requirements and file formats for desktop, mobile and retina displays.
- Follow step-by-step instructions to add a favicon with WordPress, Bluehost’s AI Website Builder or HTML.
- Avoid common mistakes and ensure your favicon works across browsers.
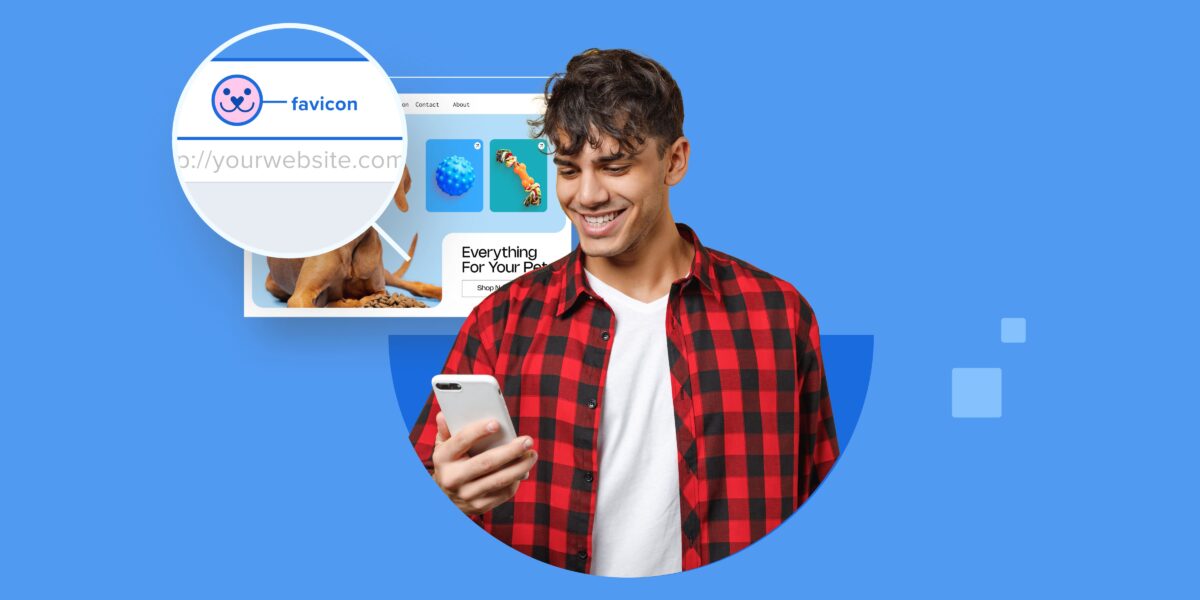
Every time you open a new browser tab or save a site to your bookmark list, you see a tiny icon at instantly tells you which website you’re on. That small icon, though often overlooked, carries a lot of weight in web design and branding. It helps users identify your site at a glance, builds trust and even influences how people interact with your brand in search results.
In fact, this visual identifier can make your site more instantly recognizable across different browsers, mobile devices and search engines. Curious what this little image is and why it matters so much? Let’s dive into the details and answer the key question: what is a favicon?
What is a favicon?
A favicon or “favorites icon,” is a small icon that appears next to your website’s name in browser tabs, bookmark bars and some search results. It helps users instantly recognize your site when they have multiple tabs open or when your page is saved in a bookmarks list.
Favicons are usually images in ‘.ico’ or ‘.png’ format designed to match your brand identity, logo or color scheme. You’ve likely seen favicons on tabs in Google Chrome, Firefox or even older platforms like Internet Explorer.
They appear as shortcut icons in browsers, tab icons in modern browsers or favorite icons on phones’ home screens. Each favicon file is linked to a website using a line of HTML code that tells the web browser which image to display.
Though small in size, a favicon plays a big role in building user trust, aiding navigation and enhancing instant brand recognition. To learn more about what is a favicon and how to add a favicon to your website, watch our informative video guide.
Why does your website need a favicon?
A favicon is more than a decorative tiny icon. It improves how users recognize, trust and interact with your website across browser tabs, bookmarks and search results.
Key Benefits of a Favicon
- Builds brand recognition and consistency.
- Enhances trust and professionalism.
- Improves user experience in multiple tabs and the bookmark bar.
- Supports SEO with higher click-through rates in Google search results.
- Ensures browser compatibility and visibility on mobile devices.
Let’s explore these reasons in more detail:
1. Improves brand recognition
Your favicon image makes your site instantly recognizable in browser tabs, mobile bookmarks and the address bar. A well-designed favicon reinforces your brand identity, especially when it matches your company logo or overall web design. Most web users don’t read tab titles; they identify your site by the icon alone.
2. Increases trust and credibility
Sites without a favicon often look incomplete or unprofessional. Adding one shows your website is polished and worth visiting. This matters for web designers, small businesses and anyone trying to create a trustworthy first impression across different browsers. Even a generic icon is better than none, but a branded favicon file stands out in the bookmark bar and browser tabs.
3. Helps users recognize your site quickly
On mobile devices, a favicon appears on the app icon or home screen shortcut, depending on the platform. In Google search results, favicons also appear next to URLs, helping users pick familiar sites faster, especially on retina screens. Using the right favicon sizes and formats ensures that they display properly on various platforms, browsers and screen resolutions.
Whether your site is a blog, an HTML website or a WordPress site, your favicon makes it easier for visitors to find you again.
Want to give your website a professional edge? Add a favicon in minutes using Bluehost’s WonderSuite and WordPress Hosting. Get started with Bluehost.
Favicons and SEO
Favicons do not directly change search engine rankings, but they strongly influence user interaction, brand recognition and click-through rates in Google search results. By acting as a small yet powerful visual identifier, favicons support search engine optimization in several ways:
- Search engine recognition: When Google and other search engines crawl a web page, they often look for a favicon file in the root directory. If present, it appears in search results, making your website more instantly recognizable.
- Brand recall and user memory: A consistent favicon image in browser tabs, the bookmark bar and multiple browsers helps web users remember your website. This leads to more repeat visits and higher engagement.
- Improved user experience: A well-designed favicon builds trust, looks professional across modern browsers and enhances overall browser compatibility. Sites with a missing favicon often look incomplete, while a clear tab icon or bookmark icon improves user experience and boosts CTR.
In short, while favicons are small icons, they contribute indirectly to better SEO by improving brand consistency, encouraging web users to click more often and strengthening long-term brand identity. With Bluehost, you also get free Yoast SEO to help your site and content rank higher.
Where do favicons appear?
Here are the primary locations where favicons can be found:
1. Address bar: Some web browsers display the favicon in the address bar, providing a visual confirmation that the user is on the desired website. This can reinforce trust and recognition.

2. Bookmarks and favorites: When users bookmark or add a website to their favorites list, the favicon is often used as the bookmark’s visual identifier. This assists users in quickly identifying and accessing their preferred sites.

3. Google listing: Favicons next to a website’s listing in Google’s search results offer users a quick way to recognize brands, differentiate search results and improve the overall search experience.

4. Browser history: The favicons in your browsing history make it easier to identify websites you’ve previously visited. If you have a long browsing list, an easy-to-recognize favicon is essential to help you find what you need.

In short, favicons appear anywhere your website is displayed in a browser, from tabs and bookmarks to Google search results, making them essential for brand recognition, trust and a seamless user experience across all platforms.
What is the size and format of a favicon image?
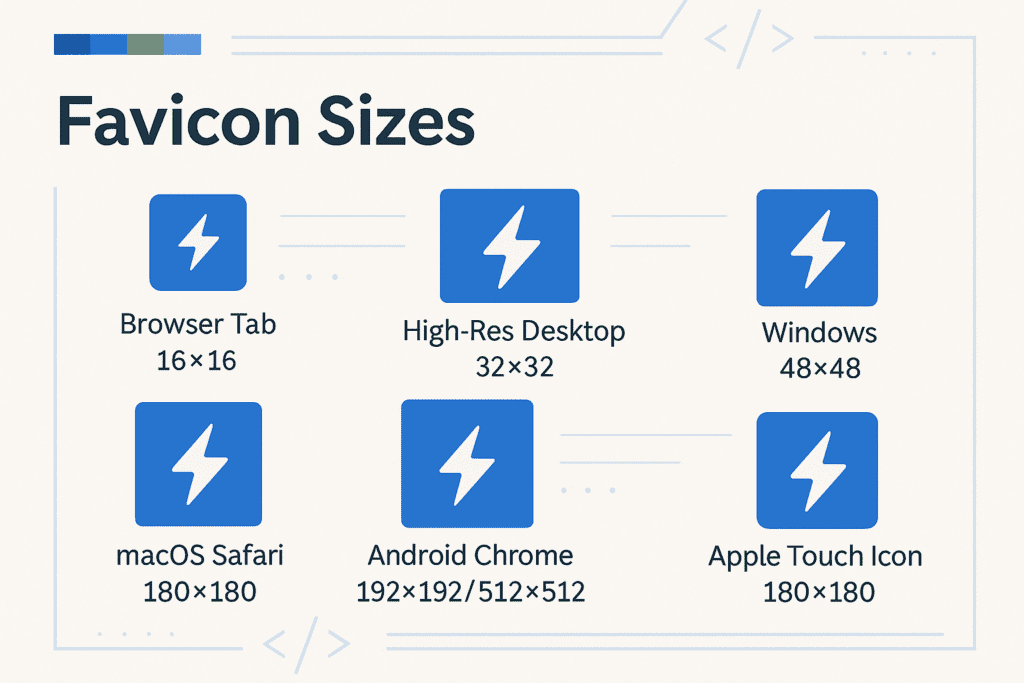
The correct favicon size and format ensure visibility across modern browsers, mobile devices and multiple tabs. Use favicon sizes like 16×16, 32×32, 180×180 and save in ICO file format, PNG format or SVG files for full browser compatibility and brand consistency.
1. Recommended favicon size requirements
Different browsers and devices use different favicon sizes, so it’s best to create multiple sizes for compatibility.
Here are the most commonly used sizes:
| Size (px) | Use case |
| 16×16 | Browser tabs and address bar |
| 32×32 | Desktop shortcuts and browser bookmarks |
| 48×48 | Windows taskbar icons |
| 180×180 | Apple touch icon for mobile devices |
If you want your favicon image to appear sharp on retina screens, always include the larger versions.
2. File formats you can use
The most universal favicon format is ‘.ico’. It’s still required for many browsers, especially older ones like Internet Explorer.
You can also use:
- .png format for modern browsers
- .svg for scalable vector icons
- .jpg (less common, not recommended)
A single favicon file in ‘.ico’ format can contain multiple sizes, which helps ensure cross-browser compatibility.
Many designers export their favicon as ‘.png’ and then convert it into ‘.ico’ files using a favicon generator or online tools.
How can you create a favicon for your website using free tools?
Creating a favicon is simple, even if you’re not a designer. A favicon is a small icon or tiny image that represents your website in browser tabs, the address bar, bookmark list and even Google search results. Here’s how to create one step by step:
1. Choose your design
- Start with your company logo or create a simplified version that reflects your brand identity.
- Avoid too much detail; favicons are displayed at small sizes (16×16 px or 32×32 px), so use bold shapes and contrasting colors.
- Make sure it’s instantly recognizable and supports brand consistency.
2. Select the right favicon sizes
- 16×16 → browser’s address bar, tab icon and bookmark bar.
- 32×32 → desktop shortcuts and visual identifier in web browsers.
- 48×48 → Windows taskbar icons.
- 180×180 (Apple touch icons) → for mobile devices and Android Chrome.
- Use multiple favicon sizes to ensure browser compatibility across different browsers.
3. Choose the correct file format
- ICO file format (original file format, required for Internet Explorer and older web browsers).
- PNG format (popular for modern browsers due to high quality and transparency).
- SVG files (scalable, recommended by the World Wide Web Consortium for high-resolution devices).
- Some designers also experiment with animated favicons, though support is limited.
4. Generate your favicon
- Use tools like Favicon.io, Canva or RealFaviconGenerator to create favicons from text, an existing image or your own favicon design.
- These tools export multiple sizes in ICO files, PNG files and SVG favicons.
5. Save and organize your files
- Keep one favicon.ico in your root directory so browsers can detect it automatically.
- Save other favicon file formats for modern browsers and mobile devices.
By following these steps, you can create a favicon that is instantly recognizable, works across all web pages, maintains brand consistency and improves user interaction in the browser tabs, bookmark bar and search results.
How to add a favicon to your website?
Adding a favicon to your website is one of the simplest ways to improve brand recognition, create a visual identifier and make your site instantly recognizable across browser tabs, bookmark bars, search results and mobile devices. A well-designed favicon also supports search engine optimization by boosting trust and click-through rates.
Step-by-step guide (WordPress customizer):
- Log into your WordPress dashboard.
- Go to Appearance → Customize.
- Navigate to Site Identity.
- Upload your favicon file (use ICO file format, PNG format or SVG files).
- Save and publish your changes.
- Confirm your tab icon and bookmark icon display correctly across different browsers and mobile devices..
If you’re using a WordPress website, you can add a favicon file directly through your theme settings.
Here’s a step-by-step, detailed guide using the WordPress Customizer:
Step 1: Log into your dashboard and go to “Appearance”
After logging into your WordPress admin panel, click “Appearance” on the left-hand menu. This section manages your website design.

Step 2: Click “Customize”
Next, click “Customize” to open the WordPress Customizer, where you can adjust theme settings and visual layout options.

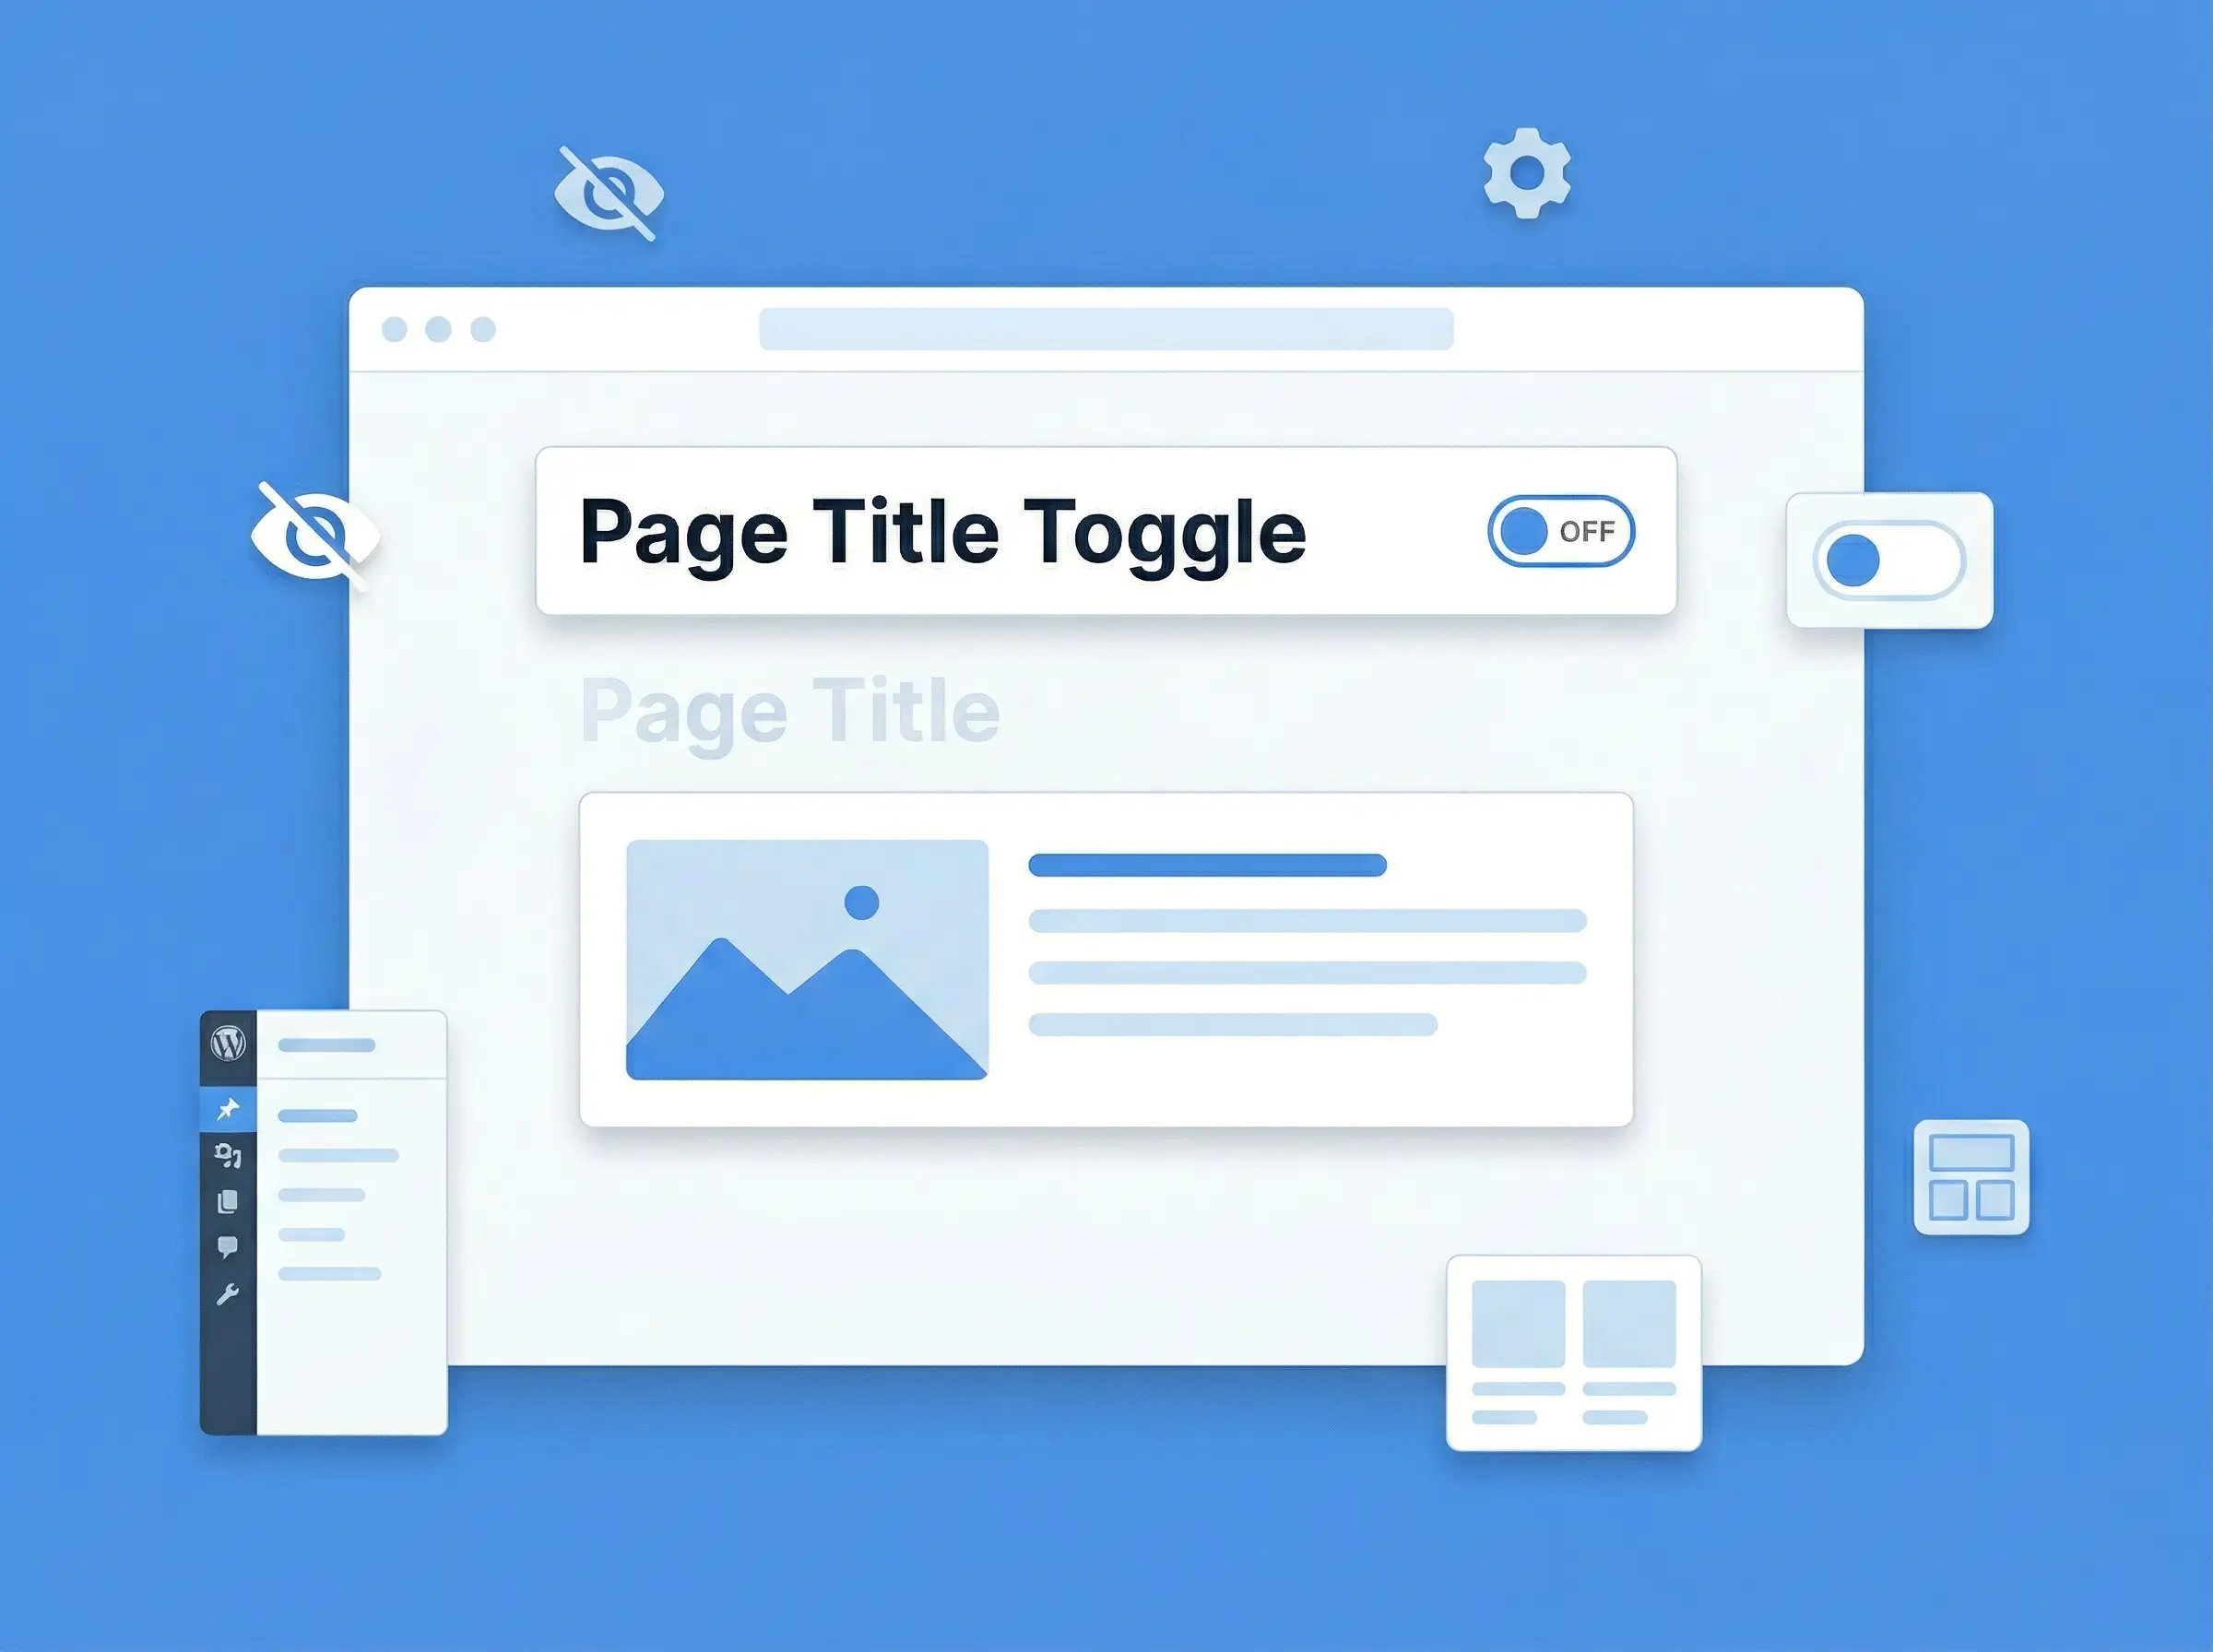
Step 3: Go to “Site Identity”
Inside the Customizer, click “Site Identity.” Here, you’ll see options for page title, tagline and your site’s shortcut icon.

Step 4: Upload your favicon under “Site Icon”
Scroll to the Site Icon section. Click “Select Site Icon” and upload your favicon image. We recommend using the .ico, .png or .svg format for full compatibility.

Step 5: Publish your changes
After uploading your image and cropping if needed, click “Publish” in the top-right corner. This will make your favicon live on your site.

Step 6: Confirm it works
Visit your home page in a new browser tab. You should now see your favicon next to your URL in the address bar, confirming it’s working.

Your favicon will now appear in most modern browsers, including Google Chrome, Firefox and others. This is a small but important step in building a complete, recognizable web presence.
Testing your favicon
Once uploaded, test how your favicon appears:
- In a browser tab (desktop + mobile)
- In bookmarks/favorites
- In Google search results
- In incognito mode to check caching
Also read: How to Add a Favicon (favicon.ico) to Your Website
How to add a favicon in HTML
If your website is built with a website builder, the favicon can usually be uploaded through the dashboard under site identity or theme settings. However, if your site is coded manually by a developer, you’ll need to insert the favicon file directly into the HTML code of your web page.
To add a favicon image in HTML, place the following tag inside the <head> section of your site:
<link rel="icon" type="image/png" href="favicon.png" />
You can also use other favicon file formats such as ICO file format for Internet Explorer and older web browsers or SVG files for modern browsers and mobile devices. Storing the favicon.ico in your root directory ensures automatic browser support across multiple platforms.
By using the correct favicon sizes and file formats (ICO, PNG, SVG), your tab icon or bookmark icon will display consistently in browser tabs, the address bar, bookmark lists and Google search results, reinforcing your brand identity.
How to grow your brand with Bluehost?
Creating and uploading a favicon should be simple and that’s exactly what we deliver with WonderSuite, our intuitive, no-code website solution.
WonderSuite helps you grow your brand, build faster and stand out online, without needing technical skills.
1. Build faster with no-code tools
With WonderTheme, you get professionally designed templates. You can easily customize pages using WonderBlocks, our drag-and-drop builder that lets you adjust layouts, sections and styles in minutes.
2. Launch a professional brand identity
Easily upload your favicon.ico, .png or .svg file through the Customizer or place it in your site’s root directory. Bluehost supports retina-friendly sizes like 180×180 pixels, so your favicon looks sharp across modern devices and high-resolution screens. Manage your favicon image, page title and tab icon, all from one central dashboard.
3. Sell online with eCommerce-ready tools
WonderCart helps you create and launch a full-featured online store in minutes. You can manage products, run promotions and deliver a smooth shopping experience.
4. Get expert help anytime
Need assistance? WonderHelp, our AI-powered guide, is built into your WordPress dashboard. Just type your question and get instant, step-by-step solutions.
5. Optimize for every browser and device
Your favicon appears in browser tabs, bookmarks and search results across all major browsers and mobile devices. Combined with Bluehost’s 99.99% uptime, built-in caching and CDN integration, your brand loads fast and stays visible anywhere, anytime.
With Bluehost and WonderSuite, you can launch a stunning site, strengthen your brand identity and ensure your presence is optimized across devices and platforms.
Final thoughts
Understanding what is favicon is just the start. Now, it’s time to add one to your website and boost your brand’s visibility. A favicon appears in browser tabs, bookmarks and search results, helping your site stand out on modern browsers and mobile devices.
At Bluehost, you can upload a favicon effortlessly. Whether you’re using WordPress hosting or our AI Website Builder, WonderSuite, setup takes just a few minutes. We also offer 24/7 customer support if you need help with favicon size requirements or image formatting.
Launch your site with Bluehost WonderSuite, add your custom favicon today and build a brand users recognize instantly.
FAQs
A favicon is a small image or URL icon that appears in browser tabs, the address bar and bookmarks. It helps website owners build consistent branding, improves trust and shows the importance of favicon in web design and user interaction.
A favicon is not the same as a full logo. While based on your brand identity, it is a simplified one favicon design, usually an icon or letter, adapted into the correct favicon file format for visibility across different browsers.
To create a favicon, design a small icon or simplified version of your logo, save it in ICO file format, PNG or SVG and upload it. Favicons contribute to consistent branding and recognition across websites, including platforms like a Wix website.
An example of a favicon is the tiny icon you see next to a site’s name in multiple tabs, bookmarks or Google search results. This visual identifier ensures website owners maintain consistent branding and shows the importance of favicon for recognition.
Yes, tools like Favicon.io, Canva and RealFaviconGenerator help website owners design favicons from an existing image or logo. These tools generate multiple favicon sizes in the right favicon file format, ensuring browser compatibility and consistent branding for any website, including platforms like Wix site.


Write A Comment