Key highlights
- Discover how WordPress Playground lets you test themes, plugins and design ideas instantly.
- Uncover what WordPress Playground blueprints are and how they let you preload specific plugins, themes and settings.
- Learn how developers, designers and beginners use WordPress Playground to safely test updates, build prototypes.
- Know exactly where WordPress Playground falls short, so you can make informed decisions.
Do you want to learn WordPress but hesitate because of hosting costs or the fear of breaking something? This happens to many aspiring website owners and developers who feel stuck before they even begin. The traditional path to learning WordPress typically requires purchasing hosting and navigating technical setups before you can practice a single thing.
Here’s the good news: you can now practice WordPress without hosting thanks to WordPress Playground. This free browser-based tool lets anyone experiment with WordPress instantly – no credit card required and no server configuration needed. Whether you’re a beginner or an experienced developer, learning how to use WordPress Playground opens doors you didn’t know existed.
In this comprehensive tutorial, you’ll discover exactly how to use WordPress without hosting and master every essential feature WordPress Playground offers. By the end, you’ll be confidently creating test sites and experimenting like a pro.
Get expert guidance over a call
📞 Call 888-401-4678What is WordPress Playground?
Before diving into the hands-on tutorial, understanding what WordPress Playground actually is and how it functions will help you maximize its potential. This foundation ensures you know exactly what to expect from this powerful learning tool.
WordPress Playground is a browser-based WordPress environment that runs entirely within your web browser. Unlike traditional WordPress installations that require web servers and databases, this innovative tool creates a complete WordPress instance right in your browser window.
WordPress Playground runs PHP entirely within your browser using WebAssembly technology. Instead of MySQL databases that typical WordPress installations require, Playground uses SQLite, a lightweight database that functions perfectly in browser environments.
If you’ve ever wished for a free WordPress sandbox environment to experiment freely, WordPress Playground delivers exactly that.
Also read: What Is WordPress Playground? A Beginner’s Guide
How to use WordPress Playground to test your WordPress website?
Now that you understand what WordPress Playground offers, let’s walk through accessing and navigating this browser-based WordPress environment step by step.
How to access WordPress Playground?
Getting started couldn’t be simpler. Open your preferred web browser – Chrome, Firefox or Edge work best – and navigate to playground.wordpress.net. That’s it. No downloads or installations required.
Within seconds, you’ll see a fully functional WordPress site loading in your browser. The instant loading experience often surprises first-time users who expect complicated setup processes. WordPress Playground eliminates all those barriers.
The initial screen displays a sample WordPress website on the left side and gives you access to the WordPress admin dashboard. You’re immediately ready to start exploring without any configuration steps.
How to navigate the WordPress Playground interface?
The WordPress Playground interface includes some unique elements alongside the familiar WordPress dashboard. At the top, you’ll notice a Playground-specific toolbar that provides quick access to important functions.
The main dashboard mirrors exactly what you’d see on a hosted WordPress installation. You’ll find familiar menu items including Posts, Pages, Appearance, Plugins and Settings. Everything functions just as it would on a live website.
Switching between your site’s front-end (what visitors see) and back-end (the admin dashboard) works identically to regular WordPress. Click your site name in the top-left corner to preview your site. Then use the admin bar to return to the dashboard.
The Playground toolbar includes options for:
- Viewing and editing your current configuration
- Saving your current state
- Resetting the environment
- Accessing advanced settings
How to configuring your Playground environment?
WordPress Playground lets you customize your testing environment to match specific scenarios. Click on settings or configuration option in the Playground toolbar to access these options.
You can select different PHP versions to test compatibility with older or newer server configurations. This proves invaluable when developing plugins or themes that need to work across various hosting environments.
WordPress version selection allows testing with current releases or previous versions. This helps developers ensure backward compatibility and lets beginners follow tutorials that might reference older interfaces.
For more advanced testing, you can enable multisite mode to practice managing WordPress networks. Enabling network access allows WordPress Playground to download themes and plugins from the official directories, expanding what you can test dramatically.
Also read: How WordPress Playground Works: Features, Use Cases and Limits
Essential tasks you can practice in WordPress Playground
With your WordPress Playground environment ready, let’s explore the practical tasks you can accomplish. This section covers the core activities that help you build real WordPress skills.

1. Installing and testing themes
Themes control how your WordPress site looks and Playground provides the perfect space to experiment with them. Navigate to Appearance and then Themes in your dashboard to begin exploring.
Click “Add New Theme” to browse the official WordPress theme directory. When network access is enabled, you can install any free theme directly within your Playground environment. Try searching for popular themes like Flavor or Flavor FSE to see modern block-based designs.
Install multiple themes and switch between them to compare how your content appears. This risk-free environment means you can activate any theme without worrying about breaking a live site. Customize colors and fonts through the Site Editor or Customizer depending on your theme type.
Test theme responsiveness by resizing your browser window to see how designs adapt to different screen sizes. This practical testing builds intuition about what makes themes work well across devices.
2. Installing and testing plugins
Plugins extend WordPress functionality and understanding how to evaluate them is essential. Navigate to Plugins and then Add New Plugin to access the plugin directory.
Try installing commonly used plugins to understand their purpose:
- Yoast SEO: Explore how SEO plugins help optimize content for search engines
- WPForms: Create contact forms and understand how form builders work
- WooCommerce: Preview eCommerce functionality and online store features
WordPress Playground allows safe WordPress plugin testing where you can configure settings and explore features without any consequences. Test how plugins interact with each other and identify potential conflicts – knowledge that proves valuable when building real websites.
3. Creating content and exploring the block editor
The WordPress block editor (Gutenberg) powers modern content creation and practicing here builds skills directly transferable to live sites. Create new posts and pages to experiment with different content types.
Add various blocks to understand their purposes:
- Paragraph and heading blocks for text content
- Image and gallery blocks for visual elements
- Columns and group blocks for layouts
- Button and spacer blocks for design enhancement
Practice uploading images and creating galleries. Experiment with block patterns-pre-designed combinations of blocks that speed up page building. The more you practice with the block editor in Playground, the more confident you’ll become when creating content that matters.
4. Exploring WordPress settings and features
Beyond content creation, WordPress includes numerous settings worth understanding. Navigate through the Settings menu to explore options that affect site behavior.
General Settings let you configure your site title, tagline and timezone. Permalink Settings control how your URLs appear-an important consideration for SEO. Practice switching between different permalink structures to understand how each affects URLs.
Explore user role management by creating test users with different permission levels. Understanding the distinction between administrators, editors, authors and subscribers helps when managing team websites later.
Create navigation menus through Appearance, then Menus (for classic themes) or through the Site Editor for block themes. Understanding menu creation logic transfers directly to live website building.
Using WordPress Playground blueprints
WordPress Playground blueprints represent a powerful feature that sets this tool apart. Blueprints let you create pre-configured Playground environments that load with specific themes, plugins and settings already in place.
What are WordPress Playground blueprints?
Think of WordPress Playground blueprints as recipes for creating customized WordPress environments. These JSON-based configuration files tell Playground exactly what to install and configure when launching.
Instead of manually installing themes and plugins every time you start a new session, blueprints automate the entire setup process. Load a blueprint URL and your customized WordPress environment appears instantly with everything pre-configured.
Blueprints also enable powerful sharing capabilities. Educators can create blueprints ensuring every student starts with identical environments. Development teams can share testing configurations to reproduce specific scenarios quickly. Tutorial creators can give readers exact starting points for following along.
How to use existing blueprints?
The WordPress community has created numerous blueprints covering common scenarios. Finding and using these existing blueprints saves significant setup time.
Blueprints load through URL parameters appended to the Playground address. When you encounter a blueprint link, clicking it automatically configures WordPress Playground according to that blueprint’s specifications.
Popular pre-made blueprints include configurations for:
- Testing specific theme and plugin combinations
- Learning environments with sample content pre-loaded
- Development setups with debugging tools enabled
- Demonstrations of particular WordPress features
Community resources and the official WordPress Playground documentation provide blueprint examples you can use immediately or modify for your needs.
Creating your own custom blueprints
Building custom WordPress Playground blueprints extends your control over testing environments. The basic structure uses JSON format to specify your configuration preferences.
A simple blueprint might specify:
- Which WordPress version to use
- What PHP version to run
- Which plugins to pre-install from the directory
- Which theme to activate
- What settings to configure automatically
Once created, your blueprint can be shared via URL. Anyone loading that URL gets your exact configuration instantly-perfect for collaboration or creating reproducible testing scenarios. The official WordPress Playground documentation provides comprehensive guidance on blueprint syntax and capabilities.
Tips for getting the most out of WordPress Playground
Maximize your WordPress Playground experience with these essential tips addressing common questions and concerns.
Skip the jargon and get live human help 24/7
💬 Chat with an Expert1. Saving and exporting your work
Remember that WordPress Playground sessions are temporary by default. Closing your browser tab loses everything you’ve created. However, you can preserve your work using the export functionality.
Look for the export option in the Playground toolbar to download your current environment. This creates a file you can import later to restore your exact state. Make exporting a habit whenever you’ve built something worth preserving.
Some browsers support persistent storage that lets Playground remember your session between visits. Enable this option in settings if you prefer continuity without manual exports. Be aware that browser storage has limitations and shouldn’t replace proper exports for important work.
2. Limitations to understand
While WordPress Playground offers tremendous capability, understanding its limitations prevents frustration. Some plugins requiring specific server configurations may not function properly in the browser-based environment.
Performance differs from real hosting environments. Playground sites may feel slower than well-optimized hosted WordPress installations, especially with resource-intensive themes or plugins.
Email functionality doesn’t work since there’s no actual mail server. Plugins that send notifications or require email verification won’t function as expected. Some API integrations requiring external server connections may also face limitations.
Despite these constraints, WordPress Playground still provides exceptional value for learning and testing core WordPress functionality.
3. When to transition from Playground to real hosting
WordPress Playground excels for learning and testing, but eventually you’ll want a real website. Recognizing when you’re ready helps plan your transition effectively.
Signs you’re ready for hosted WordPress include:
- Feeling comfortable navigating the WordPress dashboard
- Understanding how themes and plugins work together
- Successfully creating and organizing content
- Wanting a permanent site that others can visit
Moving to proper WordPress hosting provides benefits Playground cannot offer: permanent storage, real performance optimization, actual domain names, email functionality and the ability to grow a genuine online presence.
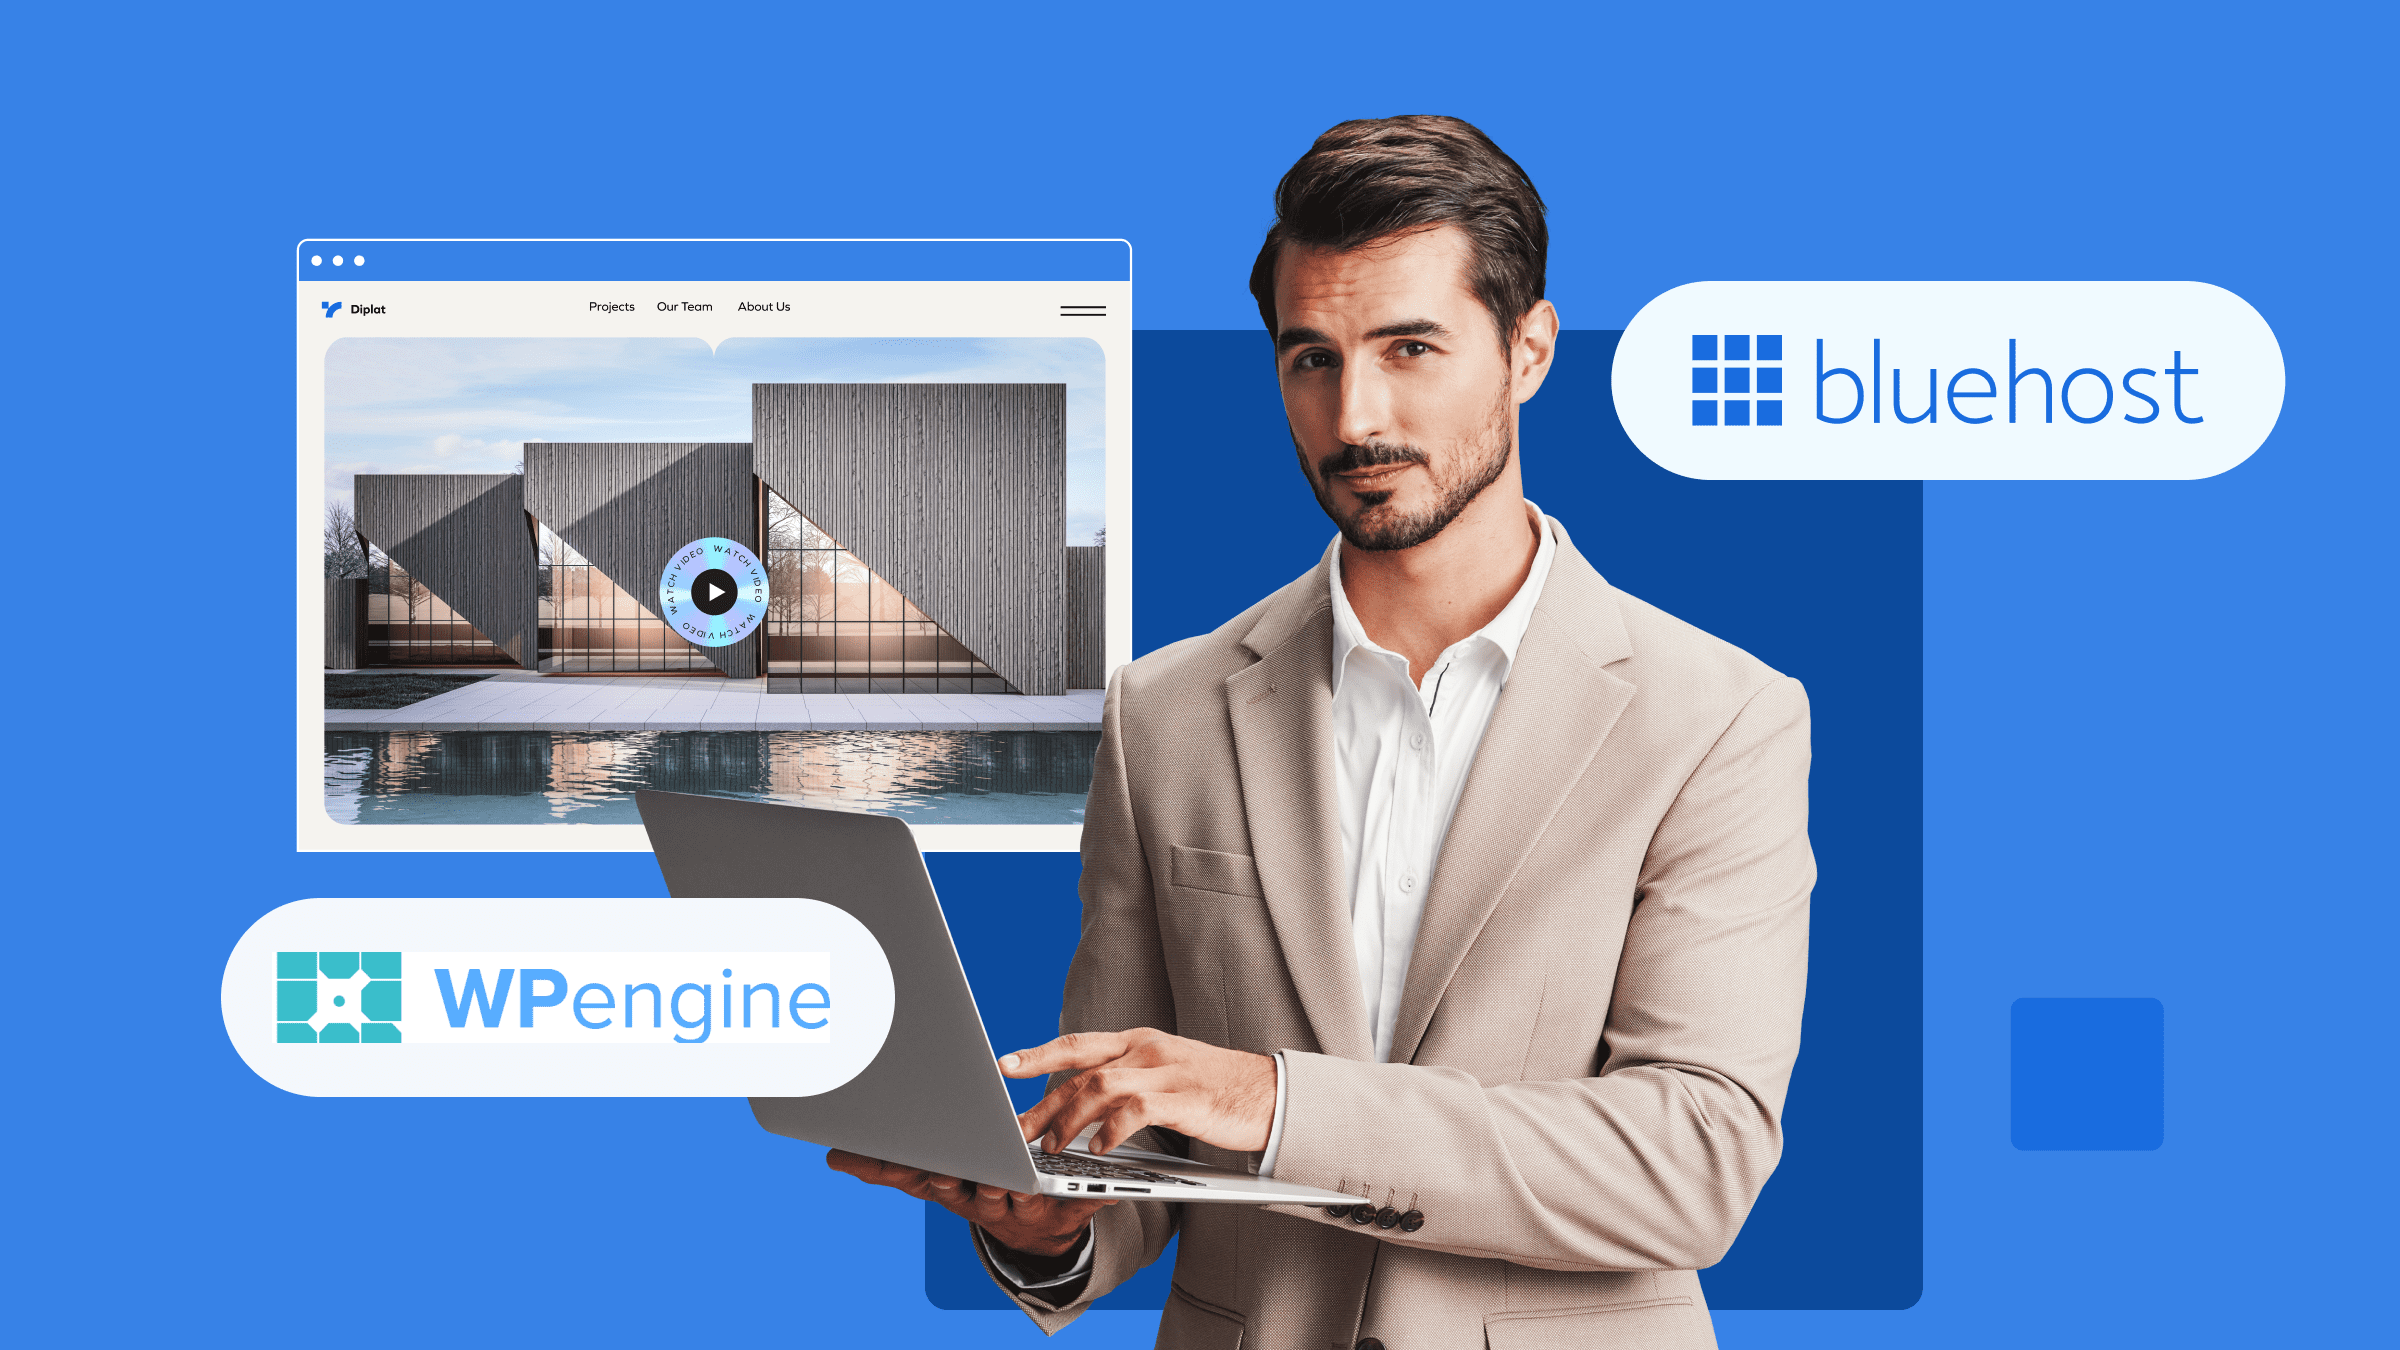
How to take your WordPress site live with Bluehost?
Once you’ve finished tinkering in WordPress Playground, the natural next step is finding a permanent home for your website. Bluehost offers a seamless bridge between your experimental projects and a fully realized online presence.
Designed to be as easy as the Playground environment, our WordPress hosting features a one-click setup that gets your site live on professional-grade infrastructure instantly. Your work moves from a temporary browser session to a permanent, global stage where it stays accessible to everyone, 24/7.
Benefits of Bluehost WordPress hosting include:
- Free domain name: Establish your brand with a custom web address included in your plan, free for first year.
- Automatic SSL Security: Keep your website safe with built-in HTTPS encryption.
- Enterprise grade reliability: With a 99.9% uptime guarantee you can stay assured that your site is always accessible to your visitors.
- Expert human support: Access expert guidance 24/7 over chat or call.
- AI-powered website creation: Use intelligent design tools to polish your website instantly.
As a provider officially recommended by WordPress.org, we’ve spent years perfecting our hosting service. Ready to go live? Launch your professional site with Bluehost today and turn your Playground experiments into real websites.
Final thoughts
Learning how to use WordPress Playground removes every traditional barrier to WordPress education. You can now practice WordPress without hosting costs, experiment without fear and build genuine skills in a consequence-free environment.
Throughout this tutorial, you’ve discovered how WordPress Playground works behind the scenes and how to navigate its interface effectively. You’ve learned to test themes and plugins safely, create content using the block editor and leverage WordPress Playground blueprints for advanced workflows.
The best next step is simply starting:
- Open playground.wordpress.net in a new tab.
- Install a theme that catches your eye.
- Create a sample page or test a plugin you’ve been curious about.
Every minute spent practicing in WordPress Playground builds confidence for when you’re ready for a live website.
Once you’re ready with a version of your website that you want to take live, you’ll need to choose a suitable hosting service. Choose Bluehost WordPress Hosting today for a fast and reliable WordPress website!
FAQs
The best AI website builder for WordPress is WordPress Playground combined with AI-powered plugins like Jetpack AI, Spectra AI, or the built-in AI features in page builders such as Elementor and Divi. These tools let you create a website with AI by generating layouts, content, and designs automatically. WordPress Playground is especially powerful because it provides a no-install, browser-based environment where you can test and build AI-generated websites instantly without any technical setup.
To create a website with AI using WordPress Playground, open the Playground environment in your browser, then install an AI-powered WordPress plugin such as Jetpack AI or a GPT-based content generator. Use the AI tools to automatically generate pages, content, and themes based on your prompts. WordPress Playground runs entirely in your browser with no hosting required, making it one of the fastest ways to build a website with AI without any coding experience or server configuration.
The best AI tools to create a website with WordPress include Jetpack AI for content generation, Elementor AI for drag-and-drop design, Spectra AI for block-based layouts, and ChatGPT-integrated plugins for automated copywriting. These tools help you build a website with AI by handling design, SEO, and content simultaneously. When combined with WordPress Playground, these AI tools allow you to prototype and launch a complete website faster than traditional methods.
You can build a website with AI without any coding experience by using WordPress Playground alongside AI-powered plugins that handle design and content generation automatically. Simply describe your website goals in a prompt, and the AI tools generate pages, layouts, and copy for you. Platforms like WordPress Playground make this even more accessible because they require no hosting setup, no installs, and no technical knowledge — just open your browser and start building.
WordPress Playground is a free, browser-based WordPress environment that runs entirely in your browser using WebAssembly, requiring no hosting, installation, or server setup. It works with AI by allowing you to instantly install AI-powered WordPress plugins and test AI-generated themes, content, and layouts in a live environment. This makes WordPress Playground one of the best AI tools to create a website quickly, since you can experiment and prototype without any risk to a live site.
Yes, AI can automatically generate WordPress themes, page layouts, and content for a new website using tools like Jetpack AI, Elementor AI, and GPT-powered content plugins. These are among the best AI tools to create a website because they reduce manual design and writing time significantly. In WordPress Playground, you can use these AI tools to generate and preview a fully designed website in minutes, making it ideal for anyone learning how to create a website with AI.
Yes, WordPress Playground is completely free to use for building AI-powered websites, as it is an open-source project maintained by the WordPress community. You can access it directly in your browser at the playground website without any account or payment required. While WordPress Playground itself is free, some AI plugins you install within it may have their own pricing tiers, so it is worth reviewing each tool’s costs before committing to a specific AI website builder for WordPress.
Using AI to create a website in WordPress Playground is significantly faster and more accessible than traditional website building methods, which typically require manual coding, hosting configuration, and design expertise. AI tools automate content generation, layout creation, and SEO optimization, while WordPress Playground eliminates the need for server setup entirely. Traditional methods offer more fine-grained control, but for users exploring how to build a website with AI, WordPress Playground provides an unmatched combination of speed, flexibility, and zero technical barriers.

Write A Comment