 ChatGPT,
  Claude,
  Gemini,
  Grok — all four for
 Professional Email: How to Create Contact Groups
A contact group lets you save a list of email addresses under one name, so you can send a single email to everyone on the list at once. This article explains how to create a contact group in Professional Email, either by adding the addresses yourself or by importing them from a CSV file, and how to send an email to a group.
Log In to Professional Email Webmail
Option 1: Use the Login to Webmail button
- Log in to your Bluehost Portal.
- From the left-hand navigation menu, click on the Email tab.
- Optional: In Professional Email, if multiple plans are listed, click Manage for the plan you want to use.
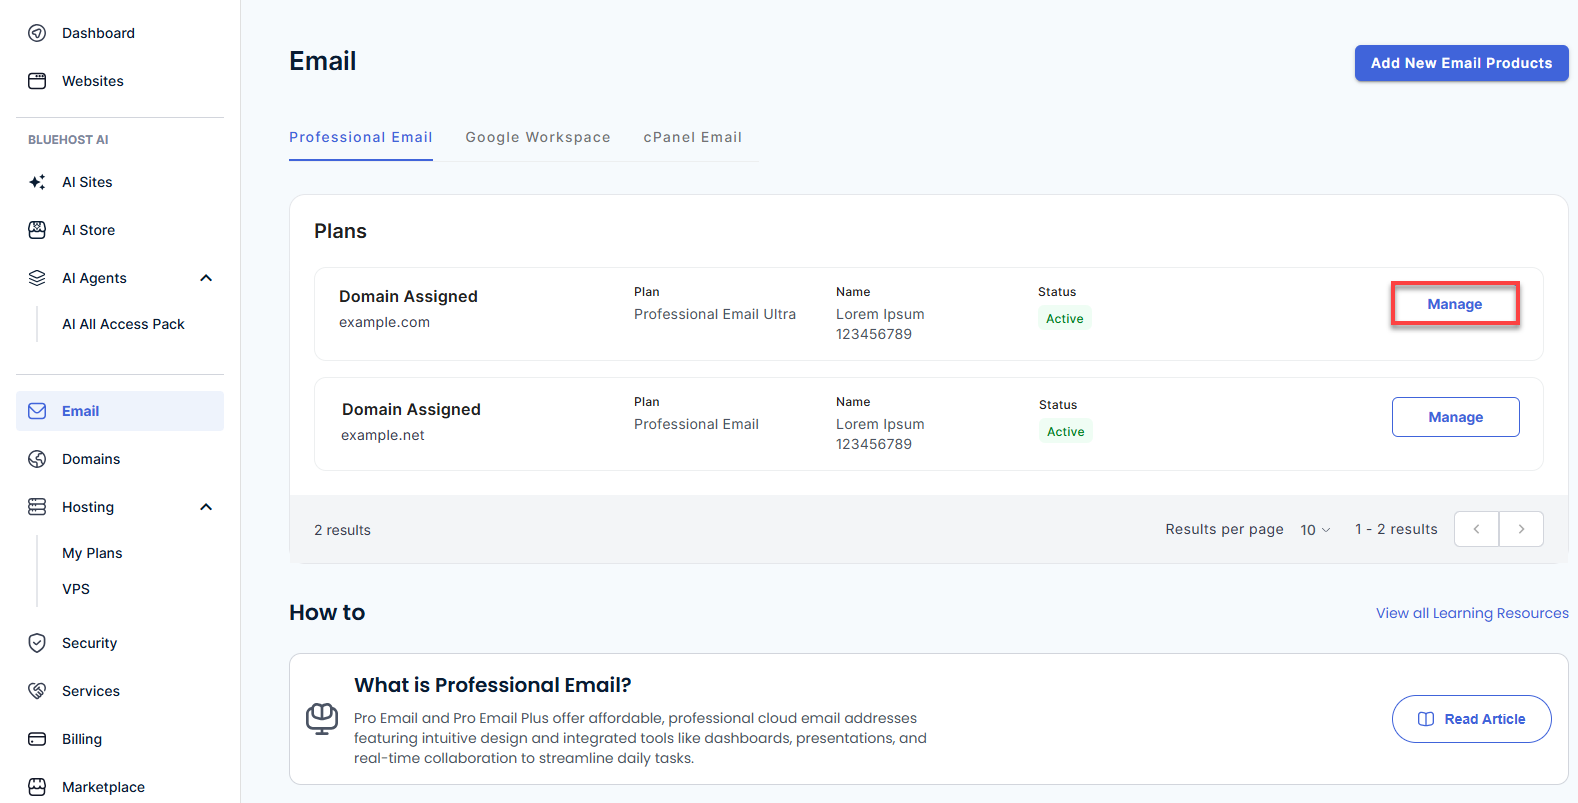
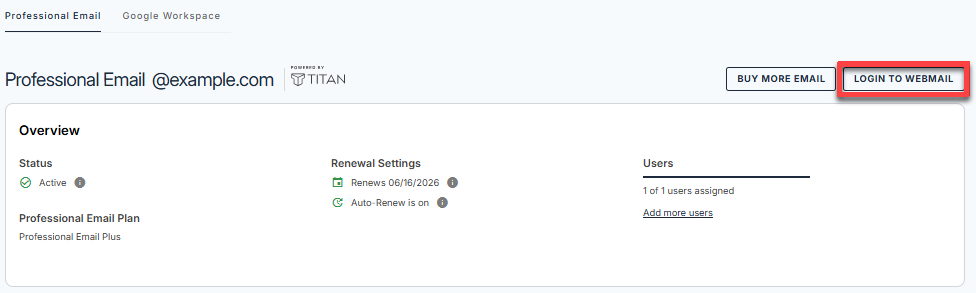
- You’ll be automatically redirected to the Email Management page, where you can manage your email settings and subscriptions.
- Select the Login to Webmail button.
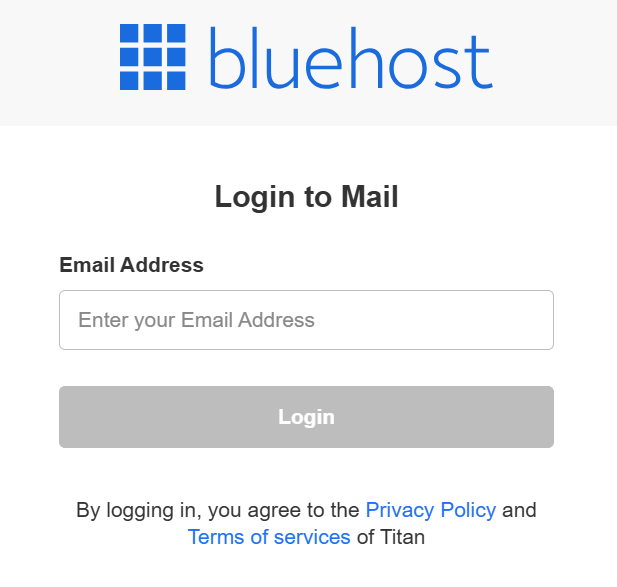
- Enter your Professional Email username and password.
Option 2: Use the direct login link
- Go to the Professional Email login page.
- Enter your Professional Email username and password.
Create a Contact Group
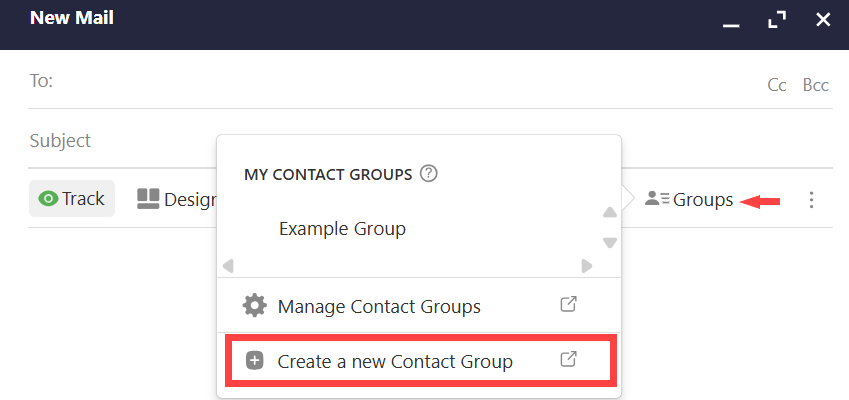
- In your Professional Email webmail, click New email.

- In the toolbar below the Subject line, click Groups, and then select Create a new Contact Group. The Create a Contact Group window opens.
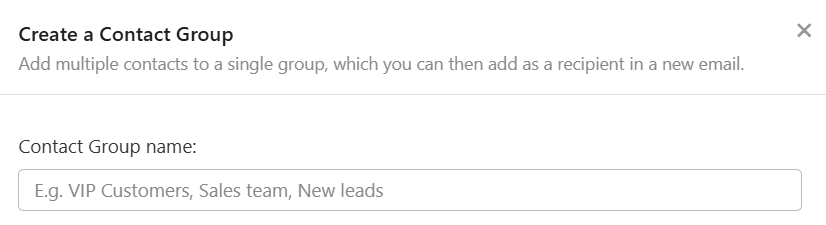
- In the Contact Group name field, enter a name for the group, for example, Sales team.
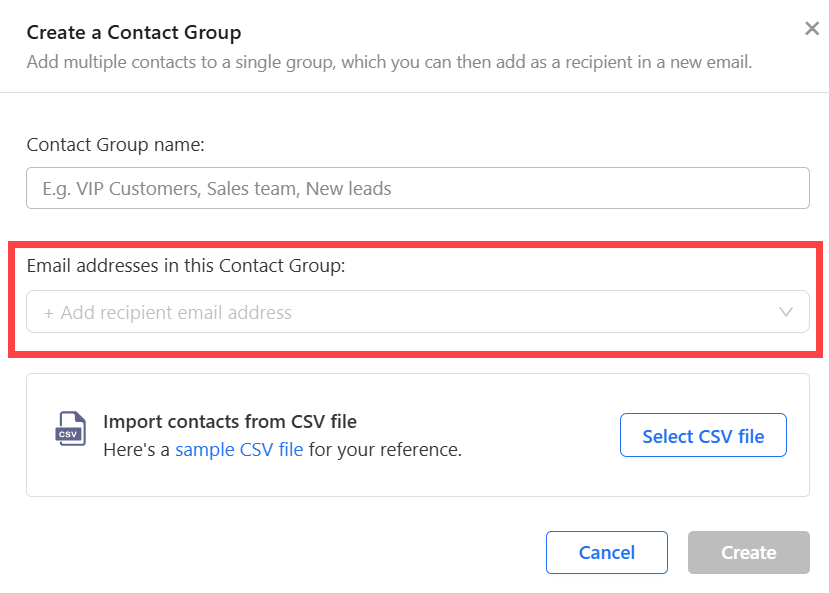
- Under Email addresses in this Contact Group, type an email address or select one from the drop-down list. Repeat for each address you want to add.
- Click Create.
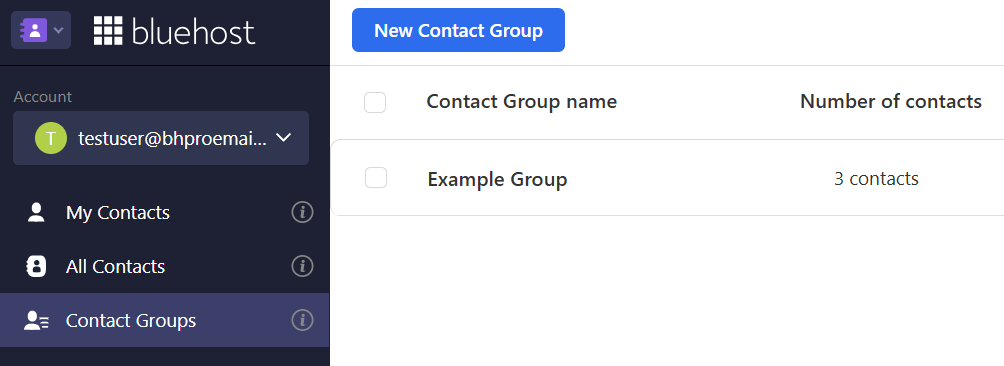
Your new group appears in your list of contact groups, along with the number of contacts it contains.
Create a Contact Group From a CSV File
If you already have your contacts in a spreadsheet, you can import them instead of typing each address.
- Open the Create a Contact Group window and enter a name for your group by following steps 1 through 3 in Create a Contact Group.
- Under Import contacts from CSV file, select the sample CSV file link if you want to see how to format your own file. The sample has columns for email, first name, and last name.
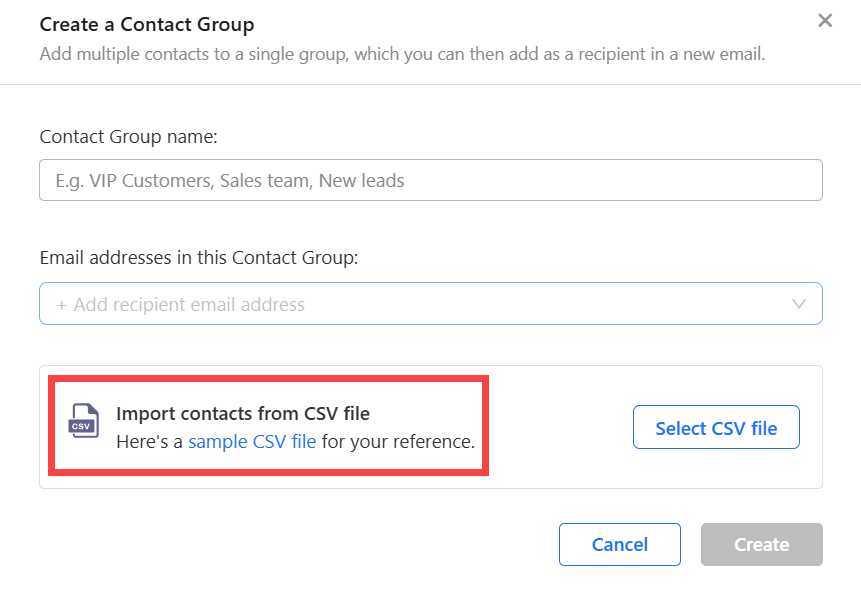
- Click Select CSV file, and then choose your file.
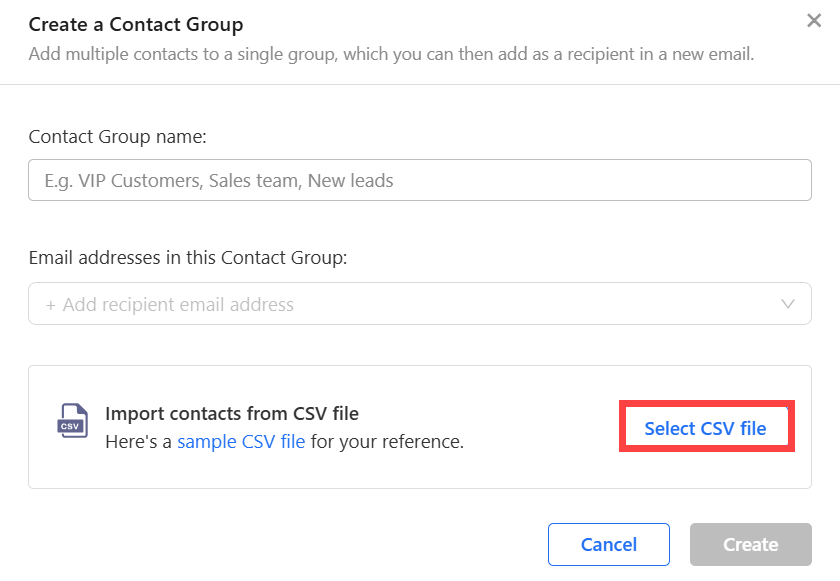
- Click Create.
Your new group appears in your list of contact groups, along with the number of contacts it contains.
Send an Email to a Contact Group
Once a contact group exists, you can select it when you write an email.
- In your Professional Email webmail, click New email.
- In the toolbar below the Subject line, click Groups, and then select the group you want to email. The group is added as a recipient of your email.
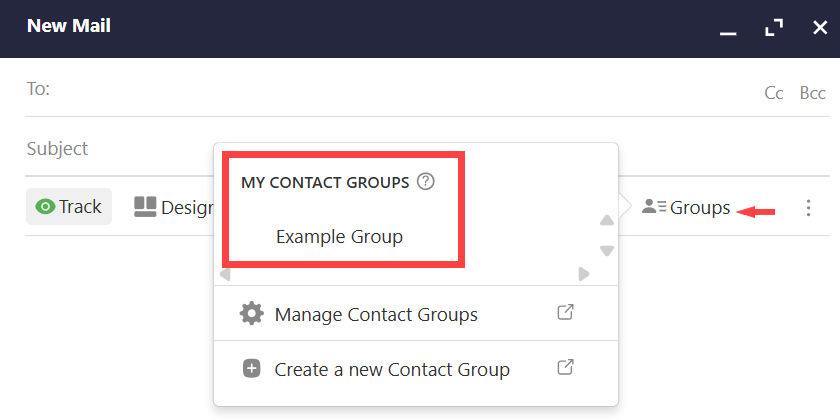
- Write your message, and then click Send.
Summary
A contact group in Professional Email lets you email many people at once under a single name. To create one, click New email in your webmail, click Groups, and select Create a new Contact Group. Name the group, add email addresses by typing them or choosing them from the drop-down list, or import them from a CSV file, and then click Create. After that, you can select the group from the Groups menu whenever you write a new email.
If you need further assistance, Bluehost Chat Support is available 24 hours a day, 7days a week while Bluehost Phone Support is available 7 days a week from 7 am-12 midnight EST.
- Chat Support - While on our website, you should see a CHAT bubble in the bottom right-hand corner of the page. Click anywhere on the bubble to begin a chat session.
- Phone Support -
- US: 888-401-4678
- International: +1 801-765-9400
You may also refer to our Knowledge Base articles to help answer common questions and guide you through various setup, configuration, and troubleshooting steps.