 ChatGPT,
  Claude,
  Gemini,
  Grok — all four for
 Reimage Your Server for OpenLiteSpeed + Node.js Installation
Get your Node.js application up and running quickly with OpenLiteSpeed on Bluehost Self-Managed VPS or Virtual Dedicated Server (VDS). This guide walks you through installing the OpenLiteSpeed + Node.js Application template using the Bluehot Portal and accessing your server after installation
How to Reimage Your Server for OpenLiteSpeed + Node.js Installation
To install OpenLiteSpeed + Node.js:
This applies to both VPS and VDS.
- You can install only one application using the one-click installer.
- To change or delete your application, follow the guide: How to Change an Application. Create a backup of your existing applications or templates.
- To keep your current template, install the new application manually using SSH. Follow the same steps for both Self-Managed VPS and Virtual Dedicated Server (VDS). The system automatically selects the recommended operating system for OpenLiteSpeed + Node.js.
- Log in to your Bluehost Portal.
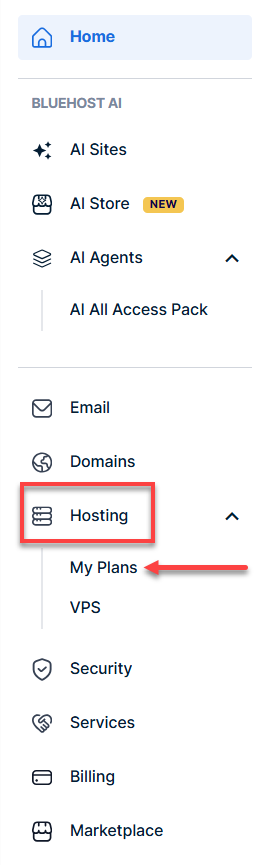
- In the left-hand menu, click Hosting, then select My Plans.
- Click the Manage button on the hosting package you want to reimage.

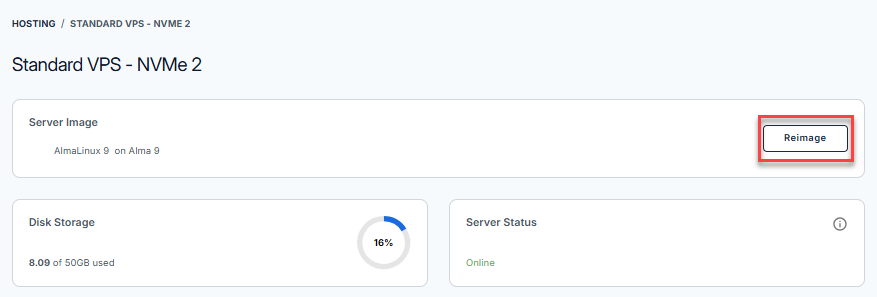
- Click the Reimage button.
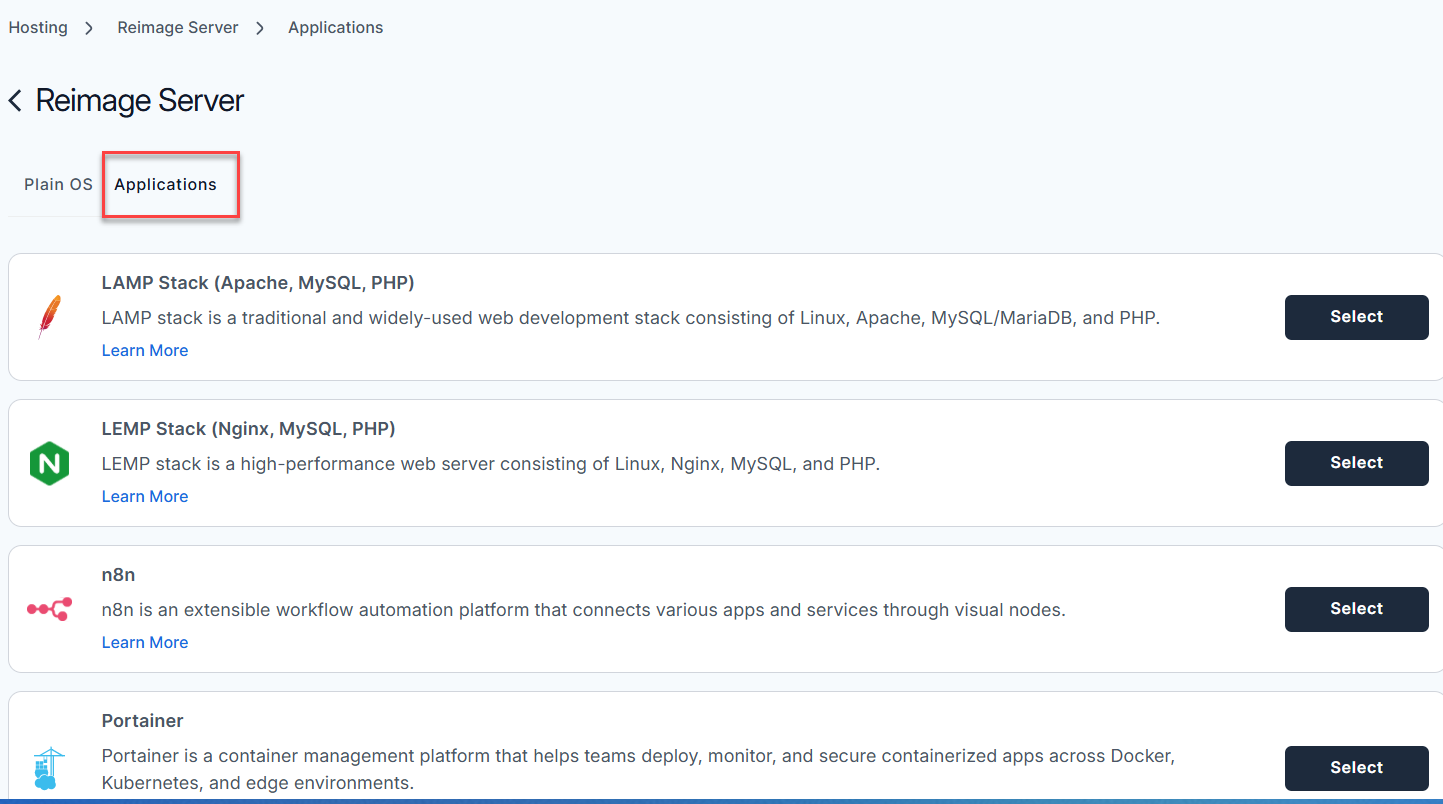
- Select the Applications tab.
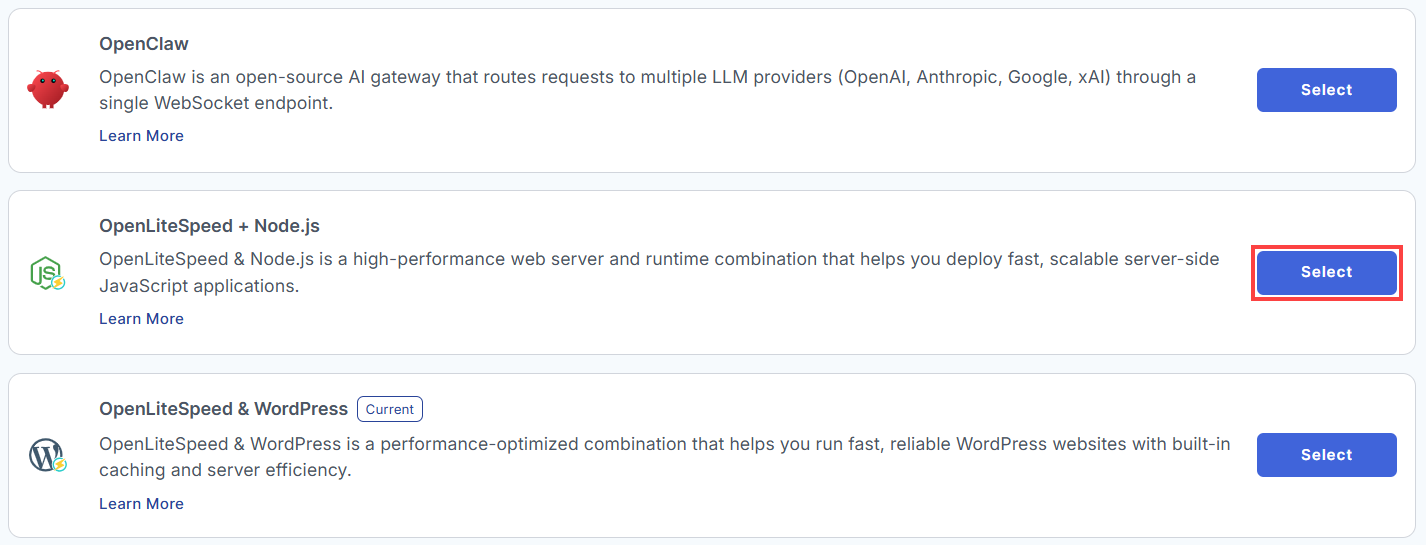
- From the list, find OpenLiteSpeed + Node.js and click Select.
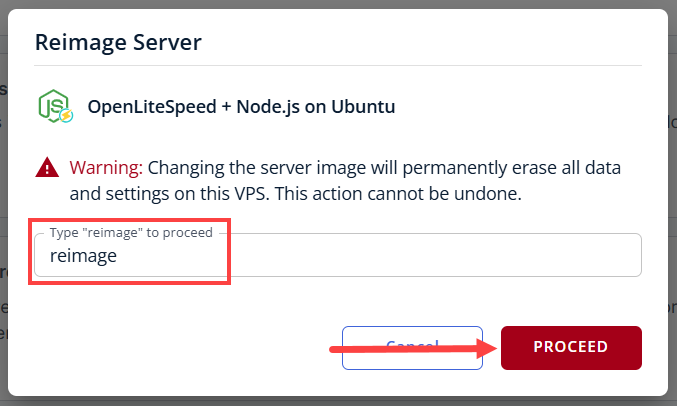
- To confirm, please type "reimage" and then click Proceed to start the process.
- Wait a few moments while the installation completes.

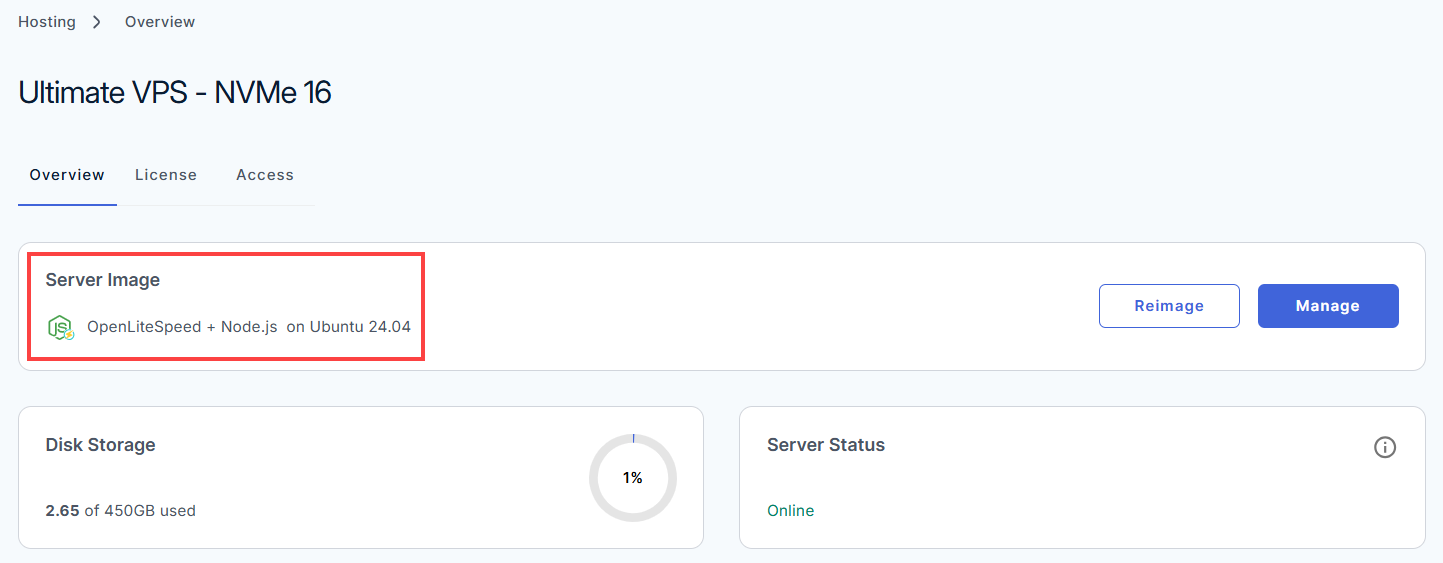
- Once completed, you will see OpenLiteSpeed + Node.js listed in the Server Image section.
Access Your OpenLiteSpeed + Node.js Dashboard
After installation completes:
- Log in to your Bluehost Portal.
- In the left-hand menu, click Hosting, then select My Plans.
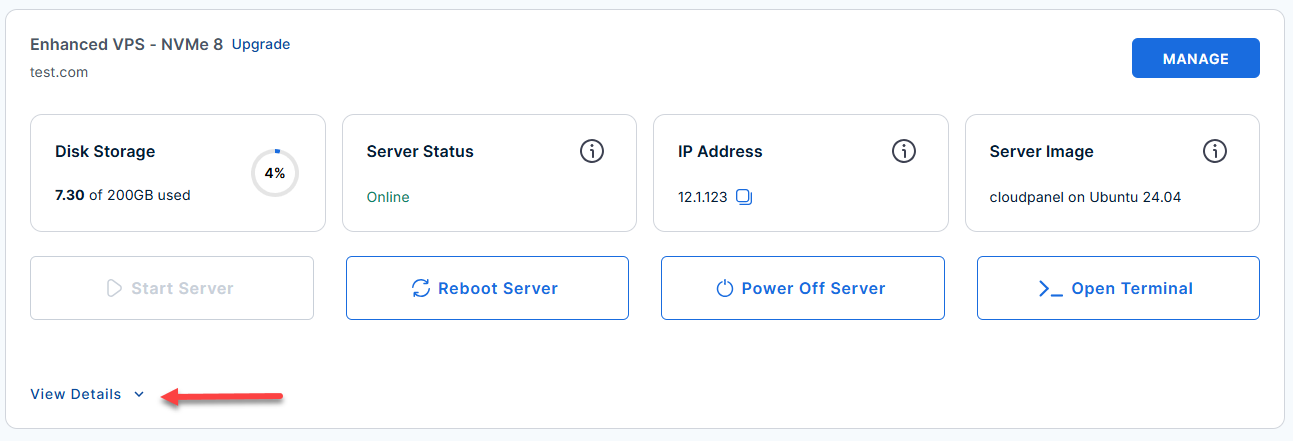
- Locate the server you want to manage, then click View Details in the bottom-left corner to expand the section and access additional server information.
- Click the Reset Password.
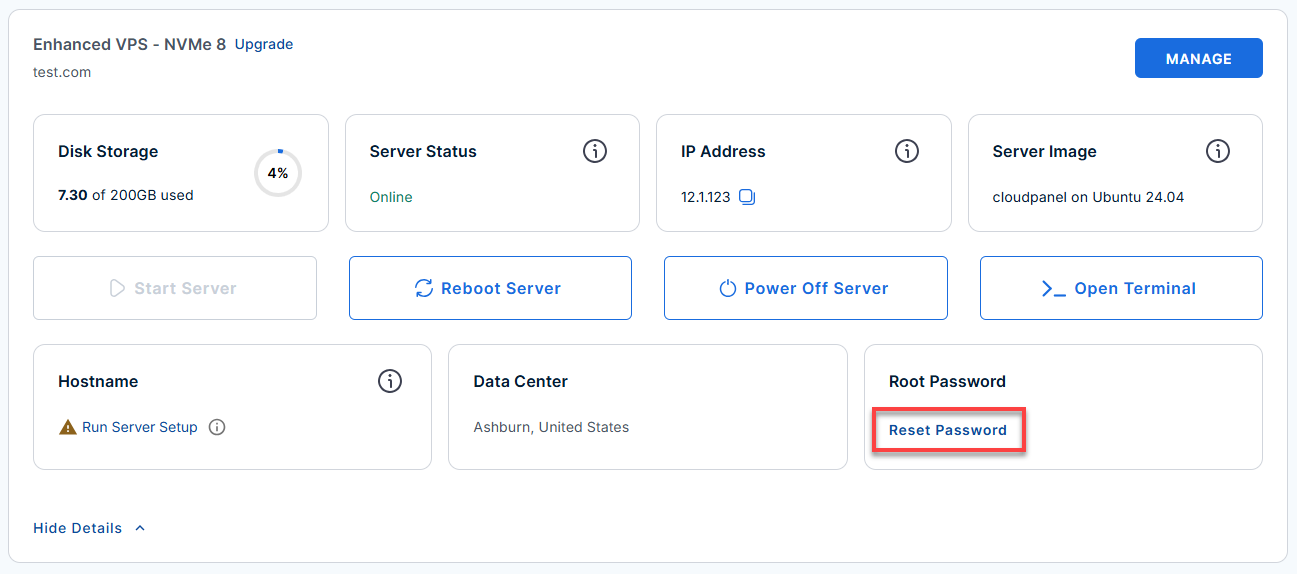
- In the pop-up window, type your new root password, then click Reset Password again to confirm and save the changes.
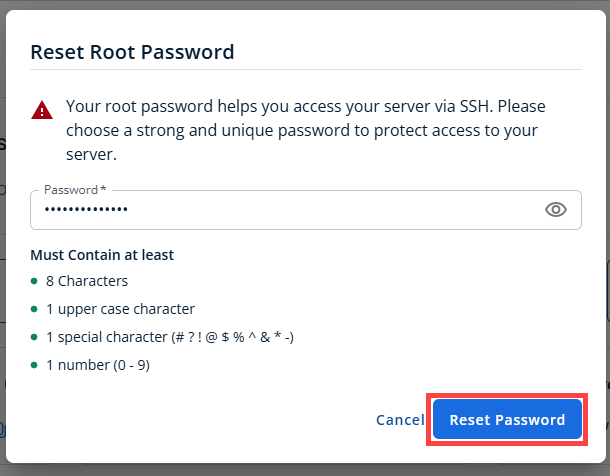
- Connect to your VPS via SSH.
Use your VPS IP and credentials with an SSH client, follow the prompts, and enter your root password when asked:Replaceyour_server_ipwith your actual server IP address.ssh root@your_server_ip - Retrieve your password by running this command.
grep OLS_ADMIN_PASS /root/.app_passwords
- You will see the password for your dashboard.
Example:root@server-123456:~# grep OLS_ADMIN_PASS /root/.app_passwords OLS_ADMIN_PASS=0pyjA1ItjdBvI05SEP3m34AC - Access your Web UI. Enter the
Replace
your_server_ipwith your actual server IP address.http://server_IP:7080/in your browser. (Example:http://12.3.456.789:7080/)If the "Your connection isn't private" page appears, click Advanced, then click Proceed to 12.3.456.789 (unsafe) to access the site.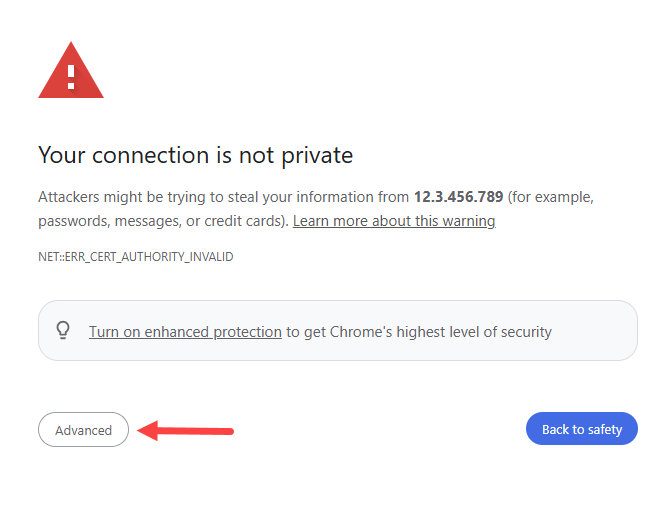
- You will be redirected to your dashboard login page.
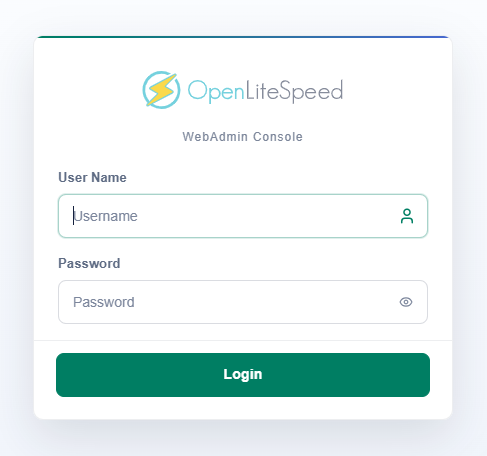
- Enter the credentials you got from Steps 6 and 8.
- You will be redirected to your dashboard.
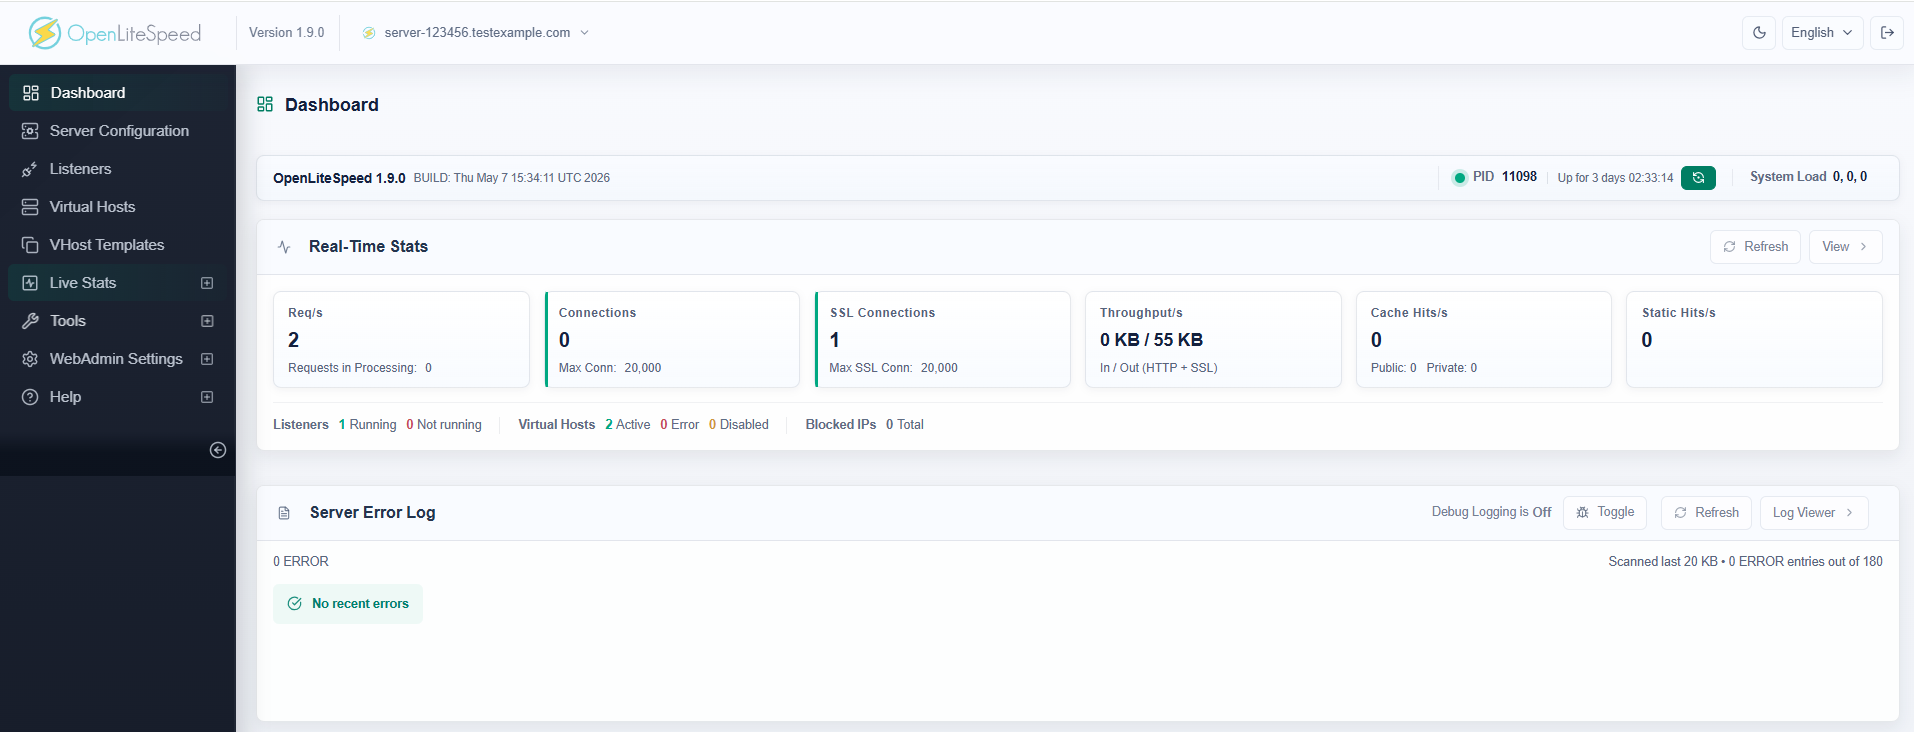
Additional Information and Example Documentation Output
You can run cat /root/README.md to see more information and useful commands:
Example Output:
root@123456:~# cat /root/README.md
# OpenLiteSpeed + Node.js

## Description

OpenLiteSpeed and Node.js is a high-performance web server and runtime combination that helps you deploy fast, scalable server-side JavaScript applications. OpenLiteSpeed handles efficient traffic delivery while Node.js powers real-time, event-driven back-end logic, making this stack ideal for APIs, web apps, and dynamic services that demand speed and concurrency.

## Image contents

* OpenLiteSpeed from the official LiteSpeed repository (`repo.litespeed.sh`)
* Node.js 22 LTS via NodeSource
* Placeholder Node.js application at `/var/www/html/nodejs/app.js`
* OLS virtual host configured to proxy all traffic -> Node.js port 3000
* `nodejs-app` systemd service to manage the Node.js process
* `openlitespeed` systemd service (depends on `nodejs-app`)
* UFW firewall: ports 22, 80, 7080 open
* Log rotation at `/etc/logrotate.d/openlitespeed-nodejs`
* Login banner at `/etc/update-motd.d/99_openlitespeed-nodejs`
* First-boot script at `/var/lib/cloud/scripts/per-instance/001_onboot`

## Services

Service         | Port | Description
--------------- | ---- | -----------------------------------------------
OpenLiteSpeed   | 80   | HTTP - proxies all traffic to Node.js on 3000
OLS WebAdmin    | 7080 | Web-based admin console (HTTP)
nodejs-app      | 3000 | Internal - proxied by OLS, not exposed directly
OpenSSH         | 22   | Remote access

## First boot behavior

`/var/lib/cloud/scripts/per-instance/001_onboot` runs once on first boot:

1. Generates a 24-character random WebAdmin password.
2. Stores it in `/root/.app_passwords` (mode 600).
3. Sets the password using the official OLS `admpass.sh` tool.
4. Starts `nodejs-app` and waits for port 3000.
5. Starts `openlitespeed`.

No credentials are baked into the image - every instance gets a unique password.

## Accessing the UI

After first boot, open in a browser:

* **Node.js app:** `http://server-ip/`
* **OLS WebAdmin:** `http://server-ip:7080/`
  * Username: `admin`
  * Password: run `grep OLS_ADMIN_PASS /root/.app_passwords` on the server

## HTTPS / SSL

OpenLiteSpeed includes built-in Let's Encrypt support. To enable HTTPS:

1. Open the OLS WebAdmin console at `http://server-ip:7080/`
2. Navigate to **Listeners** and add an SSL listener on port 443.
3. Under the virtual host, use the built-in **Let's Encrypt** option to
   provision a certificate for your domain.

A valid domain name pointing to this server is required for Let's Encrypt.

## Deploying your Node.js application

Replace the placeholder with your own application:

```bash
# Upload your app files to /var/www/html/nodejs/
# Then restart:
systemctl restart nodejs-app
```

Your app must listen on `127.0.0.1:3000`. Use `process.env.PORT || 3000`.

## Useful commands

```bash
# Service status
systemctl status openlitespeed
systemctl status nodejs-app

# Restart services
systemctl restart nodejs-app
systemctl restart openlitespeed

# Logs
tail -100 /usr/local/lsws/logs/error.log
tail -100 /var/log/nodejs/app.log
journalctl -u openlitespeed -n 100 --no-pager
journalctl -u nodejs-app -n 100 --no-pager

# WebAdmin password
grep OLS_ADMIN_PASS /root/.app_passwords

# Reset WebAdmin password manually
/usr/local/lsws/admin/misc/admpass.sh
```

## Validation tests

```bash
perl /root/app_test/main.t
```

Runs 14 checks: services enabled and active, all config and service files
present, Node.js binary available, `admpass.sh` present, port 80 listening,
and end-to-end HTTP proxy response verified.

## Important paths

Path | Description
---- | -----------
`/usr/local/lsws/conf/httpd_config.conf` | OLS main server config
`/usr/local/lsws/conf/vhosts/nodejs/vhconf.conf` | OLS virtual host (proxy)
`/usr/local/lsws/logs/` | OLS server logs
`/usr/local/lsws/admin/conf/htpasswd` | WebAdmin credentials (hashed)
`/usr/local/lsws/admin/misc/admpass.sh` | OLS password reset tool
`/var/www/html/nodejs/app.js` | Node.js application entry point
`/var/log/nodejs/app.log` | Node.js application log
`/var/log/openlitespeed-nodejs/` | OLS service log
`/root/.app_passwords` | Plaintext WebAdmin password (mode 600)
`/etc/openlitespeed/openlitespeed.env` | OLS port/user reference file

## Links

* Manage: [OpenLiteSpeed WebAdmin](http://server-ip:7080/)

**OpenLiteSpeed**
* Home: [openlitespeed.org](https://openlitespeed.org/)
* Documentation: [docs.openlitespeed.org](https://docs.openlitespeed.org/)
* Installation guide: [Install from Repository](https://docs.openlitespeed.org/installation/repo/)
* Node.js app server setup: [App Server - Node.js](https://docs.openlitespeed.org/config/appserver/nodejs/)
* Reverse proxy configuration: [Reverse Proxy](https://docs.openlitespeed.org/config/reverseproxy/)
* Community forum: [forum.openlitespeed.org](https://forum.openlitespeed.org/)

**Node.js**
* Home: [nodejs.org](https://nodejs.org/)
* Node.js 22 LTS docs: [Previous Releases](https://nodejs.org/en/about/previous-releases)
* npm documentation: [docs.npmjs.com](https://docs.npmjs.com/)
* NodeSource distributions: [nodesource/distributions](https://github.com/nodesource/distributions)
Summary
Bluehost makes it easy to deploy an OpenLiteSpeed + Node.js Application environment on a Self-Managed VPS or Virtual Dedicated Server (VDS). Simply access your server, select Reimage, choose OpenLiteSpeed + Node.js Application, confirm the installation, and wait for the setup to complete. Once installed, you can access your server through the Bluehost Portal and start deploying modern Node.js applications powered by the performance and efficiency of OpenLiteSpeed.