Key highlights
- Learn how to configure PHP display errors correctly for development troubleshooting and production security.
- Discover why exposing error messages on live sites creates dangerous security vulnerabilities.
- Master the essential PHP settings that control error visibility and logging behavior.
- Understand best practices for debugging without compromising sensitive system information.
- Explore proven techniques to balance developer productivity with robust security measures.
Managing PHP display errors effectively is one of the most critical skills every web developer and server administrator must master. Whether you’re troubleshooting a stubborn bug in your development environment or securing your production website, understanding how to properly configure PHP display errors can mean the difference between a smooth user experience and a security vulnerability that exposes sensitive information to potential attackers.
In this comprehensive guide, you’ll learn everything you need to know about PHP display errors settings, from basic configuration to advanced security practices. We’ll cover the essential php.ini configurations, demonstrate multiple methods to enable and disable error reporting and explore the crucial security considerations that protect your website from information disclosure vulnerabilities.
What is PHP display error and why does it matter?
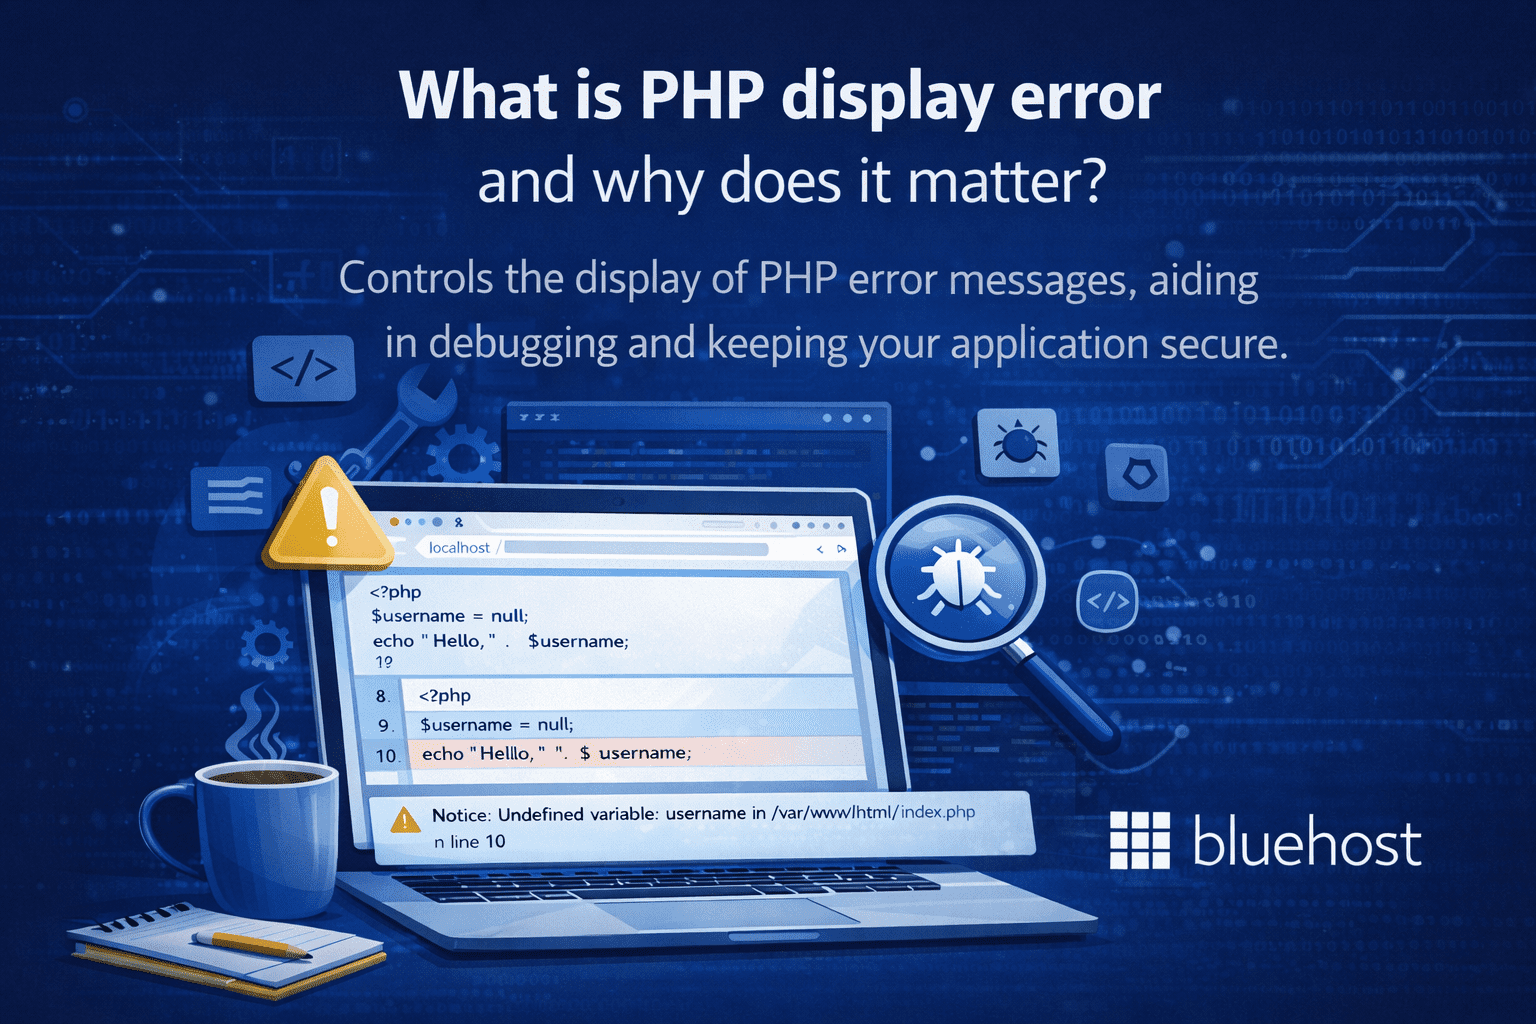
PHP display error refers to how PHP outputs error messages when something goes wrong in your application. The directive controls whether these errors are shown directly in the browser, making it a critical component of both debugging workflows and application security.
Correctly configuring PHP display error settings ensures developers can diagnose problems quickly without exposing sensitive system information to users.
Understanding `display_errors` and `error_reporting`
PHP error configuration relies on two interconnected settings that control how errors are handled and displayed during development.
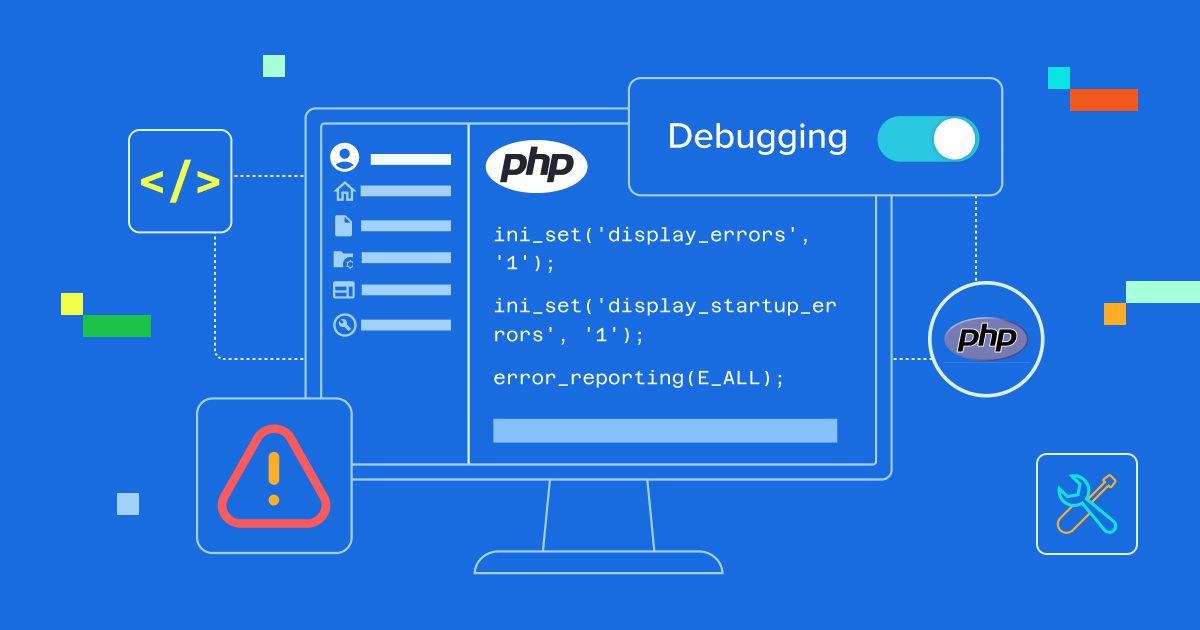
- Configuration methods: Enable PHP errors through php.ini modifications, `ini_set(‘display_errors’, 1)` in your code or .htaccess directives for flexible control.
- `error_reporting` Function: Determines which error types get reported—use `error_reporting(E_ALL)` to capture all errors, warnings, deprecated functions and strict standards.
- `display_errors` Setting: Controls whether reported errors are shown to users on screen or kept hidden.
- WordPress integration: Add directives to wp-config.php to enable error reporting and identify plugin conflicts or theme issues efficiently.
Combine these settings in development environments for comprehensive debugging without permanent server configuration changes.
How PHP errors help debugging
Error display serves as an invaluable tool for quickly identifying and resolving development issues.
- Common issues detected: Undefined variables, missing function calls, database connection failures and syntax errors become immediately visible.
- Error categories: Fatal errors halt execution, warnings signal potential problems and notices highlight minor coding issues requiring attention.
- Diagnostic messages: Errors like “PDOException could not find driver” provide direct feedback about missing extensions or misconfigurations.
- Critical scenarios: Error checking proves essential when working with databases, file operations, SSL connections or third-party libraries.
Enable error display during development to identify and resolve issues before deployment to production environments.
The security risks of displaying errors in production
While beneficial for debugging, displaying PHP errors in production environments creates serious security vulnerabilities.
- Information exposure: Error messages reveal sensitive details about server configuration, database structure, file paths and internal application logic to potential attackers.
- Production recommendation: Always set `display_errors = Off` in live environments to prevent information disclosure.
- Secure logging alternative: Enable `log_errors = On` with a designated `error_log` path so administrators can privately review issues without exposing system details.
- User-friendly error handling: Implement custom error pages that provide helpful messages without revealing technical information while maintaining detailed logs for debugging.
Balance security and functionality by disabling error display while maintaining robust logging – you can still monitor and debug effectively without compromising system security.
Methods to enable PHP error display
There are several effective ways to enable PHP error display depending on your server access level and specific requirements. Let’s explore each method with practical examples you can implement immediately.
1. Modifying php.ini configuration
The most permanent and comprehensive way to control PHP error display is through your php.ini configuration file. This approach affects your entire PHP installation and provides the most control over error handling behavior.
To enable PHP errors through php.ini, locate your configuration file (usually found at /etc/php/php.ini or similar path) and modify these key directives:
For development environments:
- display_errors = On
- display_startup_errors = On
- error_reporting = E_ALL
- log_errors = On
- error_log = /path/to/yourlog
For production environments:
- display_errors = Off
- display_startup_errors = Off
- error_reporting = E_ALL & ~E_DEPRECATED & ~E_STRICT
- log_errors = On
- error_log = /path/to/your/secureerror.log
After making these changes, remember to restart your web server to apply the new configuration. You can verify your changes took effect by creating a simple PHP file with phpinfo() and checking the error handling sections.
2. Using ini_set() for runtime configuration
The ini_set() function allows you to modify PHP configuration settings dynamically within your scripts. This method is particularly useful when you don’t have direct access to php.ini or need different error handling for specific scripts.
Here’s how to use ini_set to control error display:
To enable error display:
- ini_set(‘display_errors’, 1);
- ini_set(‘display_startup_errors’, 1);
- error_reporting(E_ALL);
To disable error display:
- ini_set(‘display_errors’, 0);
- error_reporting(0);
Place these lines at the beginning of your PHP scripts, preferably in a configuration file that’s included across your application. This ensures consistent error handling throughout your codebase.
3. Configuring error display through .htaccess
For Apache servers, you can use .htaccess files to control PHP error display on a per-directory basis. This method provides flexibility when you need different error handling rules for different parts of your website.
Add these lines to your .htaccess file to enable error display:
- php_flag display_errors on
- php_value error_reporting “E_ALL”
To disable errors:
- php_flag display_errors off
- php_value error_reporting 0
The .htaccess method is particularly useful for shared hosting environments where you might not have access to php.ini but can still control error handling for your specific directories.
4. Using .user.ini and PHP-FPM (important addition)
If your server runs PHP using PHP-FPM (common on modern hosting), .htaccess rules may not work. In such cases, PHP reads configuration from a .user.ini file.
Example:
display_errors=On
error_reporting=E_ALL
Key points:
.user.iniworks per directory- Changes may take time due to
user_ini.cache_ttl - Ideal for shared hosting with PHP-FPM
This method is essential for reliable error handling in PHP on managed servers.
PHP error display by environment
This section consolidates all environment-based guidance to eliminate repetition and improve clarity.
Development environment: Show all errors
display_errors = Onerror_reporting(E_ALL)- Useful for identifying deprecated functions and notices early
Staging environment: Limited display
display_errors = Off- Full logging enabled
- Mimics production behavior while preserving visibility for testers
Production environment: Hide display, log everything
display_errors = Offlog_errors = On- Custom error pages for users
This approach balances debugging needs with secure error handling in PHP.
Security implications of PHP error display
Understanding the security risks associated with PHP error display is crucial for maintaining a secure web application. Visible errors in production environments can expose sensitive information that attackers can use to compromise your system.
1. Information disclosure vulnerabilities
When PHP display errors are enabled on production sites, error messages can reveal critical information including database connection strings, file system paths, internal IP addresses and application logic details. This information disclosure represents a significant security vulnerability.
For example, a database connection error might display your database server address, username and even hints about your database structure. File inclusion errors can reveal your complete directory structure, while function errors might expose internal application logic and third-party library versions.
2. Production environment security best practices
Implementing secure error handling in production requires a multi-layered approach that protects sensitive information while still providing useful debugging capabilities for administrators.
Your production error handling strategy should include:
- Completely disable display_errors to prevent information leakage
- Enable comprehensive error logging for internal debugging
- Implement custom error pages that provide user-friendly messages
- Set up monitoring and alerting for critical errors
- Regularly review and rotate error log files
- Restrict access to error logs using proper file permissions
Troubleshooting common PHP error configuration issues
Even experienced developers encounter challenges when configuring PHP error handling. Understanding common issues and their solutions can save you significant debugging time and prevent security oversights.
1. When ini_set display_errors doesn’t work
Sometimes ini_set(‘display_errors’, 1) appears to have no effect, leaving you wondering why errors still aren’t visible. This usually happens due to fatal errors that occur before your ini_set call executes or because display_errors is disabled at the php.ini level with restrictions on runtime changes.
To resolve this issue:
- Check if your hosting provider allows runtime ini_set modifications
- Verify that your ini_set calls happen before any potential errors
- Use error_get_last() to capture errors that occurred before configuration
- Consider using a combination of php.ini and ini_set for comprehensive coverage
2. Dealing with extension-related errors
Extension loading errors, such as “extension_dir value is incorrect or a dll does not exist,” often occur during PHP setup or when migrating between servers. These errors typically appear during PHP startup and require special attention.
To troubleshoot extension errors:
- Verify your extension_dir path in php.ini points to the correct directory
- Check that required extension files actually exist in the extension directory
- Ensure proper file permissions on extension files
- Review your server’s error logs for additional context
- Test extensions individually to identify problematic modules
3. Handling database driver problems
Database connectivity errors often provide the most sensitive information in error messages. When you see messages like “database driver problem detected” or “PHP has not been properly configured with the pgsql extension,” address both the technical issue and the security implications.
For database-related error handling:
- Implement database-specific error handling that logs details securely
- Use try-catch blocks around database operations
- Create generic error messages for users while logging specific details
- Regularly test database connections and extensions
- Keep database drivers and extensions updated
4. Verify and diagnose active PHP settings (Added)
To confirm your current PHP configuration:
- Use to verify loaded values
- Check CLI vs browser differences
- Review server error logs for startup errors
This step is critical when settings appear ignored.
Advanced error handling techniques
Beyond basic error display configuration, advanced error handling techniques can provide more sophisticated debugging capabilities while maintaining security standards.
1. Custom error handlers and logging
Implementing custom error handlers allows you to process errors according to your specific requirements while maintaining complete control over what information gets displayed or logged.
A custom error handler can categorize errors by severity, send notifications for critical issues and format error messages appropriately for different environments. This approach provides the flexibility to show detailed errors to developers while hiding them from regular users.
2. Environment-specific configuration
Professional applications typically use environment-specific configuration that automatically adjusts error handling based on deployment context. This ensures development environments show detailed errors while production environments maintain security.
Consider implementing configuration switches that detect your environment and apply appropriate error handling settings automatically. This reduces the risk of accidentally deploying development error settings to production servers.
3. Implementing exception handling strategies
Implementing robust error handling in php relies on structured try-catch-finally blocks to intercept exceptions before they terminate your script. Because exceptions propagate up the call stack, any uncaught exception triggers a fatal error that php display error settings might expose to the public. To prevent this, always catch specific exception types (like PDOException) before generic ones, ensuring you handle distinct failures like database connection issues precisely without leaking sensitive stack traces.
try {
    $conn = new PDO("mysql:host=localhost;dbname=test", $user, $pass);
    $conn->setAttribute(PDO::ATTR_ERRMODE, PDO::ERRMODE_EXCEPTION);
} catch (PDOException $e) {
    error_log($e->getMessage()); // Log technical detail securely
    throw new Exception("Service temporarily unavailable"); // Re-throw generic error
} finally {
    $conn = null; // Cleanup runs regardless of success
}
Use the finally block for essential cleanup, such as closing open files, regardless of the operation’s success. In production, this strategy complements disabling settings by logging technical details via error_log while showing user-friendly messages. Additionally, configuring set_exception_handler() serves as a critical safety net for uncaught exceptions, ensuring that even if an error bubbles to the top, it is handled gracefully rather than displaying raw system information to the user.
4. Building custom exception classes for application-specific errors
Creating custom exception classes allows for precise error handling in php by distinguishing application-specific issues from generic system errors. To build a custom exception, extend the base Exception class or SPL exceptions. This practice enables you to catch specific error types like DatabaseException or ValidationException independently, making your debugging workflow significantly more efficient.
class ApiException extends Exception {
    private $context;
    public function __construct($message, $code = 0, $context = []) {
        parent::__construct($message, $code);
        $this->context = $context;
    }
    public function getContext() {
        return $this->context;
    }
}
Follow PSR naming conventions by suffixing classes with “Exception.” By establishing an exception hierarchy—where UserException might extend AppException—you can group related errors. This structure not only improves code readability but also allows for targeted logging, ensuring that when you display php errors in development, you receive rich, contextual information while keeping production logs organized.
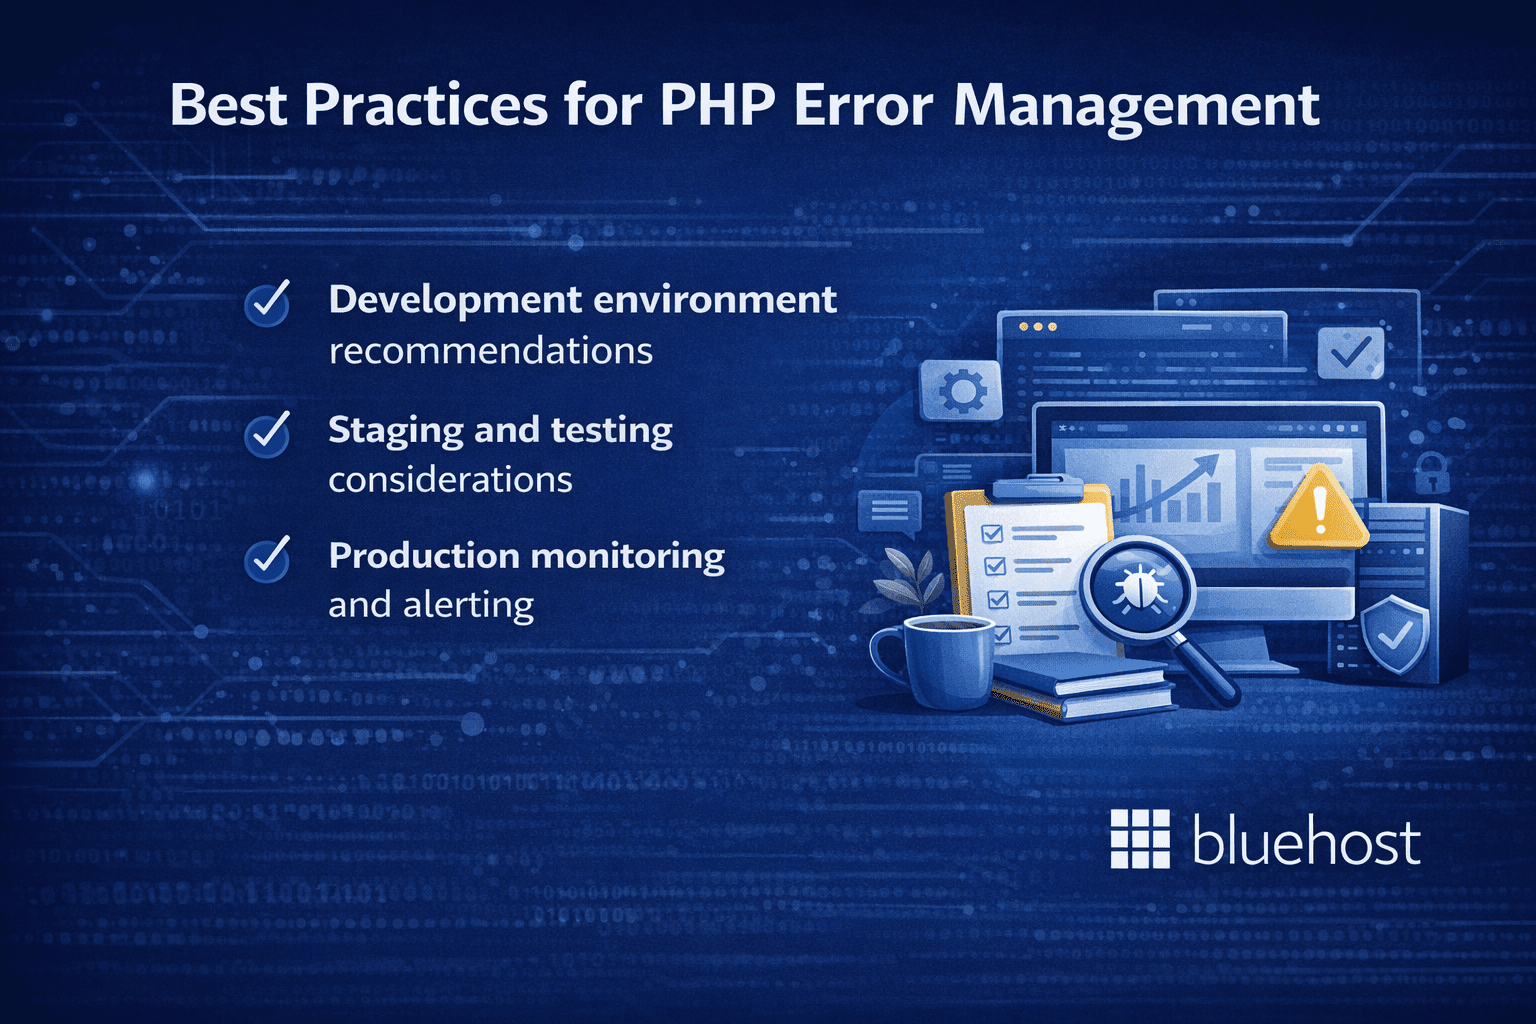
What are the best practices for PHP error management?
Effective PHP error management requires consistent practices that balance debugging capabilities with security requirements. These best practices will help you maintain reliable error handling across all your projects.
1. Development environment recommendations
In development environments, maximize error visibility to catch issues early and understand your code’s behavior thoroughly. Enable all error types, display errors on screen and maintain detailed logs for complex debugging scenarios.
Your development error configuration should be aggressive in reporting even minor issues like deprecated functions and strict standards violations. This proactive approach helps you write more robust code and prepares your application for future PHP versions.
2. Staging and testing considerations
Staging environments should mirror production security settings while providing debugging capabilities for final testing. Consider implementing error handling that logs all errors internally while displaying generic messages to simulate the production user experience.
This approach helps you identify any errors that might only occur in production-like environments while ensuring your error handling systems work correctly before deployment.
3. Production monitoring and alerting
Production environments require robust monitoring that catches errors without exposing sensitive information. Implement comprehensive logging, set up alerts for critical errors and regularly review error patterns to identify potential issues before they impact users.
Consider using external monitoring services that can track application errors, performance metrics and security events. These services provide valuable insights while maintaining the security of your internal error handling systems.
Final thoughts
Configuring PHP display error settings correctly is a foundational part of building secure, reliable PHP applications. When used strategically, error display helps developers diagnose issues faster, improve code quality and maintain smooth development workflows.
At the same time, disabling visible errors in production protects sensitive server and application details from being exposed to users or attackers. By applying environment-based configurations and following secure error-handling best practices, you can strike the right balance between debugging efficiency and security. If you need help adjusting PHP settings or troubleshooting error display issues, the Bluehost support team is always available to guide you through the process.
FAQs
To enable PHP error display, add ini_set(‘display_errors’, 1); and error_reporting(E_ALL); to your PHP file. Alternatively, modify php.ini by setting display_errors = On and error_reporting = E_ALL. Restart your web server after making changes to apply the new settings.
Disabling display_errors in production prevents exposing sensitive information like database credentials, file paths and system details to potential attackers. Instead, enable error_logging to record errors securely in log files while keeping your application secure and professional-looking for end users.
The display_errors directive shows errors directly on screen, useful for development and debugging. The log_errors setting writes errors to a file specified by error_log, ideal for production environments. You can enable both simultaneously to debug while maintaining security best practices.
You can modify display_errors in three locations: the php.ini file for server-wide changes, .htaccess file using php_flag display_errors on for directory-level control or directly in PHP scripts using ini_set(‘display_errors’, 1). Choose based on your access level and requirements.
Set error_reporting(E_ALL); to display all error types including notices, warnings and fatal errors. Combine this with ini_set(‘display_errors’, 1); to show them on screen. For comprehensive debugging, also enable display_startup_errors to catch errors occurring during PHP’s startup sequence.

Write A Comment