Als u een huidige klant van Hostinger bent en u zich afvraagt hoe u uw account kunt annuleren en kunt migreren naar een nieuw webhostingbedrijf , bent u niet de enige. Het opzeggen van een Hostinger-abonnement kan in een paar eenvoudige stappen worden voltooid. We delen alle informatie over hoe je dit kunt aanpakken.
Redenen die u zou kunnen overwegen bij het annuleren van uw Hostinger-account
- Beveiligingsproblemen: Als een webhost is gecompromitteerd of heeft aangetoond zwakke beveiligingsmaatregelen te hebben, kunnen gebruikers vertrekken vanwege zorgen over de veiligheid van hun site.
- Klantenondersteuning: Trage of nutteloze klantenondersteuning kan een aanzienlijk afschrikmiddel zijn voor gebruikers, vooral wanneer ze worden geconfronteerd met kritieke problemen die onmiddellijk moeten worden opgelost.
- Extra kosten: Onverwachte kosten, frequente factureringsfouten of een complex factureringsproces kunnen gebruikers ertoe aanzetten hun abonnement op te zeggen.
- Prestatieproblemen: Trage laadtijden van websites kunnen bezoekers frustreren, het kan uw merk schaden en het zal leiden tot een lagere positie op de site in zoekmachines.
- Downtime-problemen: Frequente serveruitval kan leiden tot verloren bezoekers of verkopen, wat schadelijk is voor elke website.
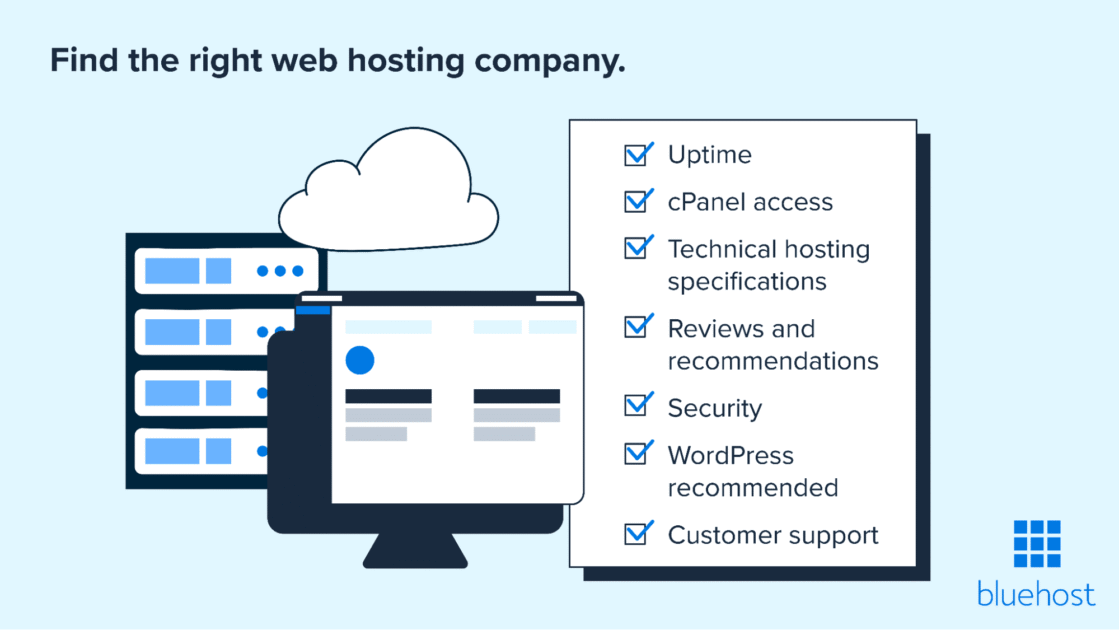
Wat moet ik doen voordat ik mijn Hostinger-account opzeg?
Een goede voorbereiding zorgt voor een soepele overgang bij het opzeggen van je Hostinger-hostingaccount. Dit zijn de essentiële stappen die u moet nemen:
Maak een back-up van uw gegevens
Voordat u de annulering initieert, maakt u een volledige back-up van uw website. Dit omvat alle bestanden, databases en e-mailaccounts. Gebruik de ingebouwde back-uptools van Hostinger om een kopie van uw gegevens naar uw computer of cloudopslag te downloaden. Een back-up beschermt uw inhoud en zorgt ervoor dat u geen belangrijke informatie kwijtraakt tijdens de overgang.
Domeinregistratie verifiëren
Als uw domein is geregistreerd bij Hostinger, moet u beslissen of u het wilt overzetten naar uw nieuwe provider of het zelfstandig wilt beheren. Zorg ervoor dat u uw domein ontgrendelt en de EPP-code (autorisatiecode) verkrijgt als u het verhuist.
Bekijk het restitutiebeleid
Hostinger biedt voor de meeste abonnementen een geld-terug-garantie van 30 dagen. Controleer uw accountgegevens en het restitutiebeleid van het bedrijf om te bepalen of u in aanmerking komt voor een terugbetaling. Houd er rekening mee dat sommige add-ons, zoals domeinregistraties, mogelijk niet worden gerestitueerd.
Teamleden op de hoogte stellen
Als je samenwerkt met een team, informeer hen dan over je plannen om je Hostinger-account te annuleren. Dit zorgt ervoor dat ze voorbereid zijn op eventuele downtime tijdens het migratieproces en kunnen verstoringen van lopende projecten helpen voorkomen.
Onderzoek nieuwe hostingproviders
Besteed tijd aan het vergelijken van hostingproviders om degene te vinden die het beste bij uw behoeften past. Zoek naar functies zoals betere prestaties, sterkere beveiliging, meer opslagruimte en betrouwbare klantenondersteuning. Houd rekening met factoren als kosten, schaalbaarheid en migratiegemak om ervoor te zorgen dat de nieuwe webhost aansluit bij uw doelen.
Door deze stappen te doorlopen voordat u uw Hostinger-hostingaccount opzegt, voorkomt u onnodige complicaties en bent u beter voorbereid op een soepele overgang naar uw nieuwe hostingprovider.
Eenvoudige stappen om uw Hostinger-account te annuleren

-
Log in op uw Hostinger-account, https://www.hostinger.com/cpanel-login
-
Klik op het tabblad “Hosting” in de kop van uw gebruikersgedeelte.
-
Klik op de knop “Beheren” naast het hostingpakket dat u wilt annuleren.
-
Navigeer naar het gedeelte ‘Overig’ op de pagina.
-
Er zal een knop zijn onder het gedeelte “Overig” met de tekst “Account deactiveren”.
-
Mogelijk moet u de deactivering van uw abonnement bevestigen.
-
Controleer uw factuur- en betalingsgegevens om er zeker van te zijn dat er na de annulering geen kosten meer in rekening worden gebracht.
Mogelijk kom je in aanmerking voor een terugbetaling van Hostinger
-
Klik op het chatsymbool in de rechter benedenhoek. U kunt ook op het vraagtekensymbool in de rechterbovenhoek klikken.
-
Selecteer Betalingen en terugbetalingen.
-
Klik op Ik wil mijn geld terugkrijgen.
-
Kies de service die u wilt annuleren en klik op de knop Terugbetaling.
-
Volg enkele aanvullende aanwijzingen, waaronder het selecteren van andere items die u van uw factuur wilt annuleren.
-
Klik op Terugbetaling aanvragen en klik dan nog een laatste keer op de knop Terugbetaling.
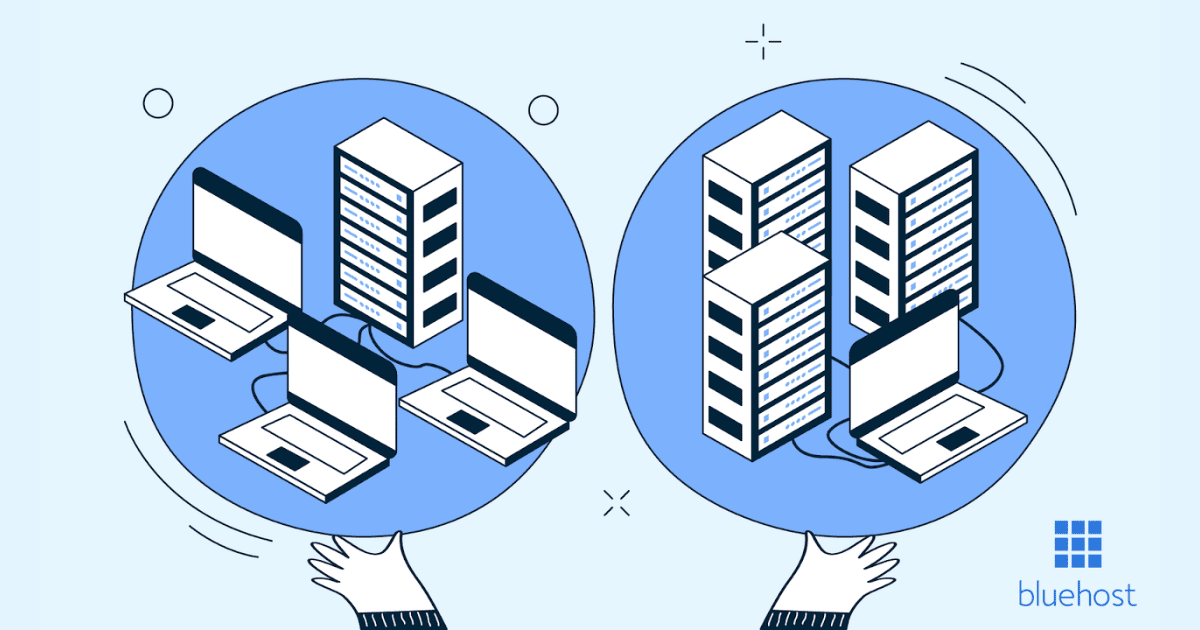
Uw website migreren
Het migreren van uw website naar een nieuwe hostingprovider lijkt misschien een uitdaging, maar met een zorgvuldige planning kan het een naadloos proces zijn. Als u uw WordPress-website wilt migreren van uw huidige host, biedt Bluehost een gratis migratieservice en een geld-terug-korting op uw resterende contract.
Hier is een stap-voor-stap handleiding voor het migreren van uw WordPress website:
Kies een nieuwe hostingprovider
Selecteer een hostingprovider die voldoet aan de behoeften van uw website. Vergelijk functies, prijzen, schaalbaarheid en opties voor klantenondersteuning. Houd rekening met factoren als uptime-garanties, hulp bij migratie en de mogelijkheid om uw hosting op te schalen naarmate uw site groeit. Bluehost biedt bijvoorbeeld migratiediensten en een gebruiksvriendelijk platform voor zowel beginners als professionals.
Overdracht van uw websitebestanden en database
Nadat u uw nieuwe hostingaccount heeft ingesteld, uploadt u uw bestanden naar de nieuwe server. Gebruik tools zoals FTP-clients (bijv. FileZilla) voor bestandsoverdrachten. Voor databasemigratie exporteer je de database en importeer je deze in de nieuwe database met behulp van tools zoals phpMyAdmin.
DNS-instellingen bijwerken
De DNS-instellingen van uw domein moeten verwijzen naar uw nieuwe hostingprovider om ervoor te zorgen dat uw site toegankelijk is. Verkrijg de nameservers van uw nieuwe host en werk ze bij in het configuratiescherm van uw domeinregistrar. Het kan tot 48 uur duren voordat deze stap volledig is voortgeplant.
Test uw website
Voordat u uw site live maakt, moet u deze grondig testen op de nieuwe server. Controleer op verbroken links, ontbrekende afbeeldingen of functionaliteitsproblemen. Dit zorgt ervoor dat uw bezoekers een naadloze overgang ervaren zonder onderbrekingen.
Annuleer je oude hostingaccount
Zodra uw website soepel draait op de nieuwe hostingprovider, kunt u uw Hostinger-hostingaccount opzeggen. Zorg ervoor dat u alle noodzakelijke stappen hebt voltooid, zoals het maken van een back-up van e-mails of het overzetten van bijbehorende services, voordat u de annulering afrondt.
Door deze stappen zorgvuldig te volgen, kunt u uw website migreren zonder gegevens te verliezen of langdurige downtime te ervaren. Providers zoals Bluehost bieden ook hulp bij migratie om het proces nog eenvoudiger te maken.
Waarom kiezen voor Bluehost als uw nieuwe hostingprovider?
Overstappen naar een andere hostingprovider is een kans om de prestaties en functionaliteit van uw website te verbeteren. Bluehost is een toonaangevende keuze voor website-eigenaren die op zoek zijn naar betrouwbare, goed presterende hosting met uitzonderlijke ondersteuning. Dit is waarom:
Gebruiksvriendelijk platform
Bluehost is ontworpen met eenvoud in het achterhoofd, waardoor het perfect is voor beginners en ervaren gebruikers. Met het intuïtieve dashboard kunt u uw website, domeinen en hostinginstellingen beheren zonder technische expertise.
Gratis website migratie
Voor nieuwe klanten biedt Bluehost gratis migratieservices voor in aanmerking komende websites. Hun deskundige team zorgt voor het migratieproces en zorgt ervoor dat uw site soepel overgaat met minimale downtime of verstoringen.
Betrouwbare prestaties en uptime
Bluehost biedt een solide uptime-garantie en snelle servers om uw website de klok rond toegankelijk te houden. Consistente prestaties betekent dat uw bezoekers genieten van een naadloze ervaring telkens wanneer ze uw site bezoeken.
Uitgebreide klantenondersteuning
Bluehost biedt 24/7 toegang tot een klantenserviceteam via telefoon, livechat en e-mail. Hun deskundige ondersteuningsteam staat klaar om je te helpen met technische of accountgerelateerde problemen, zodat je je geen zorgen hoeft te maken over je hele verhuurtraject.
Schaalbaarheid voor groeiende websites
Of u nu een kleine blog of een groeiende e-commerce winkel beheert, Bluehost heeft plannen om aan uw behoeften te voldoen. Hun hostingoplossingen variëren van shared hosting tot VPS en dedicated servers, zodat u kunt schalen naarmate uw site groeit.
Naadloze WordPress-integratie
Als officieel aanbevolen hostingprovider door WordPress biedt Bluehost naadloze integratie met het platform. Functies zoals WordPress-installatie met één klik en automatische updates maken het gemakkelijker om uw site te beheren.
Gratis domein en SSL-certificaat
Bluehost heeft tal van voordelen voor zijn domeinregistratiediensten. Een daarvan is een gratis domein voor het eerste jaar en bevat een gratis SSL-certificaat bij alle hostingplannen. Deze functies besparen u geld en verbeteren tegelijkertijd de beveiliging en professionaliteit van uw website.
Concurrerende prijzen
Bluehost biedt betaalbare hostingplannen met een uitstekende waarde voor de geboden functies. Hun transparante prijzen en regelmatige kortingen maken het toegankelijk voor zowel bedrijven als particulieren.
Als u Bluehost kiest als uw nieuwe hostingprovider, zorgt u ervoor dat u een betrouwbare partner krijgt voor het succes van uw website. Van prestaties en beveiliging tot deskundige migratieservices, Bluehost biedt alles wat u nodig hebt om uw online aanwezigheid met vertrouwen te laten groeien.
Snelle vergelijking van Hostinger en Bluehost

Bluehost en Hostinger zijn beide webhostingdiensten die in het begin van de jaren 2000 zijn opgericht. Beide bieden bij de meeste abonnementen gebruiksvriendelijke platforms en gratis domeinnamen. Hoewel de Hostinger-service goed is, schittert Bluehost met dedicated hosting, rijke eCommerce-functies en een eenvoudige WordPress-websitebouwer genaamd Wondersuite.
Bluehost staat ook bekend om de integratie van digitale marketingmogelijkheden, waaronder Google Ads en SEO-services. Bij het vergelijken van hun functies biedt Bluehost vaak meer opties of voordelen op het gebied van bandbreedte, domeinvoorzieningen en e-mailservices.
Op het gebied van klantenondersteuning onderscheidt Bluehost zich door zijn snelle 24/7 livechat. Als u naar e-commerce kijkt, is het aanbod van Bluehost, vooral voor op WordPress gebaseerde winkels, aantrekkelijk. Over het algemeen biedt Bluehost een uitgebreidere en betrouwbaardere oplossing voor uiteenlopende hostingbehoeften.
U kunt ook meer te weten komen over Bluehost vs Hostinger, waar we plannen, prijzen en functies veel gedetailleerder behandelen.
Conclusie
Het opzeggen van je Hostinger-hostingaccount en het migreren naar een nieuwe provider hoeft niet stressvol te zijn. Met de juiste stappen en voorbereiding kunt u zorgen voor een soepele overgang en tegelijkertijd de uitvaltijd verminderen. Als u een nieuwe hostingserviceprovider overweegt, is Bluehost een uitstekende keuze. Met een sterke reputatie op het gebied van prestaties, 24/7 ondersteuning en naadloze migratieservices, maakt Bluehost de overgang eenvoudig en probleemloos.
Met Bluehost krijgt u niet alleen een hostingserviceprovider, maar krijgt u ook een betrouwbare partner voor de groei van uw website. Klaar om de stap te zetten? Begin uw reis vandaag nog met Bluehost en bereid uw site voor op succes op de lange termijn!
Om uw Hostinger-webhostingpakket op te zeggen, kunt u de automatische verlenging uitschakelen:
Toegang tot uw Hostinger-dashboard: Log in op uw account.
Navigeer naar het gedeelte ‘Hosting’: Klik op het tabblad ‘Hosting’ om uw hostingplannen te bekijken.
Instellingen voor automatische verlenging beheren: Zoek het hostingpakket dat u wilt annuleren, klik op ‘Beheren’ en ga vervolgens naar het gedeelte ‘Facturering’.
Automatische verlenging uitschakelen: Schakel de optie voor automatische verlenging uit.
Resultaat:
Je hostingpakket blijft actief tot het einde van de huidige factureringscyclus en wordt daarna niet verlengd.
Na afloop worden het hostingaccount en de bijbehorende gegevens verwijderd.
Raadpleeg voor meer informatie het Helpcentrum-artikel van Hostinger over het annuleren van een hostingpakket.
Het opzeggen van je hostingpakket heeft geen invloed op je domeinregistratie. Uw domein blijft actief tot de vervaldatum. U kunt het zelfstandig beheren, overdragen aan een andere registrar of laten verlopen door automatische verlenging uit te schakelen.
Om een domein te deactiveren dat bij Hostinger is geregistreerd:
Log in op je Hostinger-account: Ga naar je dashboard.
Navigeer naar het gedeelte ‘Domeinen’: Zoek het domein dat u wilt deactiveren.
Automatische verlenging uitschakelen: Klik op ‘Beheren’ en schakel vervolgens de optie voor automatische verlenging uit.
Door automatische verlenging uit te schakelen, blijft het domein actief tot de vervaldatum en wordt het niet automatisch verlengd. Na de vervaldatum gaat het een respijtperiode in voordat het wordt verwijderd.


Schrijf een reactie