 ChatGPT,
  Claude,
  Gemini,
  Grok — all four for
Purchase a Virtual Dedicated Server with OpenLiteSpeed + Node.js Installation
OpenLiteSpeed with Node.js gives you a fast, high-performance stack for deploying server-side JavaScript applications. OpenLiteSpeed delivers your traffic efficiently, while Node.js runs your real-time, event-driven backend logic. Together, they handle APIs, web apps, and dynamic services that need speed and high concurrency.
This article explains how to purchase a Bluehost Virtual Dedicated Server (VDS) hosting plan and set up and manage your OpenLiteSpeed + Node.js installation.
Why Choose OpenLiteSpeed + Node.js?
OpenLiteSpeed with Node.js runs fast on a VDS, handling heavy traffic without slowing down your app. You build real-time features like chat apps and live dashboards using JavaScript on both the frontend and backend. Your VDS gives you dedicated resources, so your app's speed stays consistent no matter what other users are doing.
Uses of OpenLiteSpeed + Node.js
You can use OpenLiteSpeed + Node.js on a VDS for a variety of projects, including:
- APIs and Backend Services: Build fast, scalable APIs that power your mobile apps, websites, or third-party integrations.
- Real-Time Applications: Create chat apps, live dashboards, and notification systems that update instantly.
- E-commerce Platforms: Run high-traffic online stores that need quick page loads and reliable checkout processes.
- Streaming Services: Handle live data feeds, video streaming, or real-time analytics without lag.
- Microservices Architecture: Deploy and manage independent services that communicate efficiently with each other.
- Web Applications: Build dynamic, JavaScript-driven websites and single-page applications (SPAs).
- Development and Testing: Test your Node.js applications in a production-like environment before going live.
With your own VDS, you run every one of these projects on infrastructure you fully control.
How to Purchase a Virtual Dedicated Server with OpenLiteSpeed + Node.js Installation
OpenLiteSpeed + Node.js can be installed on a Bluehost Virtual Dedicated Server (VDS). You can choose to have OpenLiteSpeed + Node.js installed during the initial VDS purchase or install it manually at a later time.
- In your browser, go to https://www.bluehost.com.
- Click Hosting in the top menu, then select Virtual Dedicated Server.

You can also go to this link directly: https://www.bluehost.com/vds-hosting.
- On the Virtual Dedicated Server Hosting page, click Explore Plans. You can also scroll down to the hosting plans section.

- Choose a plan from either tab — Standard or High Performance — by clicking Choose Plan.

Pricing is subject to change. Please visit https://www.bluehost.com/vds-hosting for the current introductory/sign-up offer for the Bluehost Virtual Dedicated Server hosting. For the most up-to-date renewal pricing, visit your Bluehost Portal's Renewal Center. - On the next page, configure your VDS hosting to meet your requirements. The configuration options are divided into the following sections:
- Location: Select your data center in this section.

- Hardware: This section shows your pre-selected plan. You can also switch to another Virtual Dedicated Server plan in this section

- Software:
If the selected plan does not meet the app's minimum requirements, the app will be grayed out.
- Under the Application tab, click on OpenLiteSpeed + Node.js.
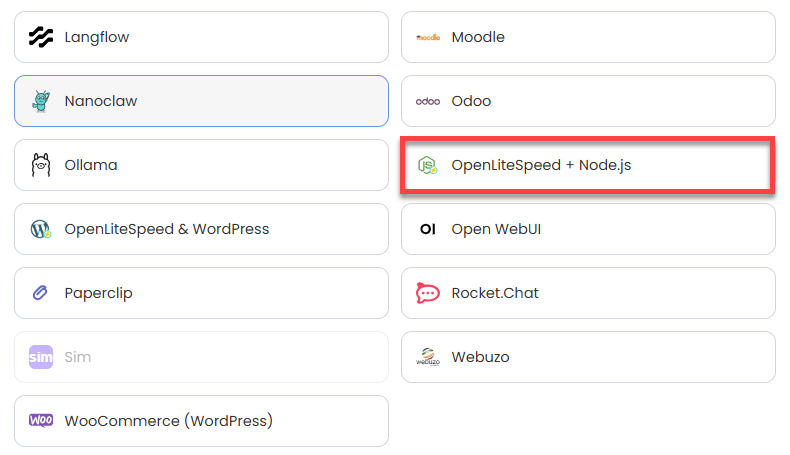
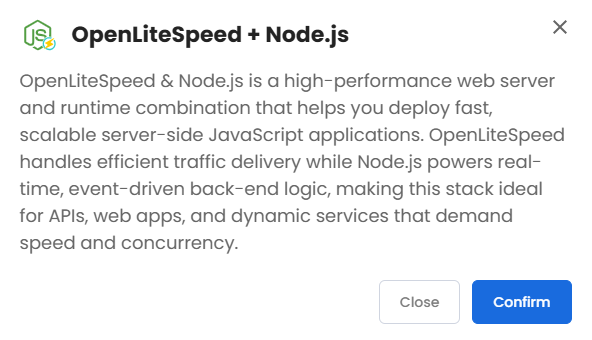
You can install only one application per purchase; the system will automatically select the best operating system for it. - In the pop-up, click Confirm.
- Under the Application tab, click on OpenLiteSpeed + Node.js.
- Support & Security: You can add Premium Support - Recurring, which provides priority access to expert assistance and faster response times.

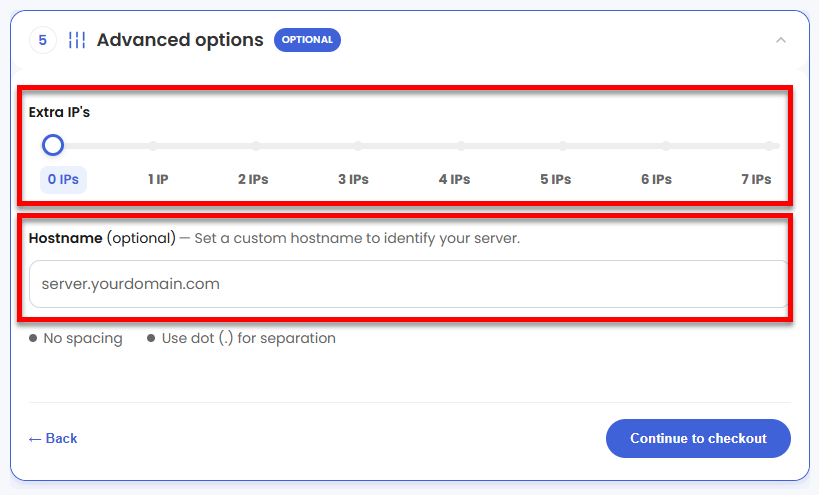
- Advanced Options:
- Extra IP's: You can add IP addresses for an additional fee. Pricing changes based on how many IPs you add.
- Hostname: Assign a custom hostname to identify your server. This is optional.
- Location: Select your data center in this section.
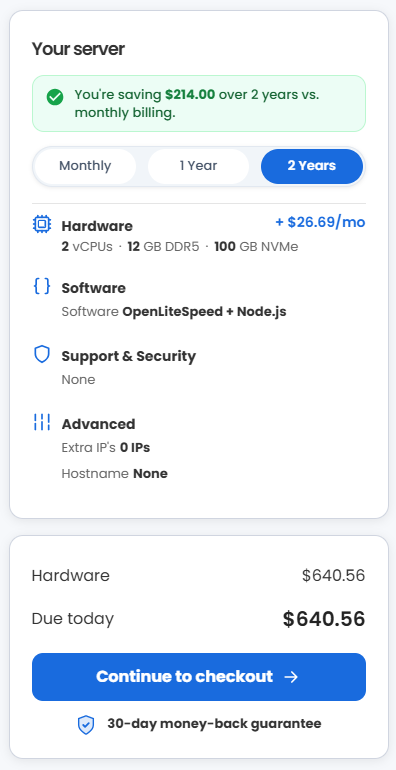
- Select your billing term and review your selected items on the right pane, along with the summarized total cost.
- Click Continue to checkout.
- Do the following on the Checkout page:
If you're new to Bluehost:- Create your Bluehost account by using your email address or by connecting with your Google, Apple, or GitHub account — whichever you prefer!

- Select your preferred payment method: credit card, Google Pay, or PayPal. Enter your billing information.

If you have an account with us, you will see your Bluehost login details when you are logged into your Bluehost Portal. If you are not logged in, please click the Log In link.

- Create your Bluehost account by using your email address or by connecting with your Google, Apple, or GitHub account — whichever you prefer!
- In the Shopping Cart, choose your billing term if you did not choose one on the previous page.
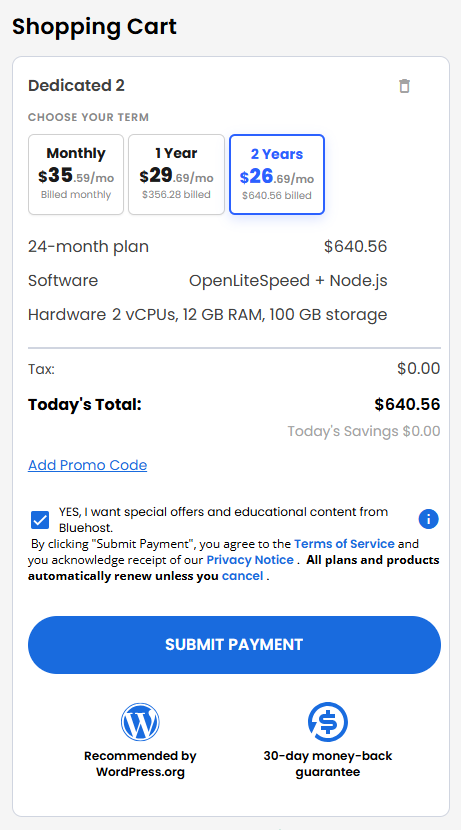
- Add a Promo code if you have one, and then click Submit Payment to complete your purchase.
After completing the purchase, your VDS hosting will begin provisioning. You can access and manage your new VDS hosting in the Hosting tab of your Bluehost Portal.
Access Your OpenLiteSpeed + Node.js Dashboard
After installation completes:
- Log in to your Bluehost Portal.
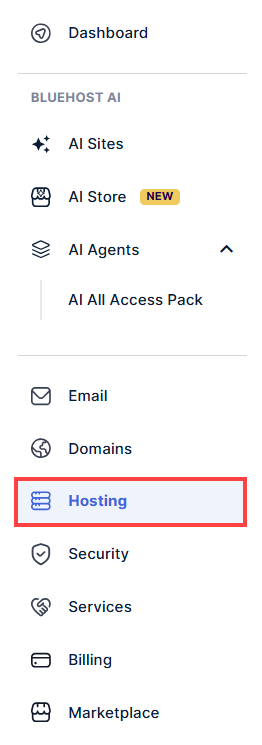
- In the left-hand menu, click the Hosting tab.
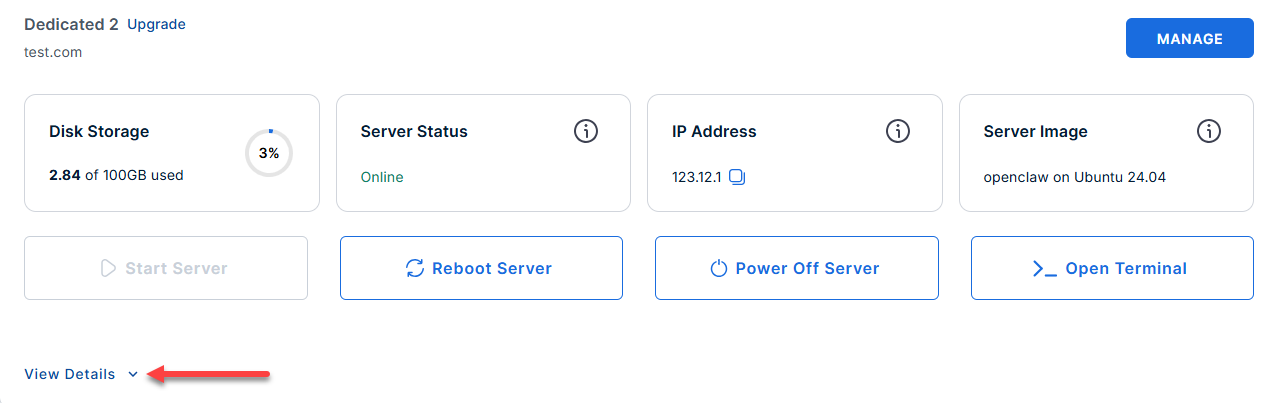
- Locate the server you want to manage, then click View Details in the bottom-left corner to expand the section and access additional server information.
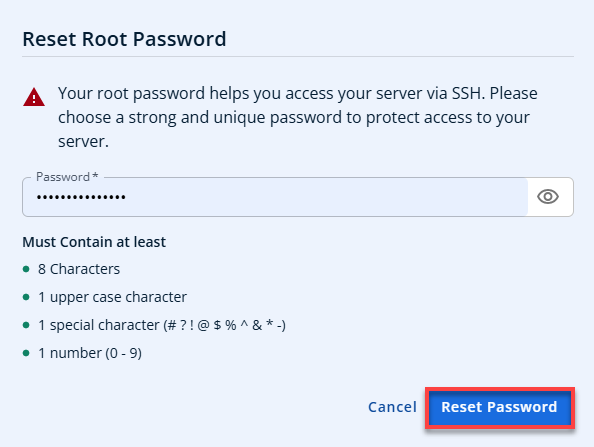
- Click the Reset Password.
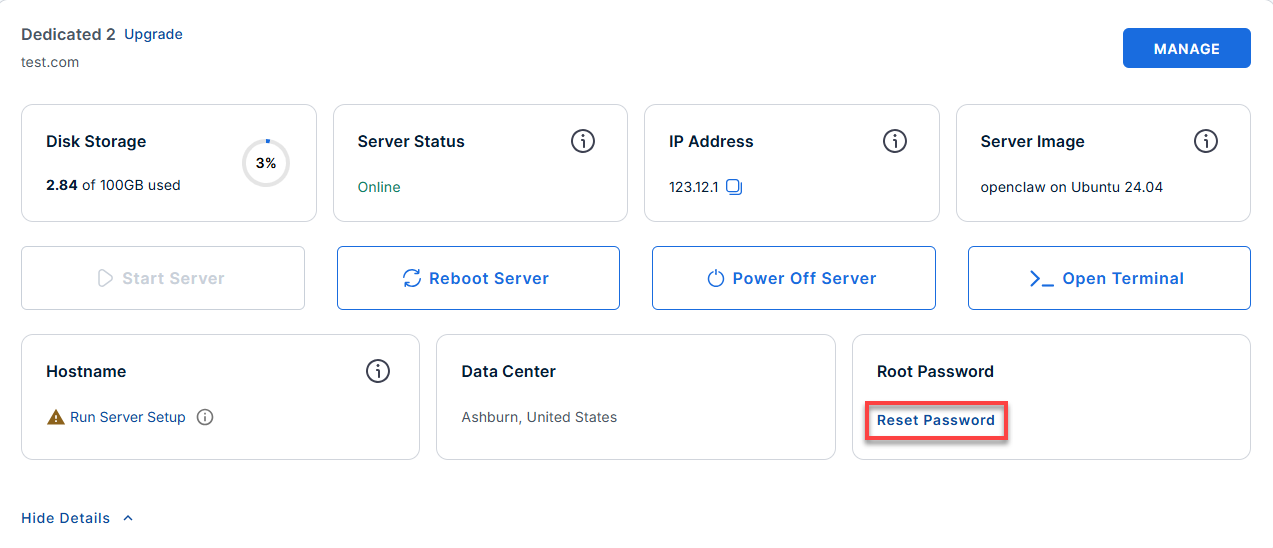
- In the pop-up window, type your new root password, then click Reset Password again to confirm and save the changes.
- Connect to your VDS via SSH.
Use your VDS IP and credentials with an SSH client, follow the prompts, and enter your root password when asked:Replaceyour_server_ipwith your actual server IP address.ssh root@your_server_ip - Retrieve your password by running this command.
grep OLS_ADMIN_PASS /root/.app_passwords
- You will see the password for your dashboard.
Example:root@server-123456:~# grep OLS_ADMIN_PASS /root/.app_passwords OLS_ADMIN_PASS=0pyjA1ItjdBvI05SEP3m34AC - Access your Web UI by entering http://server_IP:7080/ in your browser.
Replace
server_IPwith your actual server IP address.If the "Your connection isn't private" page appears, click Advanced, then click Proceed to 12.3.456.789 (unsafe) to access the site.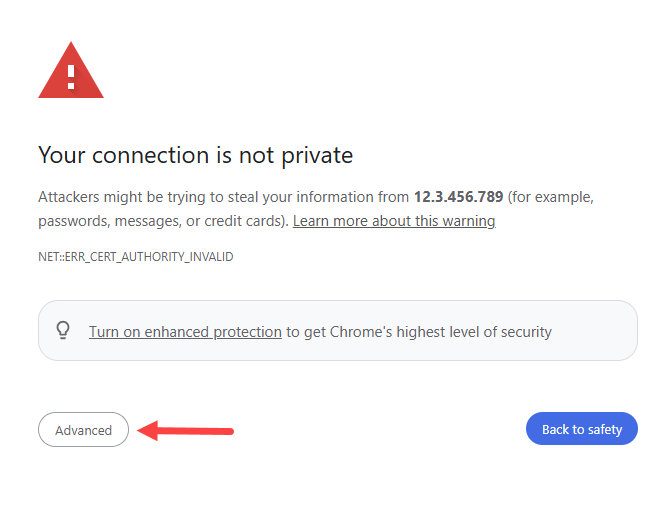
- You will be redirected to your dashboard login page.
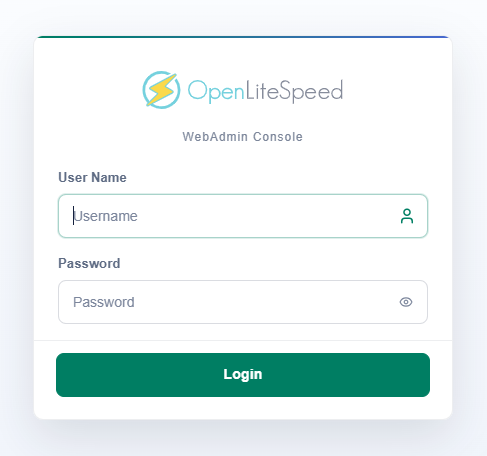
- Enter the credentials you got from Steps 6 and 8.
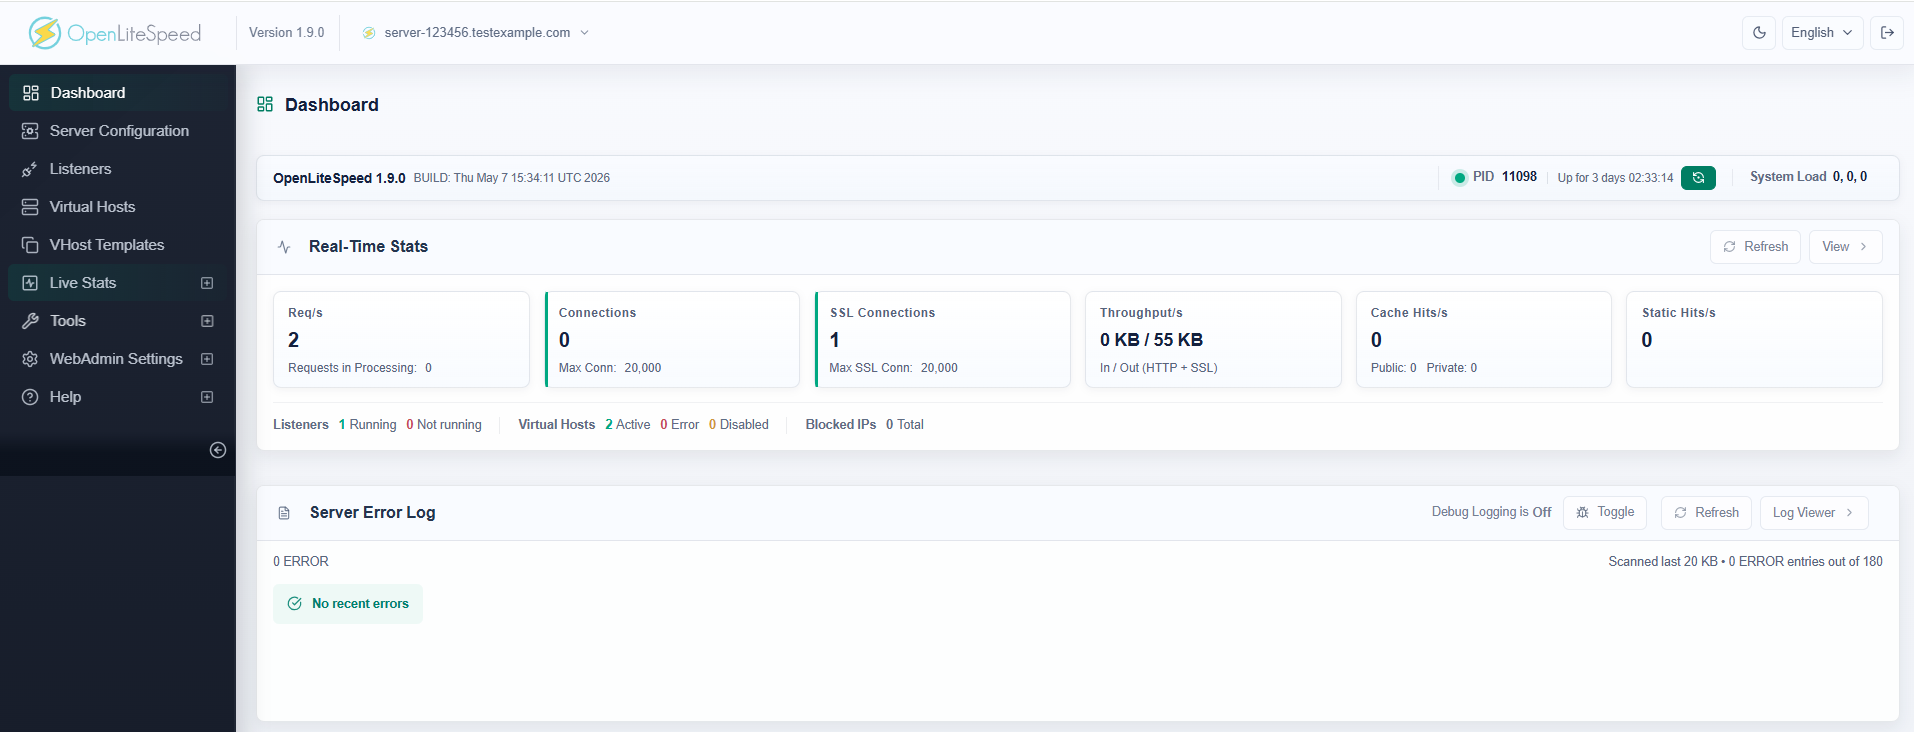
- You will be redirected to your dashboard.
Additional Information and Example Documentation Output
You can run cat /root/README.md to see more information and useful commands:
Example Output:
root@123456:~# cat /root/README.md
# OpenLiteSpeed + Node.js

## Description

OpenLiteSpeed and Node.js is a high-performance web server and runtime combination that helps you deploy fast, scalable server-side JavaScript applications. OpenLiteSpeed handles efficient traffic delivery while Node.js powers real-time, event-driven back-end logic, making this stack ideal for APIs, web apps, and dynamic services that demand speed and concurrency.

## Image contents

* OpenLiteSpeed from the official LiteSpeed repository (`repo.litespeed.sh`)
* Node.js 22 LTS via NodeSource
* Placeholder Node.js application at `/var/www/html/nodejs/app.js`
* OLS virtual host configured to proxy all traffic -> Node.js port 3000
* `nodejs-app` systemd service to manage the Node.js process
* `openlitespeed` systemd service (depends on `nodejs-app`)
* UFW firewall: ports 22, 80, 7080 open
* Log rotation at `/etc/logrotate.d/openlitespeed-nodejs`
* Login banner at `/etc/update-motd.d/99_openlitespeed-nodejs`
* First-boot script at `/var/lib/cloud/scripts/per-instance/001_onboot`

## Services

Service         | Port | Description
--------------- | ---- | -----------------------------------------------
OpenLiteSpeed   | 80   | HTTP - proxies all traffic to Node.js on 3000
OLS WebAdmin    | 7080 | Web-based admin console (HTTP)
nodejs-app      | 3000 | Internal - proxied by OLS, not exposed directly
OpenSSH         | 22   | Remote access

## First boot behavior

`/var/lib/cloud/scripts/per-instance/001_onboot` runs once on first boot:

1. Generates a 24-character random WebAdmin password.
2. Stores it in `/root/.app_passwords` (mode 600).
3. Sets the password using the official OLS `admpass.sh` tool.
4. Starts `nodejs-app` and waits for port 3000.
5. Starts `openlitespeed`.

No credentials are baked into the image - every instance gets a unique password.

## Accessing the UI

After first boot, open in a browser:

* **Node.js app:** `http://server-ip/`
* **OLS WebAdmin:** `http://server-ip:7080/`
  * Username: `admin`
  * Password: run `grep OLS_ADMIN_PASS /root/.app_passwords` on the server

## HTTPS / SSL

OpenLiteSpeed includes built-in Let's Encrypt support. To enable HTTPS:

1. Open the OLS WebAdmin console at `http://server-ip:7080/`
2. Navigate to **Listeners** and add an SSL listener on port 443.
3. Under the virtual host, use the built-in **Let's Encrypt** option to
   provision a certificate for your domain.

A valid domain name pointing to this server is required for Let's Encrypt.

## Deploying your Node.js application

Replace the placeholder with your own application:

```bash
# Upload your app files to /var/www/html/nodejs/
# Then restart:
systemctl restart nodejs-app
```

Your app must listen on `127.0.0.1:3000`. Use `process.env.PORT || 3000`.

## Useful commands

```bash
# Service status
systemctl status openlitespeed
systemctl status nodejs-app

# Restart services
systemctl restart nodejs-app
systemctl restart openlitespeed

# Logs
tail -100 /usr/local/lsws/logs/error.log
tail -100 /var/log/nodejs/app.log
journalctl -u openlitespeed -n 100 --no-pager
journalctl -u nodejs-app -n 100 --no-pager

# WebAdmin password
grep OLS_ADMIN_PASS /root/.app_passwords

# Reset WebAdmin password manually
/usr/local/lsws/admin/misc/admpass.sh
```

## Validation tests

```bash
perl /root/app_test/main.t
```

Runs 14 checks: services enabled and active, all config and service files
present, Node.js binary available, `admpass.sh` present, port 80 listening,
and end-to-end HTTP proxy response verified.

## Important paths

Path | Description
---- | -----------
`/usr/local/lsws/conf/httpd_config.conf` | OLS main server config
`/usr/local/lsws/conf/vhosts/nodejs/vhconf.conf` | OLS virtual host (proxy)
`/usr/local/lsws/logs/` | OLS server logs
`/usr/local/lsws/admin/conf/htpasswd` | WebAdmin credentials (hashed)
`/usr/local/lsws/admin/misc/admpass.sh` | OLS password reset tool
`/var/www/html/nodejs/app.js` | Node.js application entry point
`/var/log/nodejs/app.log` | Node.js application log
`/var/log/openlitespeed-nodejs/` | OLS service log
`/root/.app_passwords` | Plaintext WebAdmin password (mode 600)
`/etc/openlitespeed/openlitespeed.env` | OLS port/user reference file

## Links

* Manage: [OpenLiteSpeed WebAdmin](http://server-ip:7080/)

**OpenLiteSpeed**
* Home: [openlitespeed.org](https://openlitespeed.org/)
* Documentation: [docs.openlitespeed.org](https://docs.openlitespeed.org/)
* Installation guide: [Install from Repository](https://docs.openlitespeed.org/installation/repo/)
* Node.js app server setup: [App Server - Node.js](https://docs.openlitespeed.org/config/appserver/nodejs/)
* Reverse proxy configuration: [Reverse Proxy](https://docs.openlitespeed.org/config/reverseproxy/)
* Community forum: [forum.openlitespeed.org](https://forum.openlitespeed.org/)

**Node.js**
* Home: [nodejs.org](https://nodejs.org/)
* Node.js 22 LTS docs: [Previous Releases](https://nodejs.org/en/about/previous-releases)
* npm documentation: [docs.npmjs.com](https://docs.npmjs.com/)
* NodeSource distributions: [nodesource/distributions](https://github.com/nodesource/distributions)
Summary
Get a high-performance stack that runs your Node.js apps directly behind OpenLiteSpeed's fast traffic engine. Deploy it on a Bluehost Virtual Dedicated Server (VDS) by picking your hardware plan and selecting OpenLiteSpeed + Node.js during checkout. Once your server launches, connect via SSH to retrieve your admin credentials and log into your WebAdmin dashboard. From there, upload your application files, restart the service, and enable free SSL with Let's Encrypt in just a few clicks.