Key highlights
- Editing the hosts file enables you to troubleshoot errors, block a website or set up a local server.
- By mapping a domain name to a specific IP address, you can preview your website before making it live.
- The process involves editing the hosts file on your operating system (Windows, macOS or Linux) and adding a new line with the desired IP address and domain name.
- After saving the changes, you can test them by accessing the domain name in your web browser.
- Troubleshooting tips, such as clearing the DNS cache, are provided to resolve any issues encountered.
Introduction
Imagine you’re trying to visit a website, but something isn’t quite right. The IP address seems correct, yet your computer can’t find the right destination. Sometimes, the solution lies in a hidden system file most users never knew existed—the hosts file.
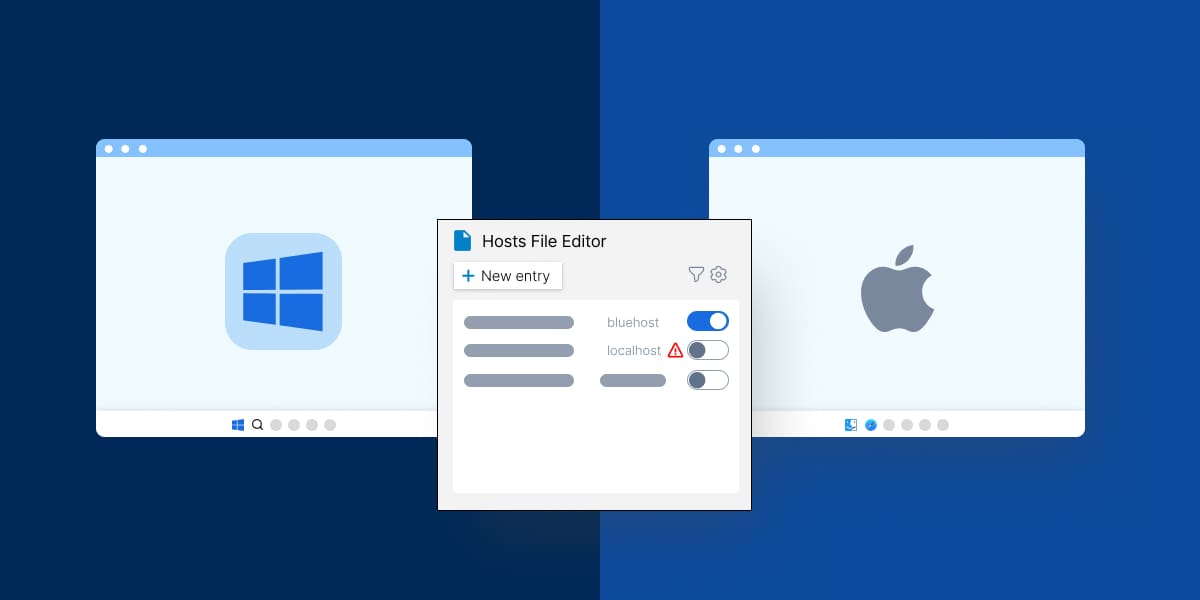
The hosts file is your computer’s private address book for internet connections. It sits quietly in your operating system, translating website names into digital addresses that computers understand. In situations when you want to troubleshoot an error, block an unwanted site or solve a local error, modifying this hosts file can help.
Don’t know how to edit hosts file on your computer yet?
In this comprehensive guide, we will walk you through everything you need to know about how to edit hosts file on Windows 10/11 and macOS for various purposes. You will also learn how to test the changes safely or resolve any troubleshooting errors that might arise. Let’s dive in!
How to edit hosts file on Windows and Mac: A step-by-step process
Editing the hosts file on your computer is a powerful way to control how your system connects to websites or local servers. However, the process to edit hosts file on Windows 10 and 11 will be different from the one required for macOS. Knowing the right approach for your system will ensure the changes are applied correctly and safely.
Edit hosts file on Windows 10/11
Editing on every Windows version is the same, that is, through the Notepad. Regardless of your operating system version, the hosts file location also remains the same.
Process
- Open your Windows folder
- Locate the hosts file. Visit: C:\Windows\System32\drivers\etc\hosts
- Choose “Open with” and pick Notepad (remember to run Notepad as an administrator)
- Edit the hosts file by adding the IP address and the domain name you want to map
- Make sure to save the changes
Common issues
While editing the hosts files on your computer, you might face some issues. These problems commonly arise if the file is not saved with the correct format or if there are conflicts with DNS settings or security software:
- Permission errors
- Incorrect formatting of the entries
- Changes not taking effect immediately
The above-mentioned issues arise in case your system uses outdated DNS data instead of recognizing the new entries. When you edit the hosts file, remember to clear the old DNS cache simultaneously to avoid such errors.
You can clear the DNS cache using Command Prompt. Here’s how:
- Open Command Prompt as Administrator
- Press Win + R, type cmd, and press Ctrl + Shift + Enter to open it with admin privileges.
- Click Yes if prompted by User Account Control (UAC).
- Run the DNS Cache Flush Command
- Type the following command and press Enter:
< ipconfig /flushdns> - You should see a message saying: Successfully flushed the DNS Resolver Cache.
- Type the following command and press Enter:
This forces Windows to discard outdated DNS records and fetch fresh ones, ensuring that changes in the hosts file take effect properly.
Testing challenges
After making changes to the hosts file, it is essential to test the mappings to verify that they are working as intended.
Users may face challenges in testing due to DNS caching, which can sometimes cause delays in seeing the effects of the changes. Flushing the DNS cache or using a different browser can help in testing the new mappings.
Also read: What is DNS
Edit hosts file on macOS
There are two methods to change hosts file on macOS, each with its own steps and tools. You can select one of them based on your preference for working with the Terminal or a text editor.
Method 1: Terminal application
You can use Nano or Vim text editor to edit the hosts file on your Mac.
The process is as follows:
- Open the Terminal application (you will find it under Utilities)
- Enter the following command: sudo nano /etc/hosts or sudo vim /etc/hosts (depending on the text editor you want to use)
- Enter your administrator password
- Find the entries (domain and IP address) in the host file and adjust them as needed
- Press Ctrl + O, then exit by pressing Ctrl + X to save your changes
Method 2: Finder application
The process is as follows:
- Go to Finder on your dock
- Click Go > Go to Folder, and type /etc
- Search and select hosts, then select a text editor to open it
- Add the domain and IP at the bottom, then save the file by pressing “Command + S”
Common issues
When going through the process of editing the hosts file on macOS, it is important to be aware of common issues that may arise.
- Accidental mistakes in the entries, leading to unexpected behavior
- Unintended redirection to wrong IP addresses
- System updates might overwrite or reset the hosts file
By being mindful of these issues, you can make sure your changes to the hosts file are smooth and effective.
Testing challenges
Testing challenges may also arise when you want to modify hosts file on Mac. Some apps and system processes might cache DNS entries independently of the hosts file. As a result, changes made in the hosts file might not be picked up by certain applications right away, making it harder to verify the changes.
After making changes, it is essential to check if the new configurations are working as expected. This can be done by trying to access the specified websites or services to see if the changes have taken effect.
Testing the changes locally
Once you have successfully understood how to edit hosts file, you can quickly test the changes. This will essentially verify if the modifications were successful.
To conduct this test:
- Launch your preferred web browser
- Attempt to access the domain name that you altered in the hosts file
If the changes were implemented correctly, your browser should directly navigate you to the IP address specified in the hosts file. It will not reach out to the DNS server for assistance.
This test ensures that the new configurations in your hosts file are functioning as intended and your system is recognizing the updated information accurately.
Launch your website
Now that you have successfully edited the hosts file and verified the changes, your website is ready to go live. For a seamless and reliable transition from local testing to a fully operational site, it is important to choose a trusted web hosting service. Bluehost serves as the right platform to host your website. We are known for a smooth user interface, reliable uptime, multi-regional fault tolerance and lightning-fast load time.
Here’s why we are a reliable choice for you:
- Simple website setup: One-click WordPress installation, making it a breeze to set up your website.
- Affordable plans: Whether you’re just starting out or scaling up, affordable hosting plans are available to suit your needs.
- 24/7 support: The expert support team is always available to help with any issues, ensuring that your website runs smoothly.
By signing up with Bluehost, you can easily upload your files, configure your domain and set up everything to make your website publicly accessible.
Also read: How to Import to Local WordPress and Move Your Live Site Easily
Troubleshooting tips
You might encounter problems after you edit the hosts file on Windows 10, 11 or macOS. But fixing these issues is usually easy.
Resolving permission errors
Problem: If you see permission errors when trying to edit the hosts file, it means you do not have the needed administrative rights to change this system file.
Fix: You need to start your text editor with administrative rights.
- On Windows, right-click the text editor app and choose “Run as administrator.”
- On macOS, use the sudo command before your text editor command in the Terminal. For instance, type sudo nano /etc/hosts. You will need to enter your administrator password.
Incorrect entries in the hosts file can cause problems while accessing websites. So, make sure to check for any typos or errors.
What to do when changes don’t reflect
After you update hosts file on Mac or Windows, the changes should ideally be visible right away. However, in some situations, even after making the required edits, the changes might not be effective, or the website might not load as expected. This can be frustrating, but there are several common reasons for this behavior, and understanding these can help resolve the issue quickly.
Problem: DNS cache keeps DNS records, and old information could block your new changes.
Fix: If you have changed the hosts file and still don’t see the changes, the first thing to do is clear your DNS cache. By clearing it, your system will get fresh records, including from your updated hosts file.
Problem: If you are on a particular network, the changes in your hosts file might not be seen on other devices.
Fix: Make sure each device you want to change also has its own hosts file updated. If you are managing DNS settings for a whole network, think about changing the settings at the router or on a main DNS server used by all network devices.
Final thoughts
Learning how to edit hosts file is a simple yet powerful tool for testing website changes, troubleshooting and managing your local environment. Once you have mastered this process, you can gain more control over how your system handles domain names and IP addresses. By updating the hosts file on your Windows or macOS, you can run your site smoothly before going live. Bluehost can serve as a trusted partner to launch your website, providing everything you need to ensure reliability, speed and ease of use.
Ready to bring your website to life? Sign up for Bluehost today and get started on our web hosting plans.
FAQs
After making changes to the hosts file, it is essential to verify if the changes have been saved successfully. You can clear your browser’s cache and flush the DNS to ensure that the changes take effect seamlessly.
To troubleshoot DNS issues, add the required IP addresses and domain names. To edit hosts file on Windows 10, use Notepad as an administrator. On Mac, employ Terminal with sudo. Save the changes and flush the DNS cache for them to take effect.
To upload your site to Bluehost after you edit the hosts file for testing, log in to your Bluehost account and go to cPanel. Next, find the File Manager and upload your website files to the public_html directory. Lastly, set up your domain settings. Be sure to follow Bluehost’s guidelines for a smooth upload.
To clear your DNS cache after changing the hosts file, follow these steps. On Windows, open Command Prompt as an administrator. Then, type “ipconfig /flushdns.” If you are using macOS, open Terminal. Enter “sudo killall -HUP mDNSResponder”. This will help the updated host mappings work right away.
When making changes to your website, it’s essential to keep in mind that alterations made locally won’t reflect on Bluehost until you upload them to your hosting account. Modifying the hosts file solely affects DNS resolution on your local machine. This means that any adjustments or updates you make on your computer will not be visible to the public until they are uploaded and published on your Bluehost hosting account.

Write A Comment